OMG, friends! WE MADE IT! Welcome to the FINAL week – REVEAL WEEK – of our Bohemian Glam Office Renovation! Phewwww – that was a close one, but we made it! We are SO excited to share with you our Bohemian Glam office renovation. If you are new here, or just want to recap what we’ve been doing, here are the previous seven weeks:
Week 1 | Week 2 | Week 3 | Week 4 | Week 5 | Week 6 | Week 7
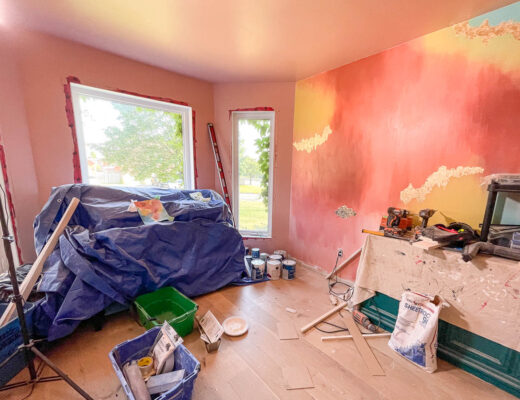
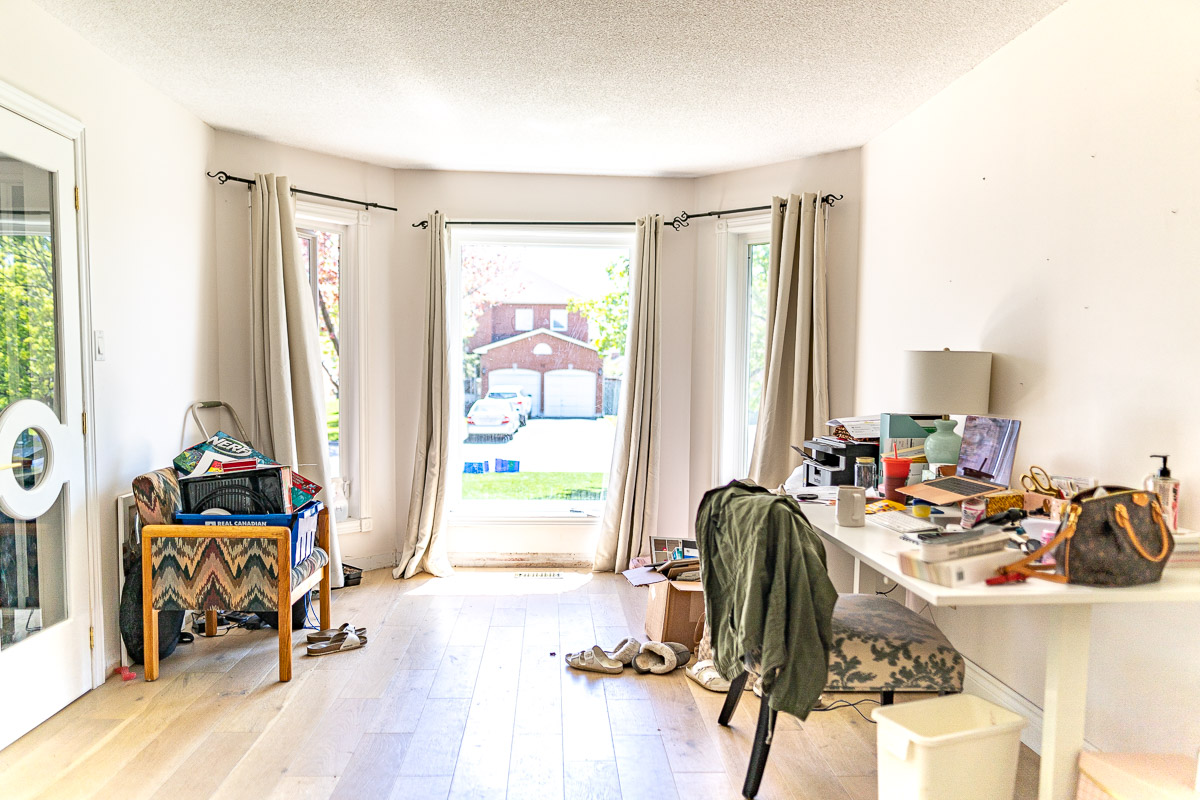
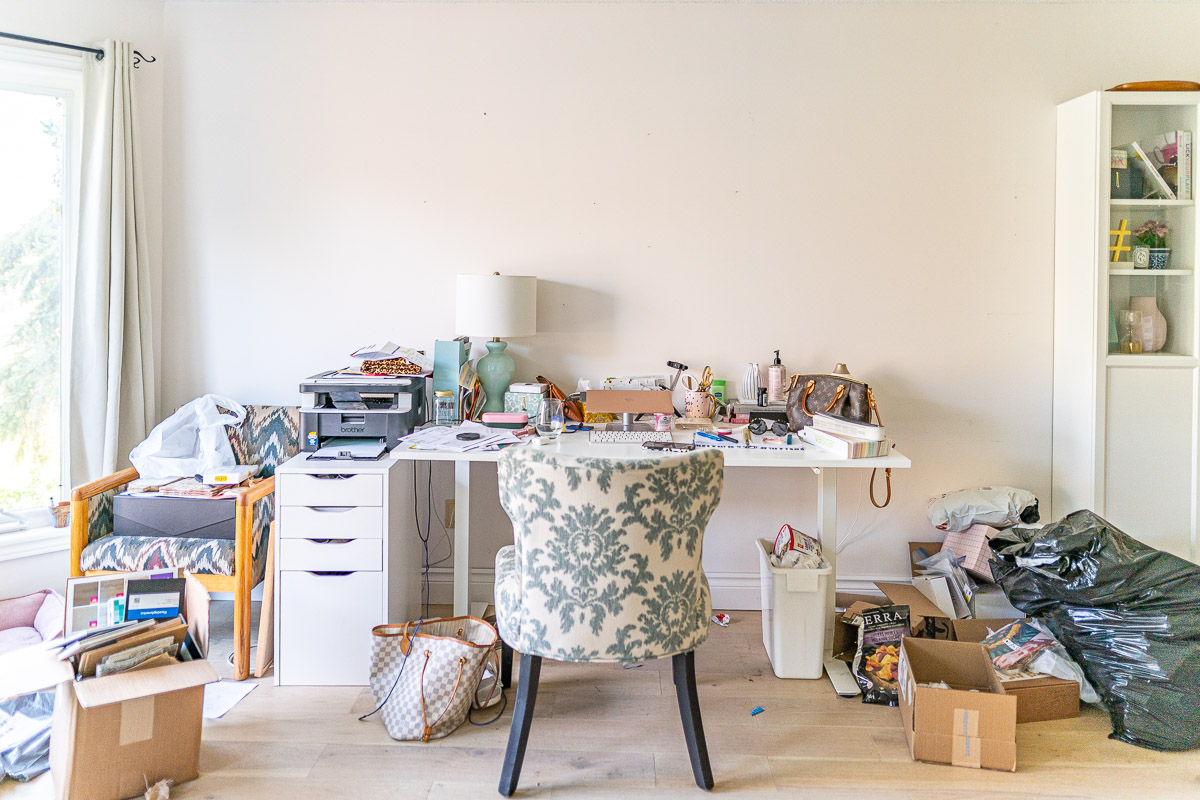
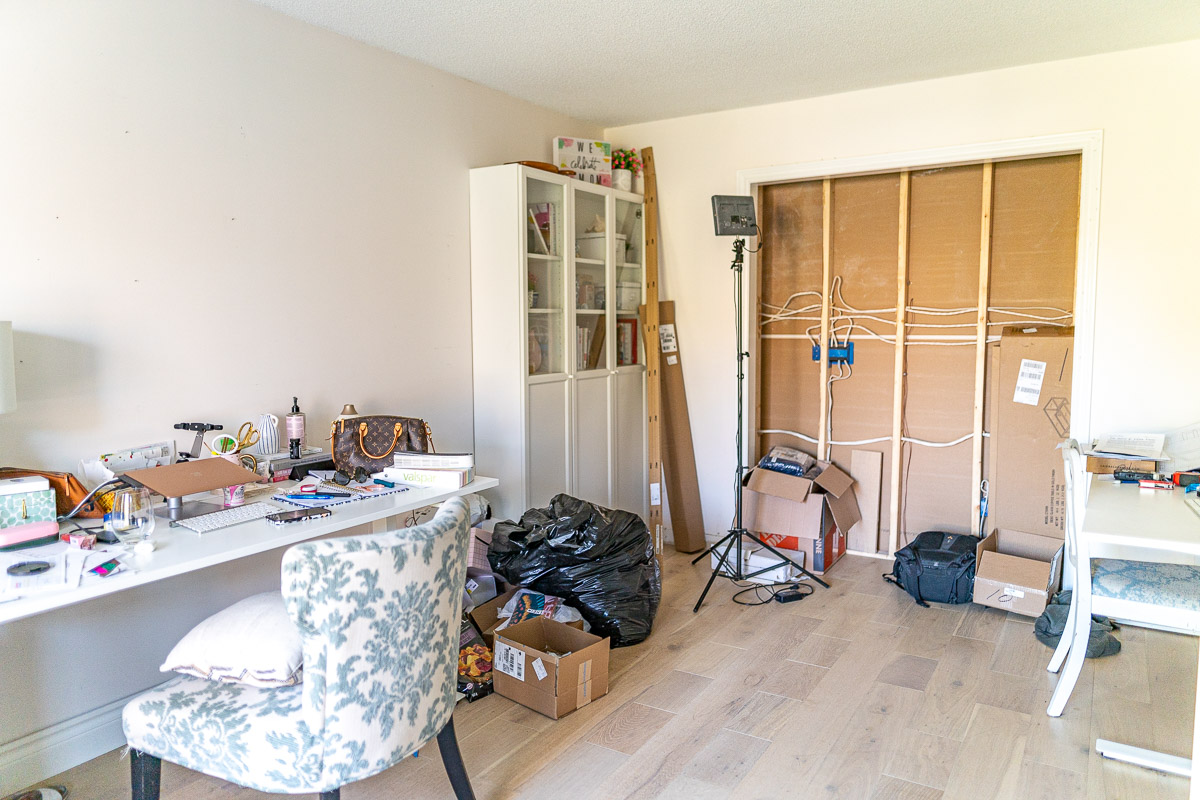
Before we get into the glorious reveal pictures and details of the bohemian glam office renovation, we must take a look back at where we started, in order to fully appreciate how far we’ve come! So here are three BEFORE shots, from the different angles in the office:
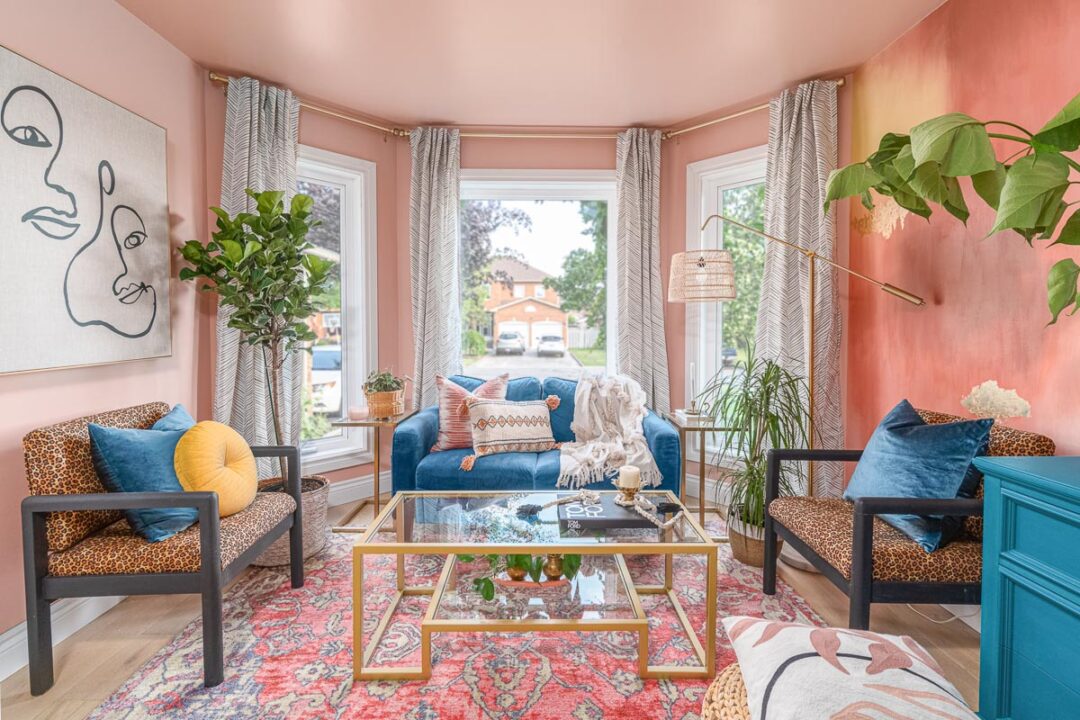
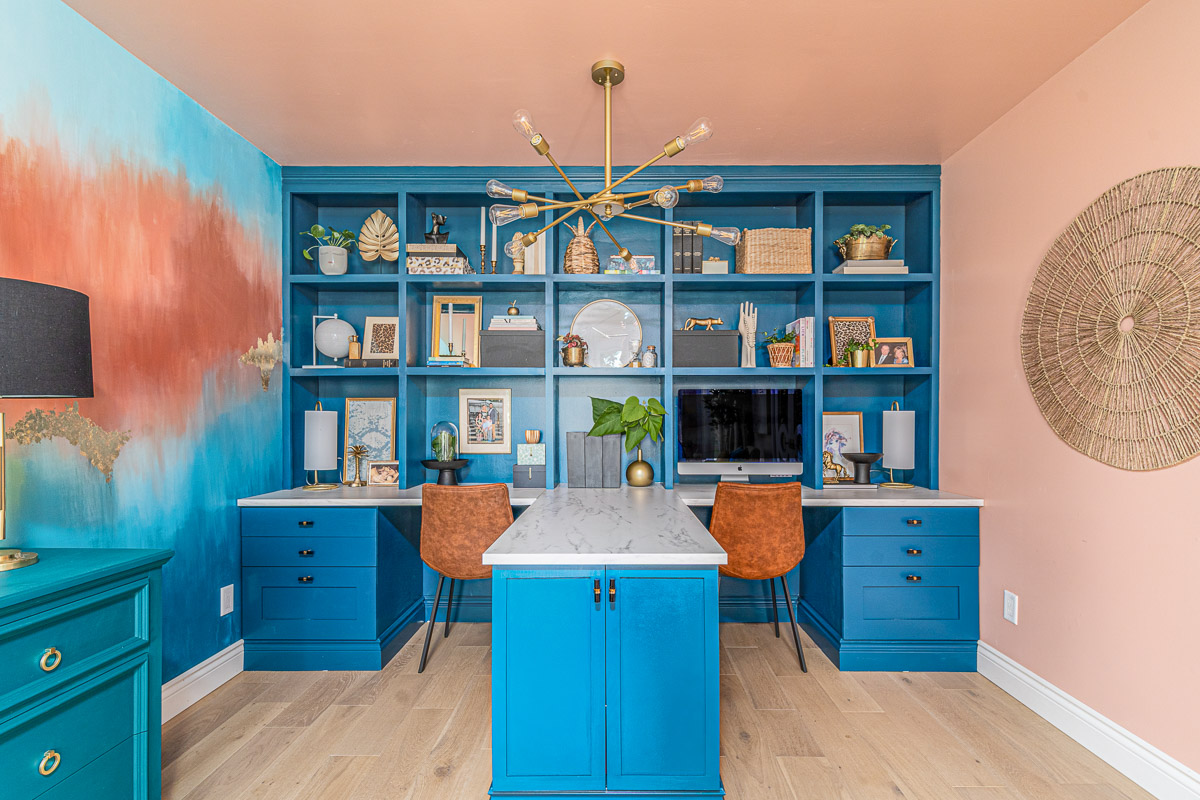
And here is the AFTER!!!

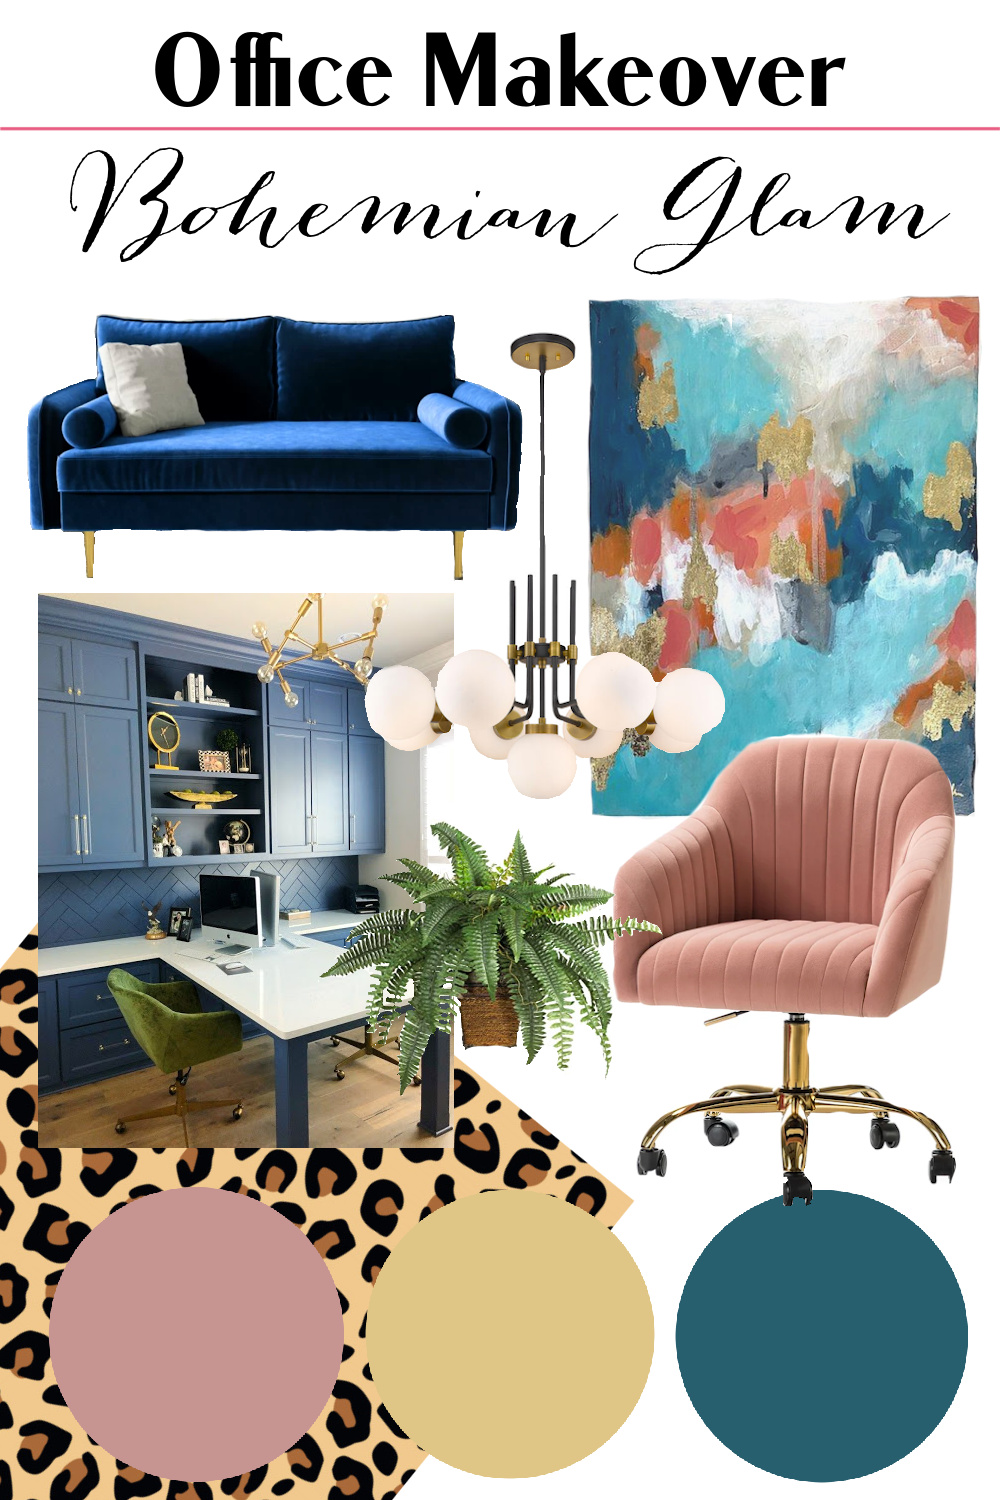
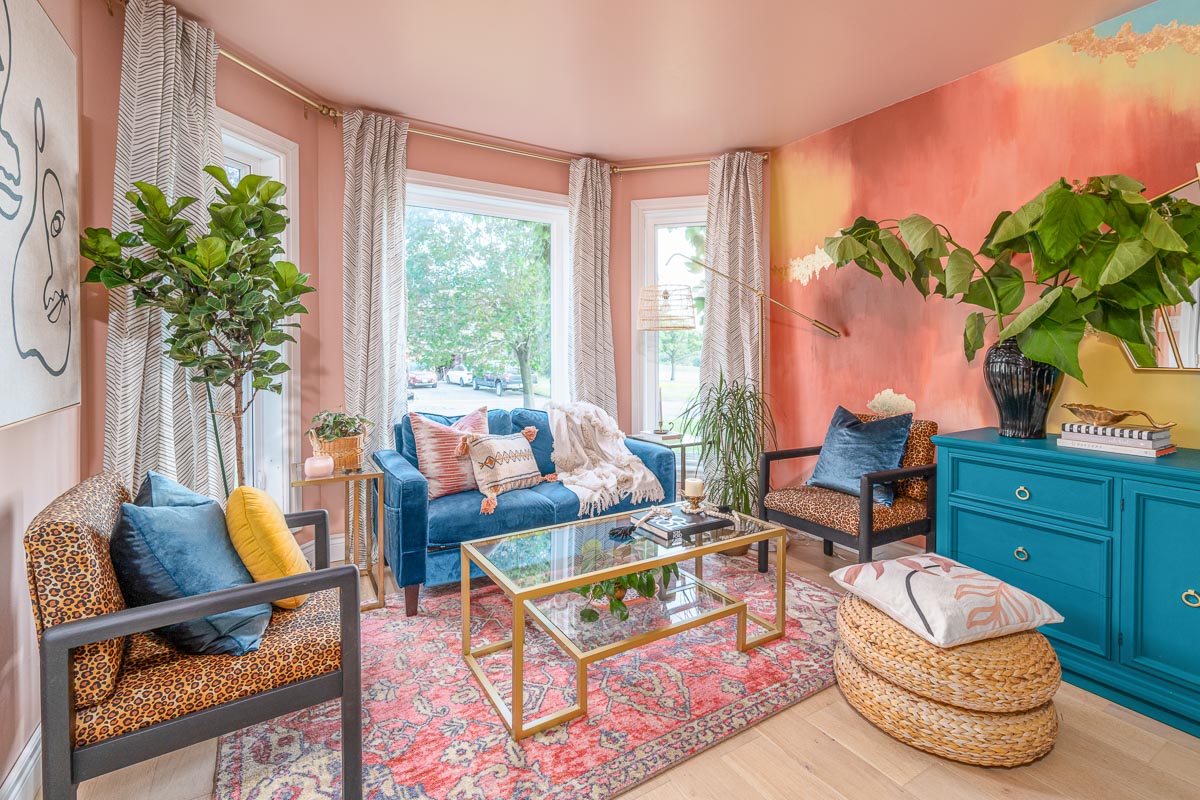
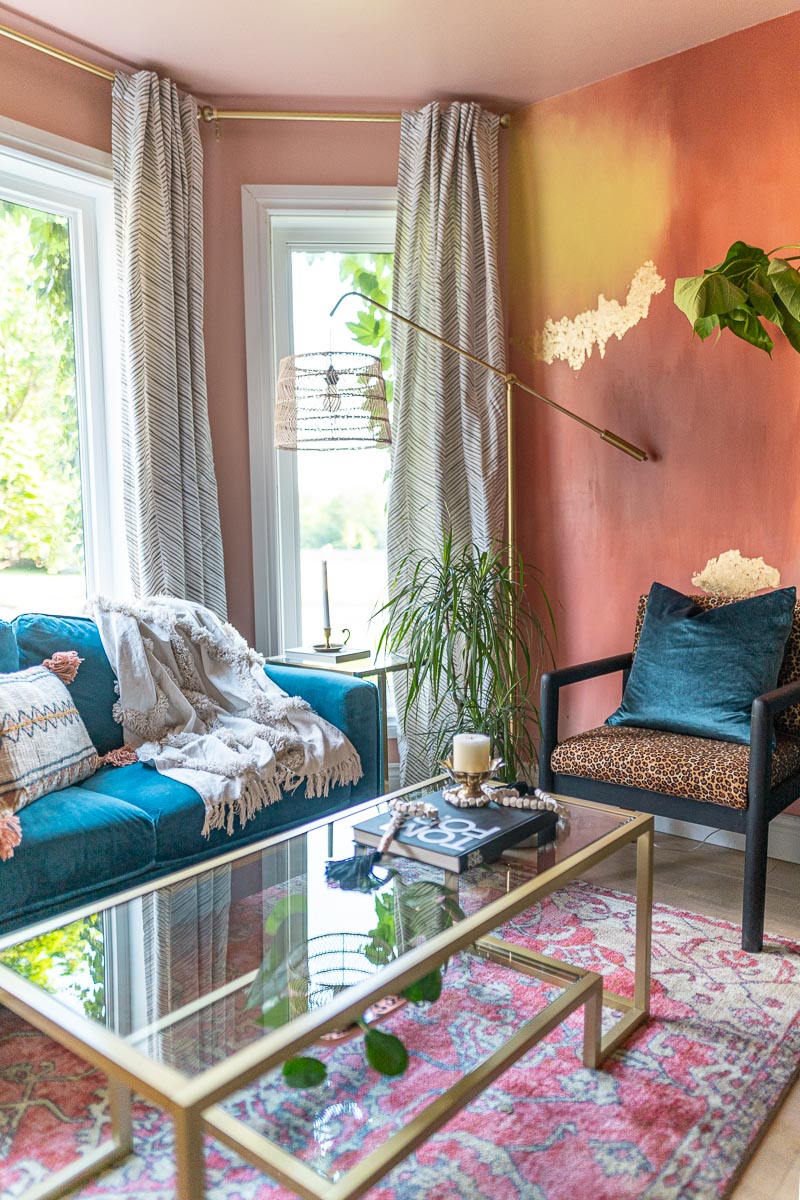
Oh friends, I cannot even fully express how happy this space makes me feel! So let’s get into the details, shall we?! If you can remember back to Week 1, I first shared the mood board and where the initial inspiration for bohemian glam came from. Knowing we had to be resourceful while designing this room during a third lockdown as well as wanting to be thrifty, we used our current teal(ish) blue love seat (which is originally from Wayfair) that was in our living room as our jumping off point, knowing we’d eventually be getting rid of it when we renovate the living room. You can read more about it HERE.
After deciding on our theme of Bohemian Glam, it was off to the races to get this room designed. Again, because we live in Ontario, Canada and we were in the midst of our third lockdown, it was incredibly difficult to design this space. Even with many stores doing curbside pick-ups, it seemed that everyone was out of everything! That’s when we decided that we would not only have to use some thrifted items, but that we would also attempt to do as much as we could on our own – including hand painting a custom mural and building a custom desk and wall unit built-in.
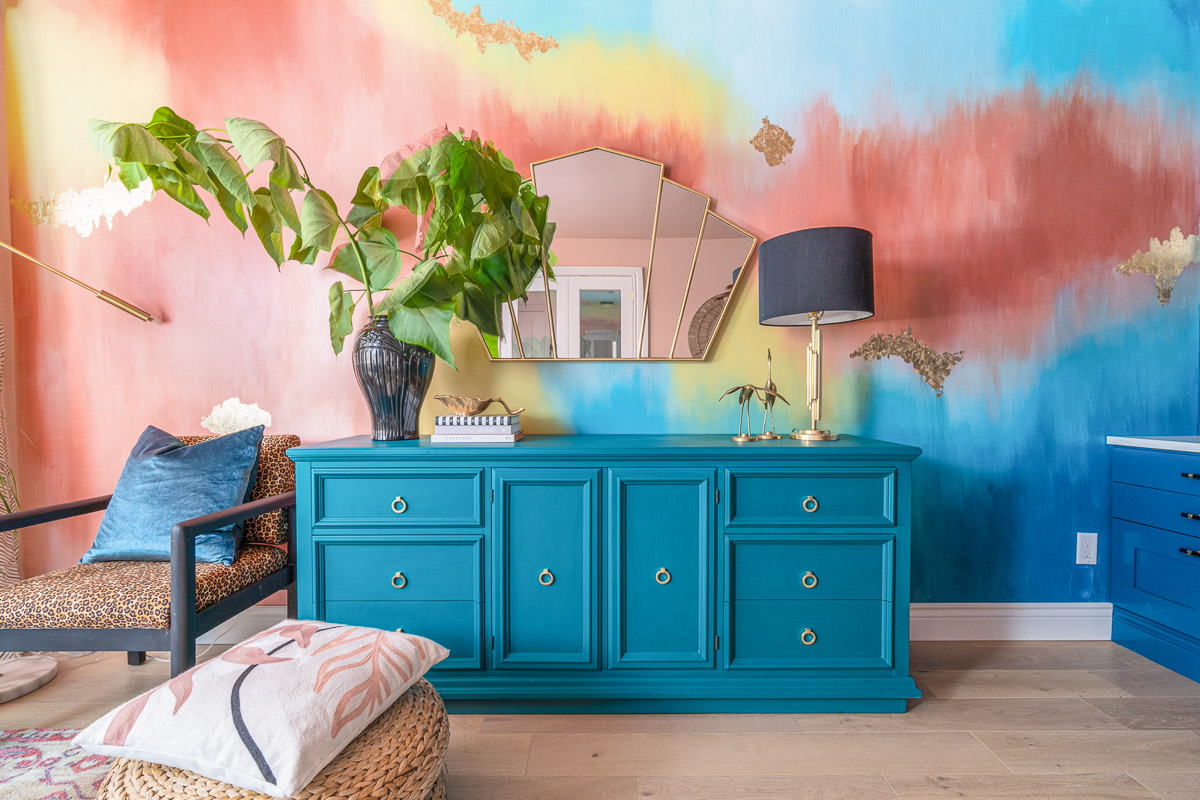
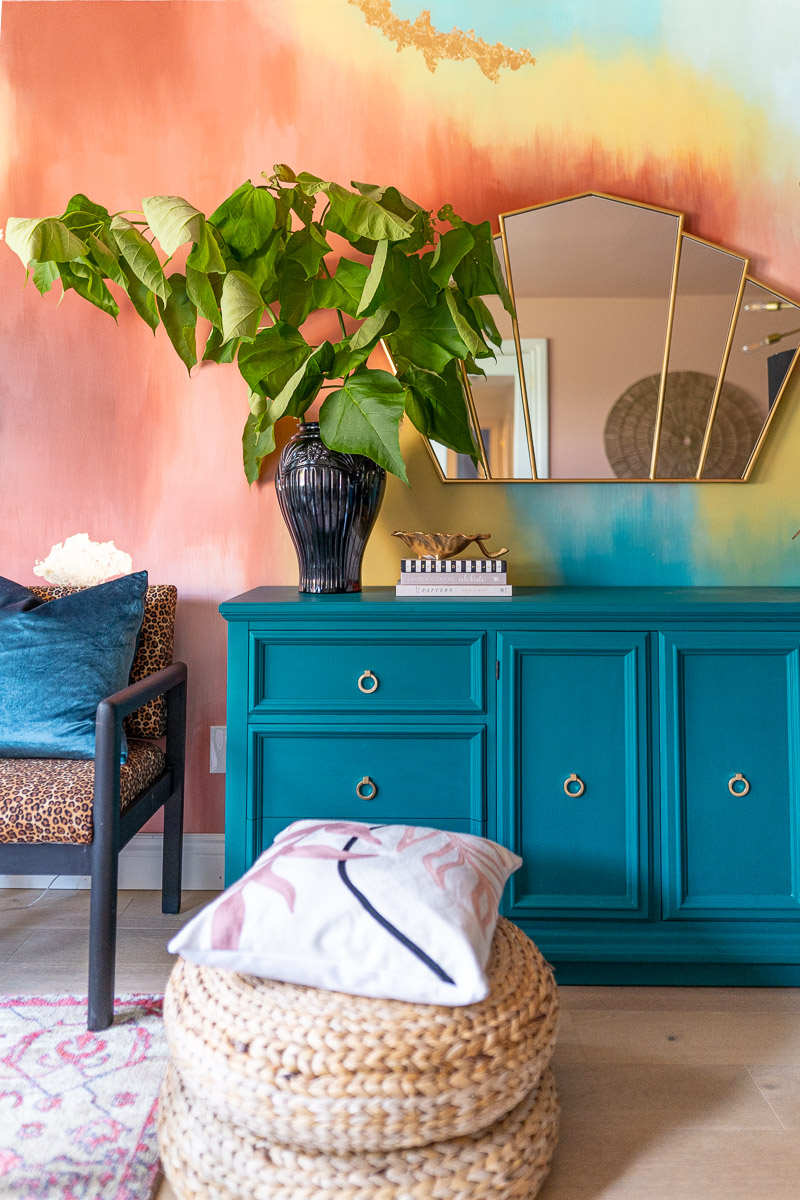
When it came to the mural, I was inspired by my new friend and incredible artist Kelly Aiken from Copeley Designs Art. Chris and I were having a hard time agreeing on a wallpaper, so I kept scouring the internet to find SOMETHING we could agree on. That’s when I came across Kelly’s art on Pinterest and immediately, we both agreed that we loved it. Problem was – she’s located in Charlotte, North Carolina – so there was no way that we could commission her to come and create one in our space. So I ended up reaching out to her and to my delight, she not only responded, but she decided she was going to give me a bunch of tips to help me do it myself! We ended up doing an Instagram Live that you can watch HERE to get some tips if you’d like to attempt a watercolour wall mural like this. I’m also so excited to share that Kelly has just released an online video tutorial to teach you how to do this yourself for only $49.95! Such an incredible deal and truly such a valuable tool to help you create a similar look in your space.

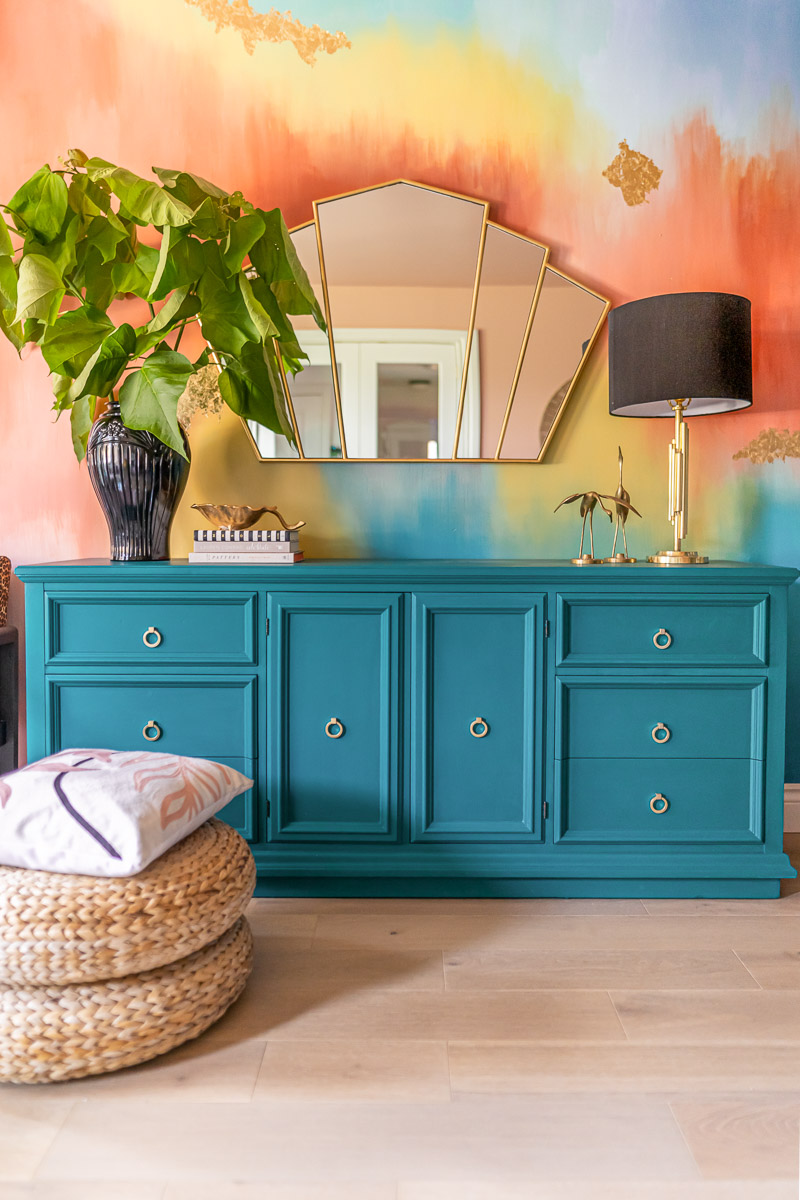
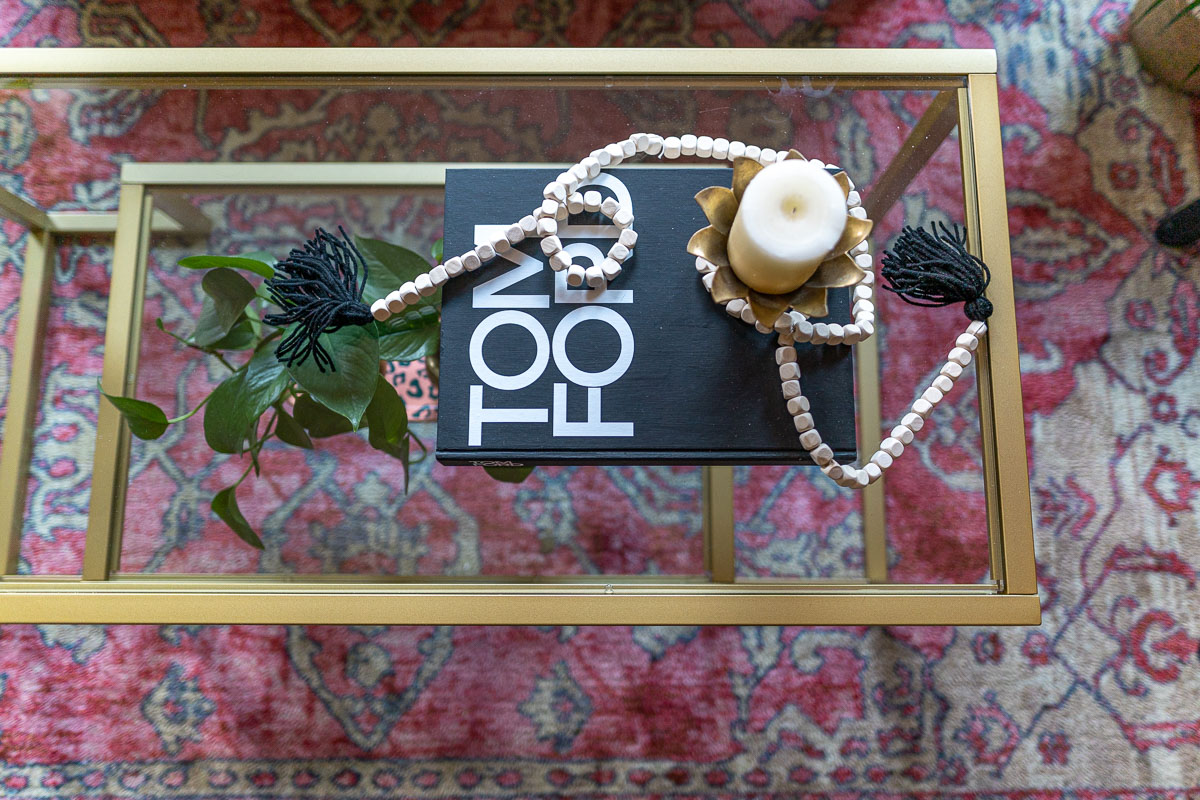
This seems like a great place to talk about paint colours! We have been long-time partners with Valspar Canada and they came through again with absolutely stunning colours and paint! I shared in Week 4 all about Valspar’s Chalk Paint when we redid the credenza and chairs. I am absolutely OBSESSED with how they turned out and what a gorgeous job the chalk paint did. You’ll notice a few other items in the room that I also chalk painted with Valspar’s chalk paint – the magazine holders on the desk, the black bowls on a stands (there’s two of them on the desk) and probably my most favourite – the faux Tom Ford coffee table book (I’ll be sharing that soon on my TikTok, so make sure to follow me there if you aren’t already). The rest of the wall colours, including all the mural colours, I listed out in Week 7’s post.
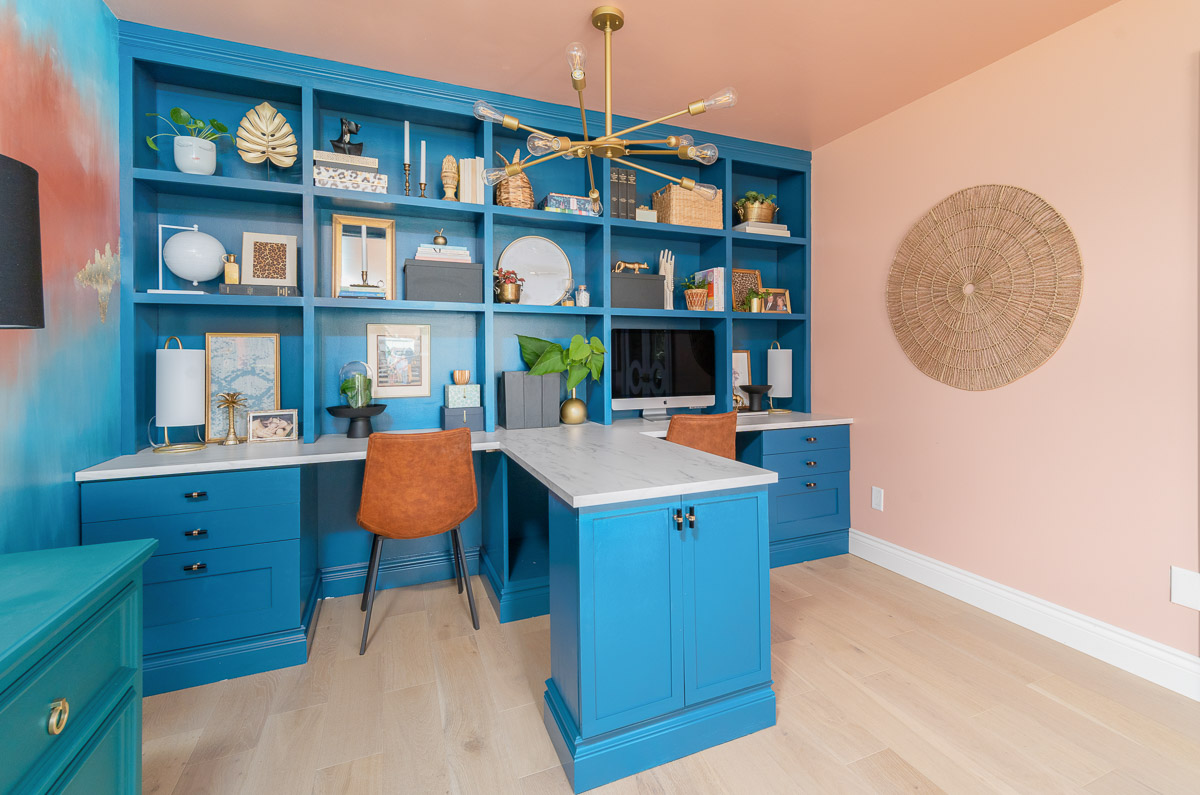
When it came to our desk area and built-in wall unit, we knew that because we have a shared workspace, we needed some kind of desk situation where we would both be able to work. We kept looking at places like IKEA or Home Depot to try and get pre-fabricated shelving and cabinets that we could use, but we kept running into stock issues and just not finding the exact sizing that we needed. So after looking at TONS of designs and Chris decided to start sketching one out that would suit our needs and make it completely custom. We needed some storage, as well as two separate spaces but also a shared space where we could have meetings and plan. That’s where the T-shape came from. I’m honestly SO impressed that Chris was able to do this built-in. There were MANY challenges and snafu’s that we ran into, which I’ll save for another time, but overall, he absolutely knocked it out of the park for his first custom built-in!
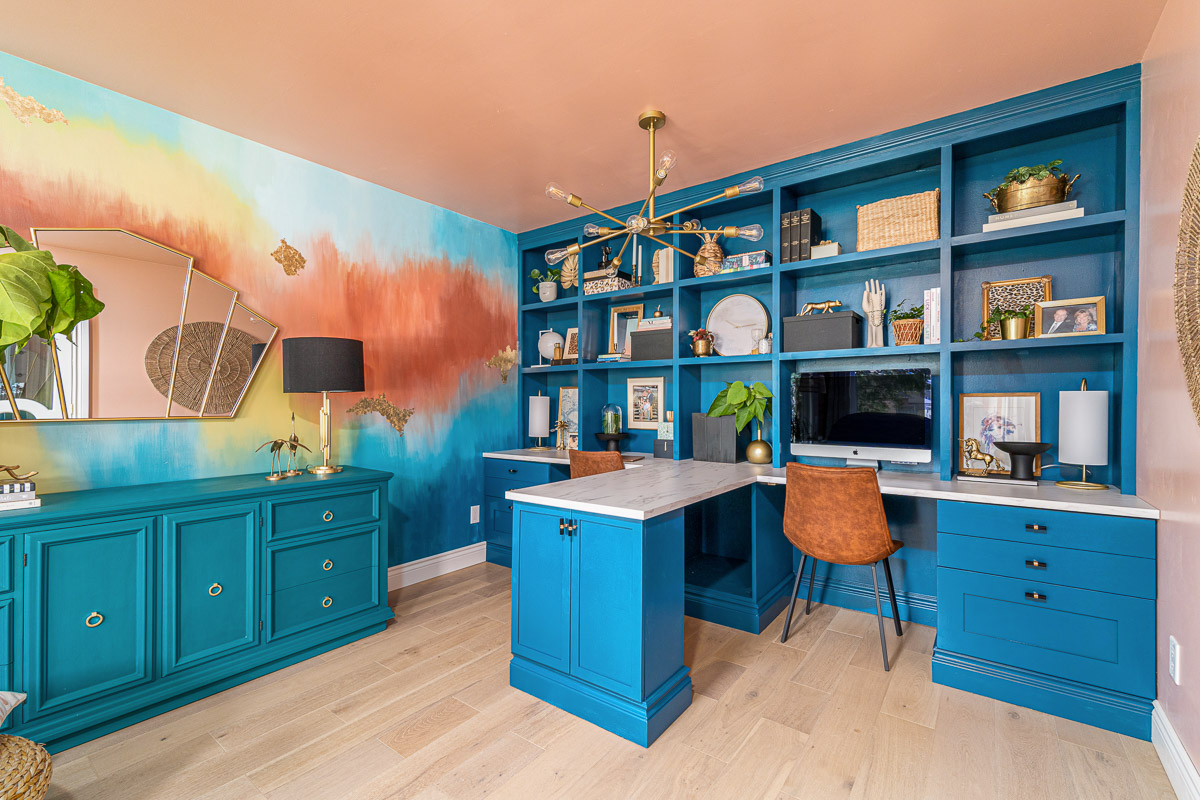
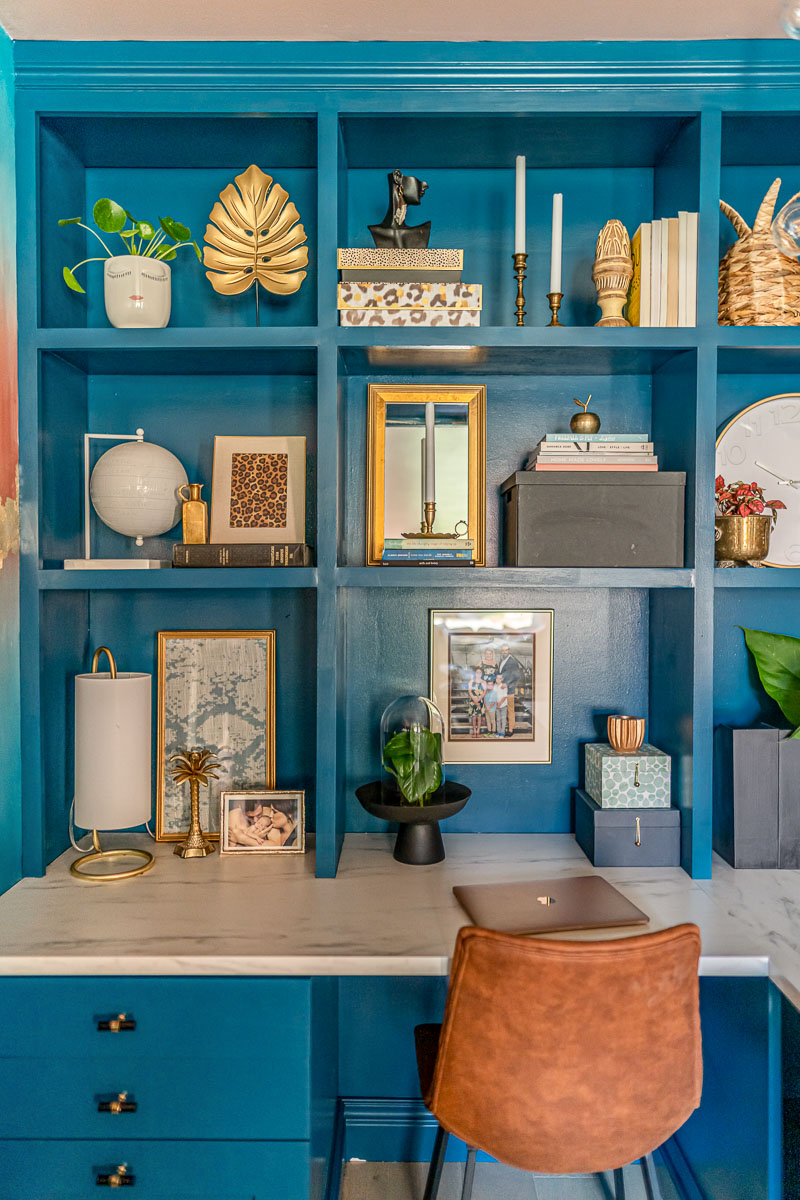
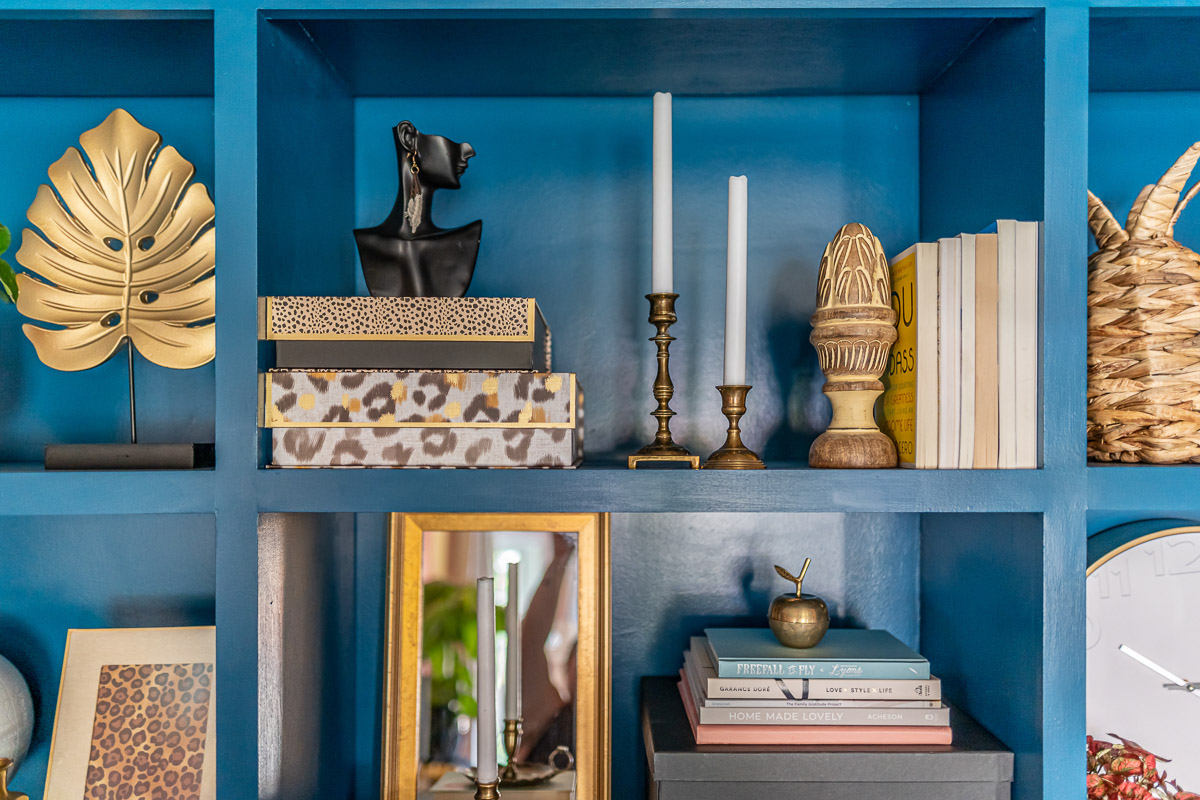
As I mentioned previously, our focus was to try and repurpose items not only within our home but also second hand. As you can see on the bookshelves, there is plethora of thrifted goodies, as well as items you’ve likely seen in other parts of our home, as well as a few new items. For the furniture, we were lucky enough to upcycle the credenza from the ReStore and the leopard chairs were from Facebook Marketplace – although THIS is what they looked like when I bought them! Crazy transformation, eh?!
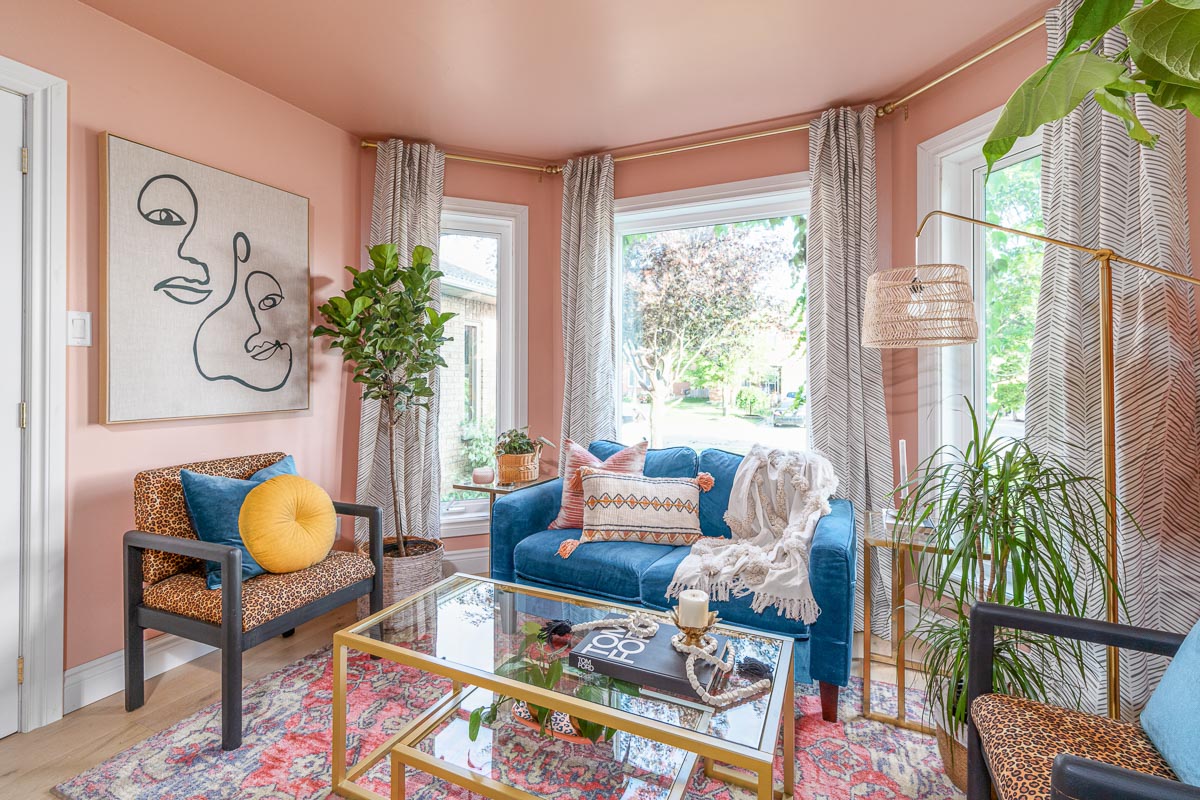
For many of the newer items, we were so excited to partner with Bouclair – a home decor store that’s undergone a major makeover here in Canada. Their new concept stores are absolutely beautiful and we are lucky enough to have one right here in Whitby. From the moment you walk into the store, you can smell the difference – quite literally! They have a new custom smell that is just so fresh – I can’t really describe it, you’ll just have to visit and see for yourself. The store layout has changed somewhat, set up more in a vignette style. It feels very much like you’re walking into an established home, where everything is beautifully styled and works together. If you are a little hesitant about how to bring various items together, these vignettes are so perfect – they literally have it all paired together. They have an incredible selection of lights – including this GORGEOUS floor lamp! I mean if Bohemian Glam had a face, I’m pretty sure this lamp would be IT! Their drapery section is billowing with endless options including these patterned striped ones that I managed to get on such a great sale. At the very back of the store you’ll find more of their larger furniture items. This is where I managed to find the gorgeous brass and glass inset side tables as well as the faux leather desk chairs.
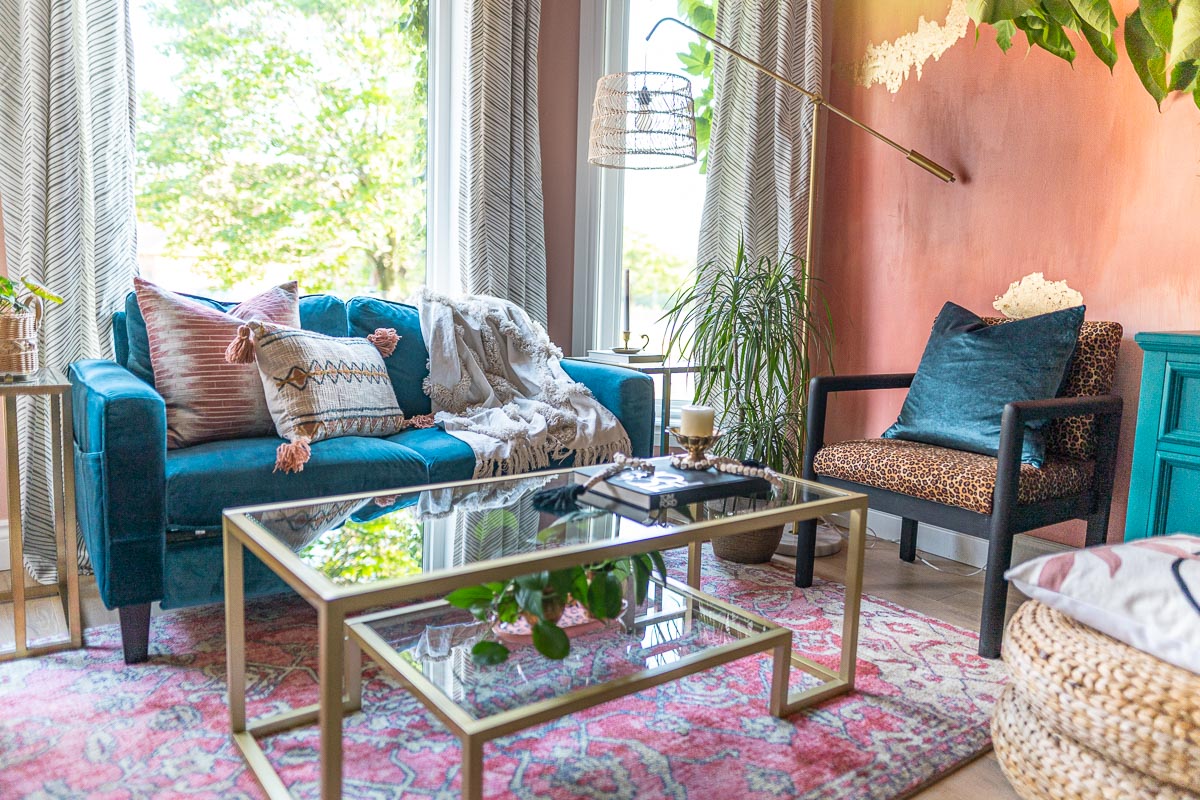
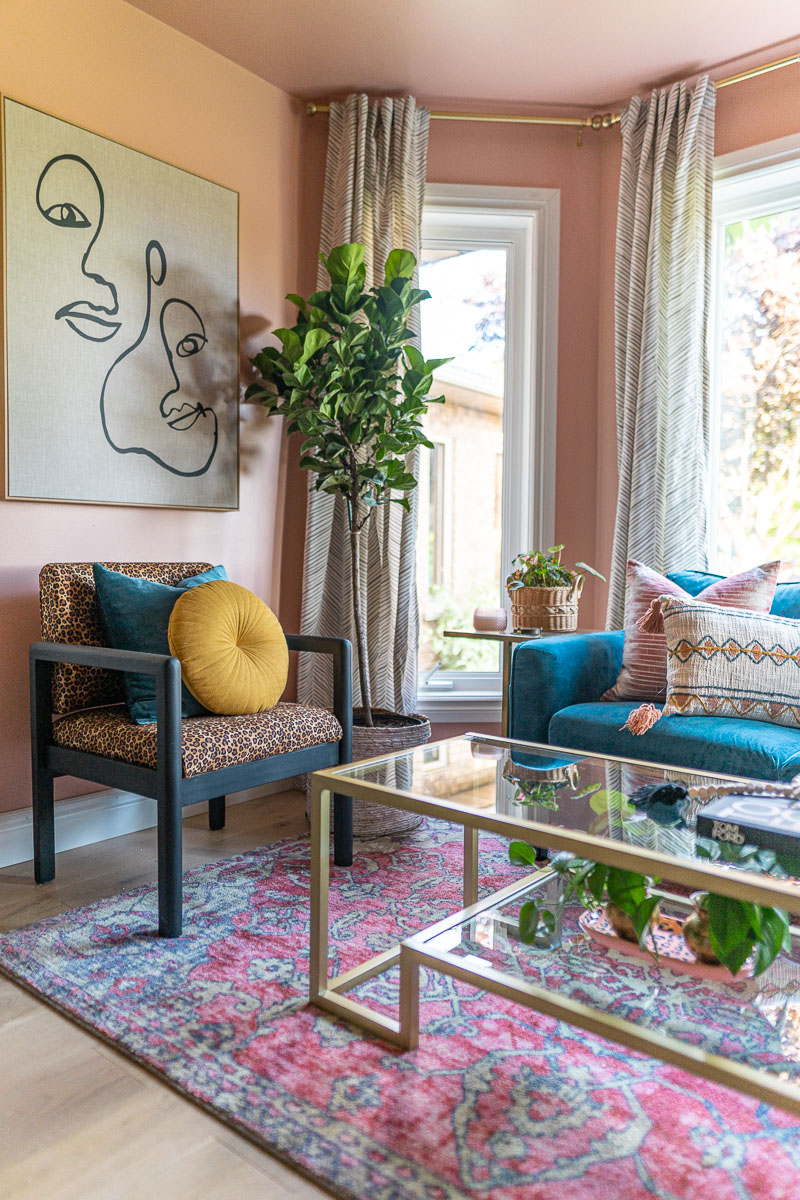
Finally, I want to share about another one of our incredible partners, Mohawk Home, who provided the gorgeous pink area rug. We worked with Mohawk Home earlier this year on our kitchen dining area and were so happy with the quality of the rug that we asked them partner again and they said yes!

This stunning 5×8 Siena pink rug gives major boho vibes with it’s modern colour and yet old world charm which ties in the bohemian glam theme so perfectly! We also added an underpad underneath the rug which honestly makes SUCH a huge difference. The pad came a little big but we were able to easily cut it down to size. It makes the rug feel so plush and luxurious!
Well friends, there you have it – our ninth One Room Challenge – Bohemian Glam Office renovation! It’s hands down the most bold design I’ve ever done and I can confidently say that it’s my favourite to date! Let me know which element is your favourite down in the comments below!
Thank you for all of you who followed along these last eight weeks. It’s been quite a journey and I’m honestly exhausted, so I’m off to bed! Time to rest up and recharge before we get started on our next renovation…
Love & Blessings,
Christine
Note: We want to thank all of our sponsors for this challenge: Valspar Canada, Mohawk Home and Bouclair. We couldn’t have made this room quite as spectacular without your partnership!