Welcome, friends to REVEAL week of the One Room Challenge! If you’ve been following along, you know that for the last eight weeks, we’ve been making over our daughter’s lifeless room into a Peruvian themed dream space! Before you scroll much further, if you have missed any of the weekly updates, check those out before, in order to really appreciate all the work that has gone into this space.
Week 1, Week 2, Week 3, Week 4, Week 5-6, Week 7
This all started eight weeks ago after my daughter had asked me to design her a Peruvian themed bedroom. I’ll be honest, I have no idea where this idea came from – although she’s had an obsession with llama’s for quite some time, so I think that must have strongly influenced her. As I always do with any makeover, I start doing research online for inspiration and to understand the history behind that particular style or decor. I was quite surprised to not find a lot of inspiration when it came to Peruvian decor. There were loads of textiles images, but when it came to actual home decor, it was VERY tricky to find much.
At the base of Peruvian decor, you have a few pillars: woven textiles, lots of bright colours and natural materials. I found there was lots of Mexican and Indian inspired ideas that ran very closely to Peruvian decor and there were also lots of bohemian vibes present.
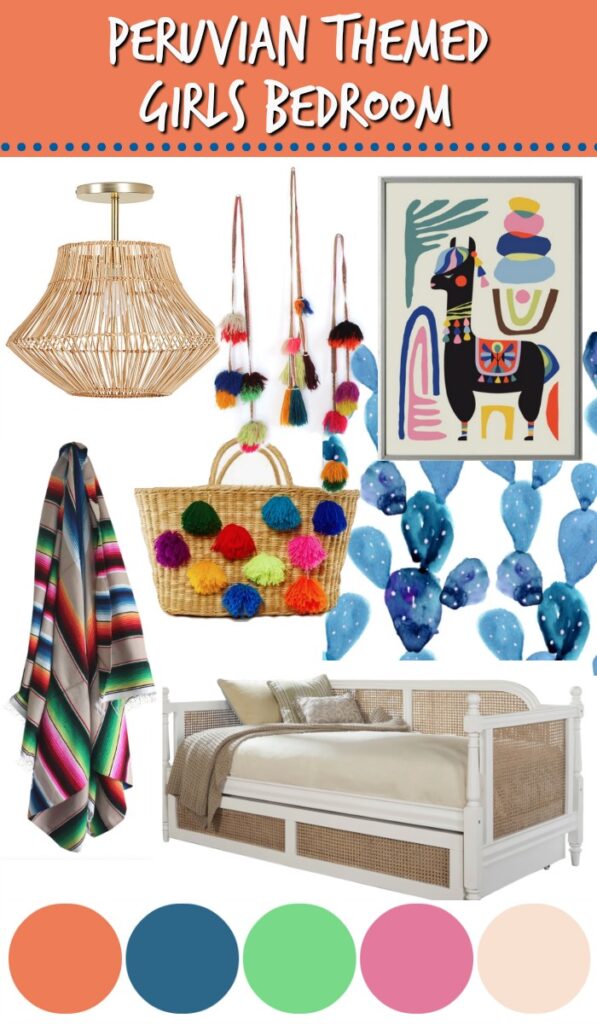
So with all that knowledge, I ventured to start designing this room, during a global pandemic, where the entire world was shut down, including the US border (which I ALWAYS go to the US when decorating a space for some specific items that I just can’t find here in Canada). So I knew that this makeover would be like no other before – I was going to have to get very creative, use a lot of resources already at my disposal and hope for the best!
Using Facebook marketplace a lot as well as shopping my own home, I was able to create one of the most fun, vibrant and unique rooms I’ve ever created!
So without further ado, friends, let me share with you our Peruvian themed girls bedroom!
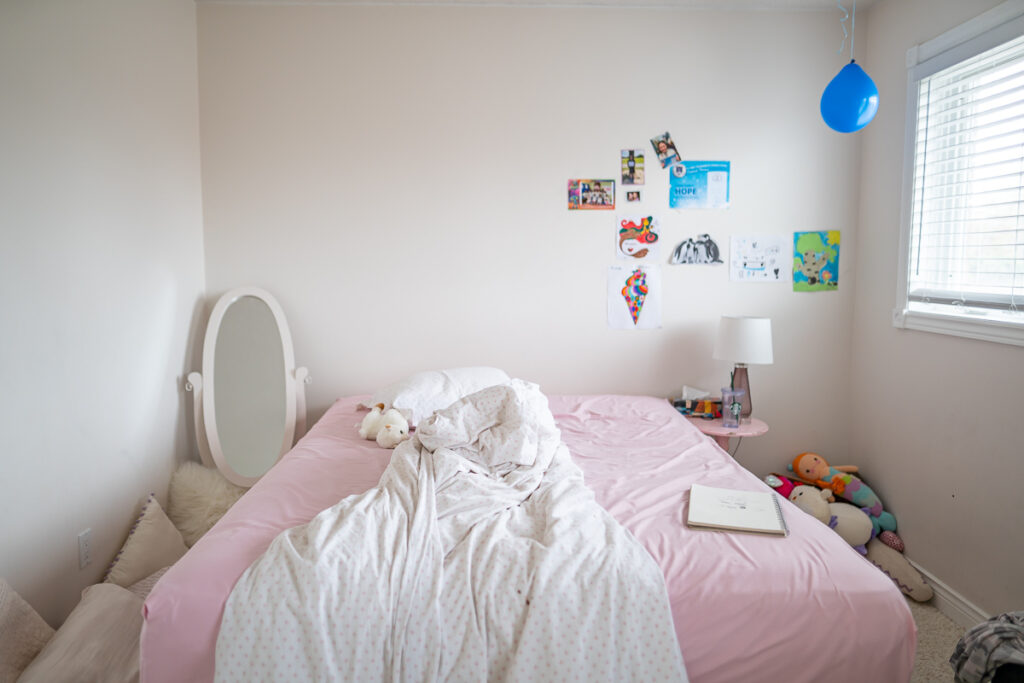
BEFORE
AFTER
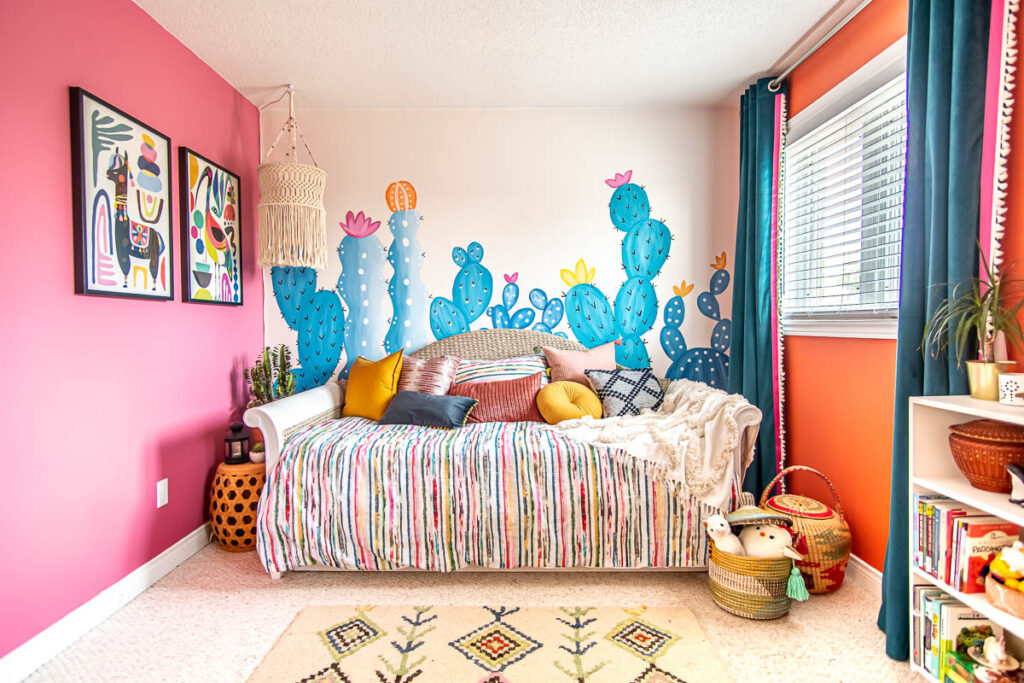

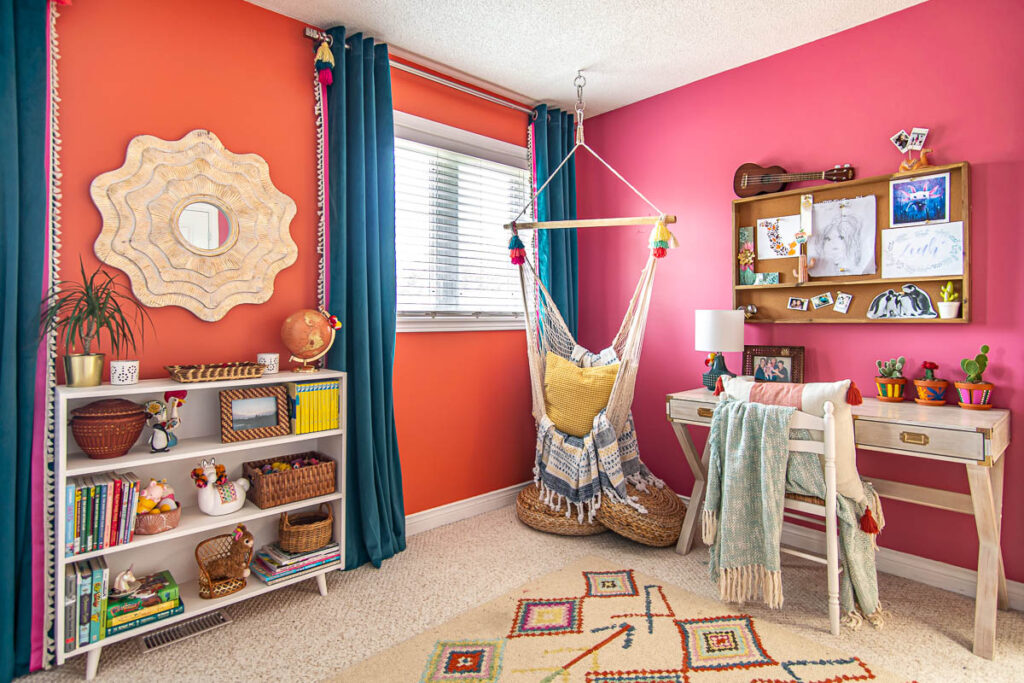
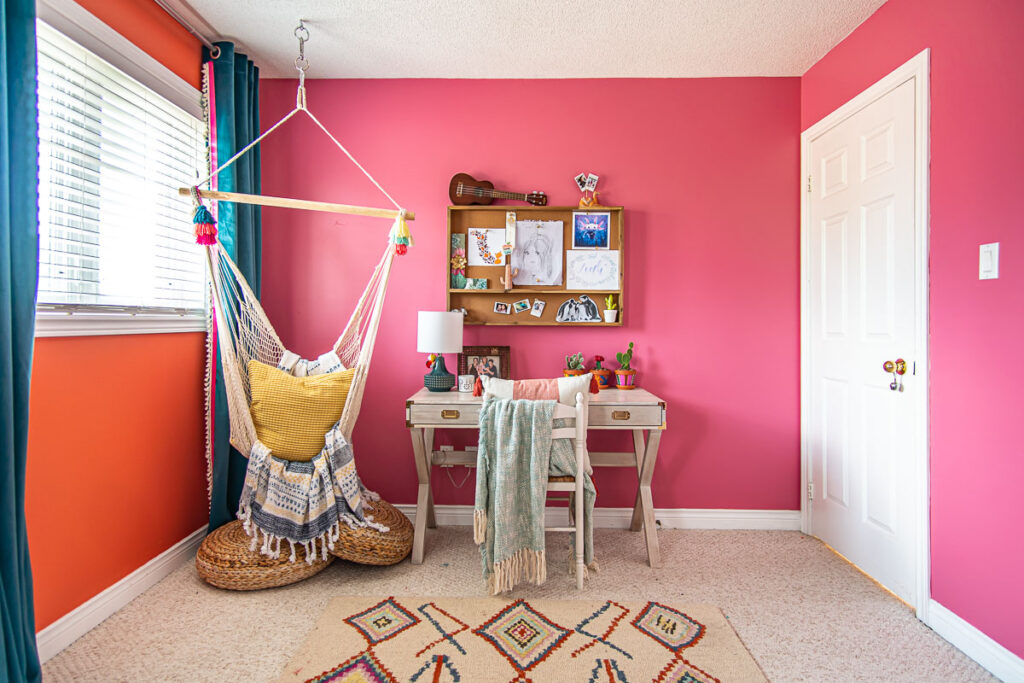
AHHHH!!! Yes, I’m screaming! I’m just so dang excited for you to see how this turned out! That might be one of my most dramatic before and after reveals!
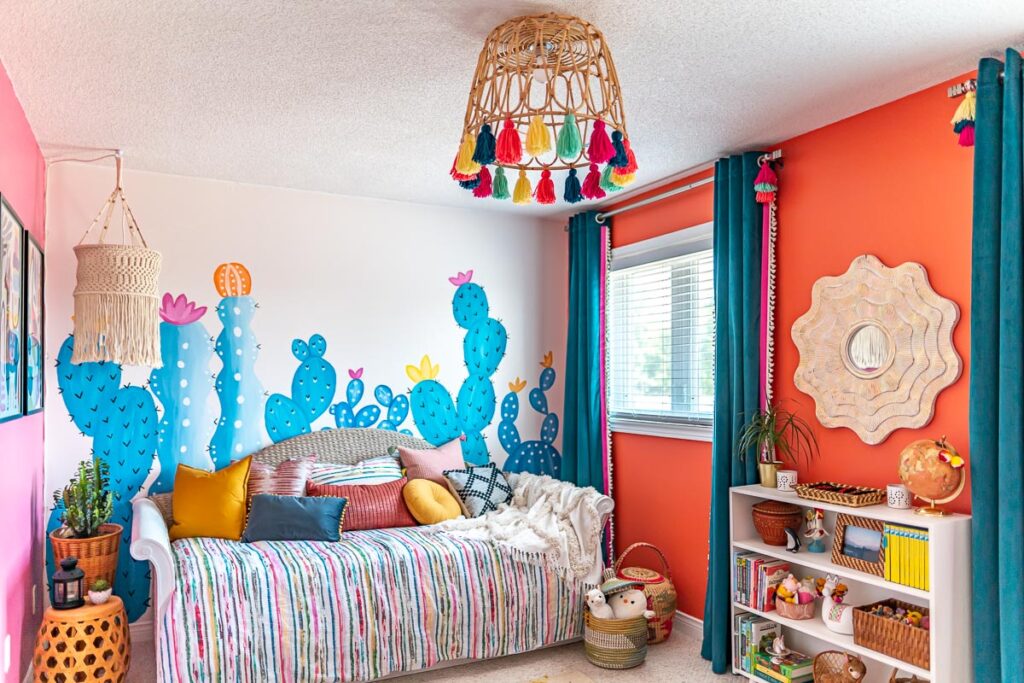
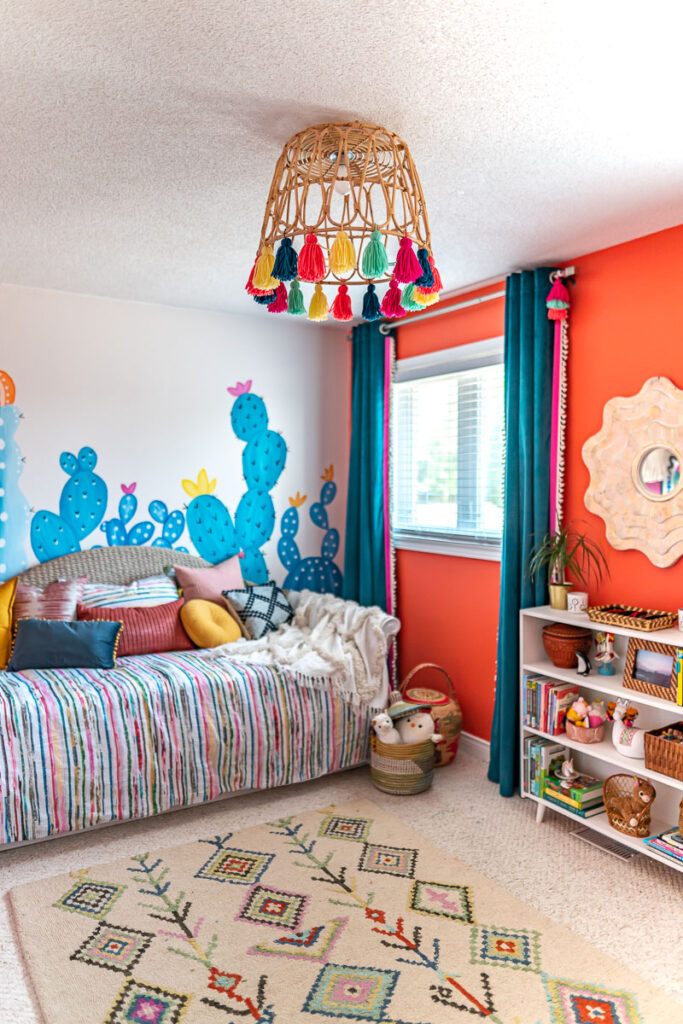
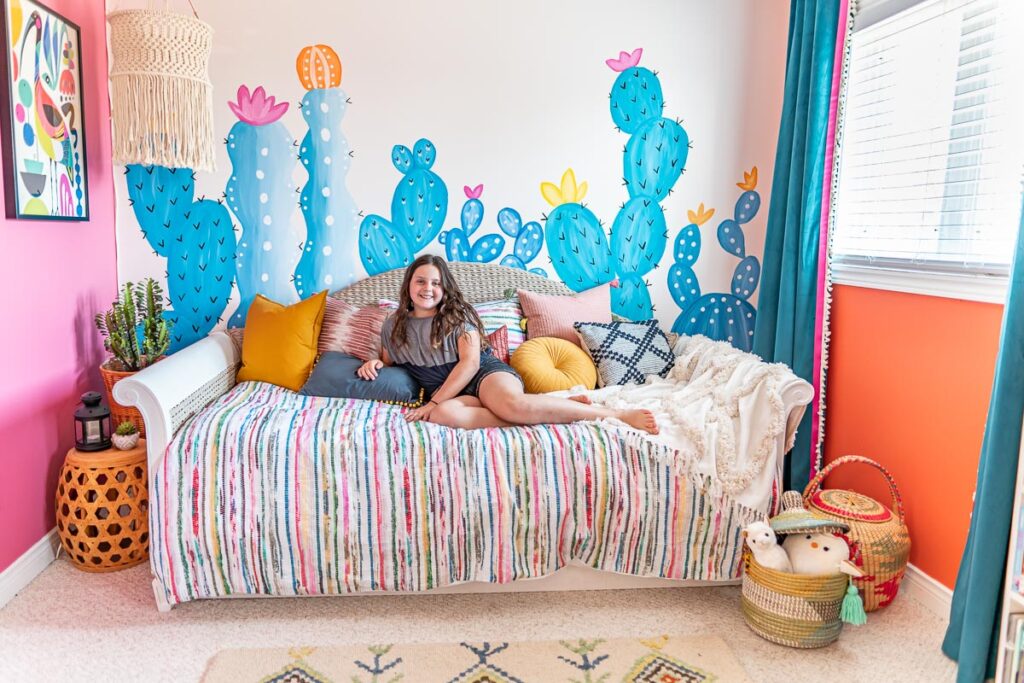
Here’s the thing, we didn’t actually construct anything (other than swap out the ceiling light fixture). Everything is literally just painted and adding in new textiles and thrifted furniture (yes, even her bed was thrifted and then painted).

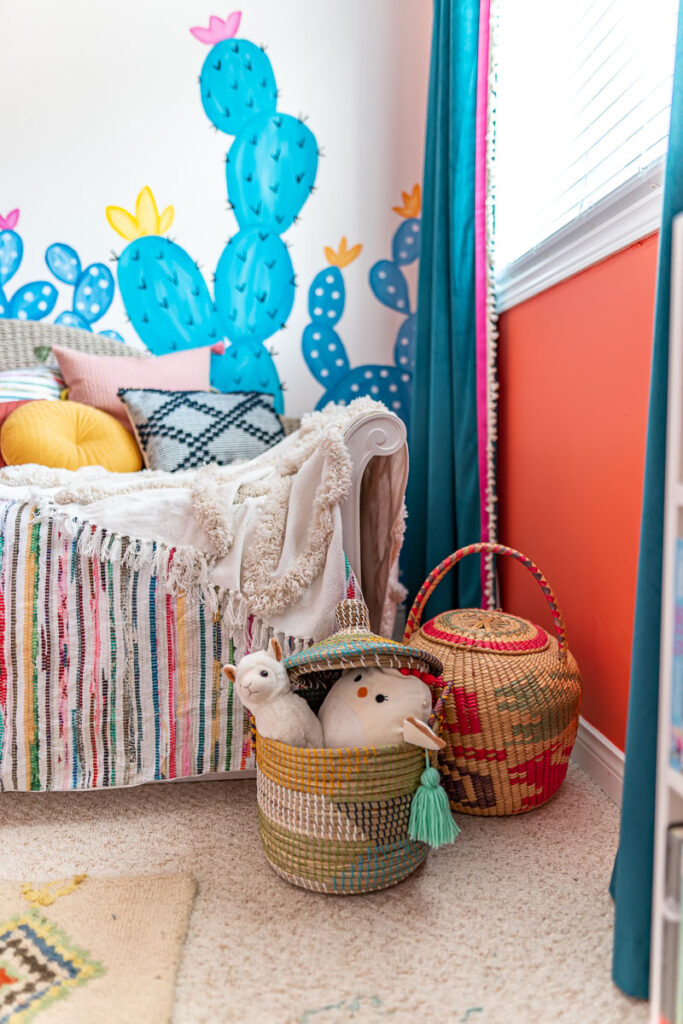
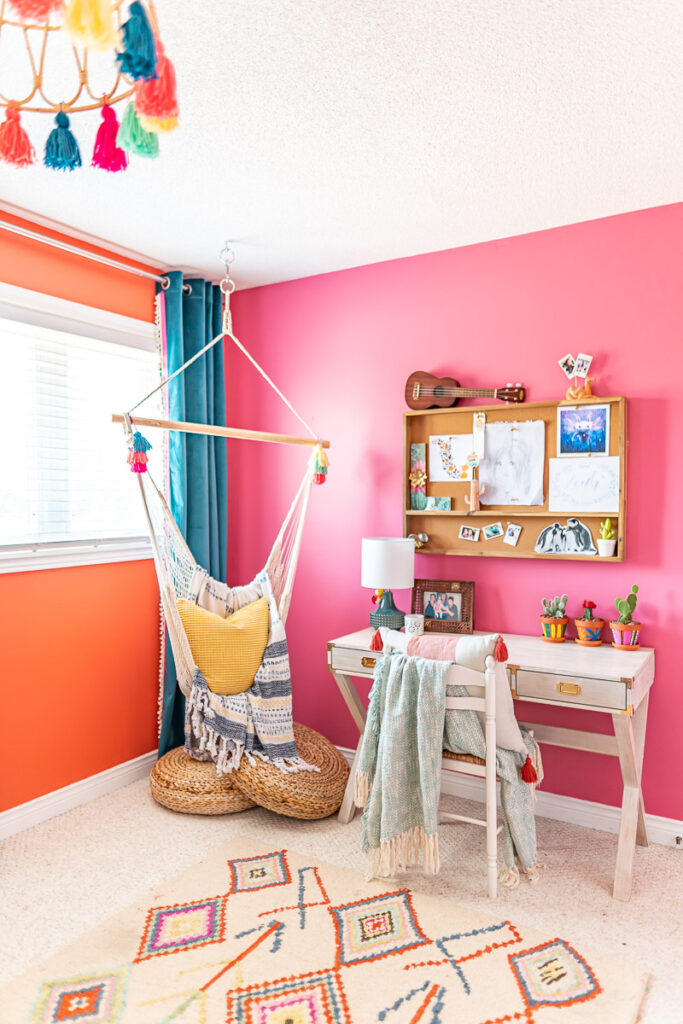
I knew early on that I wanted a hanging chair of some sort in the corner. We did something special in the boys room, to create a “chill zone” and she’s been asking for something similar ever since in her room. When we were in Mexico this past January on a cruise, we picked up this hanging chair hammock and I knew it would be PERFECT in her room! Let me tell you, it’s definitely a hit with every child in this house!


When it comes to this room makeover, there are three main takeaways I really hope you get from this. While I love to design, my greatest joy and reason why I share my room makeovers here on the blog is to hopefully inspire YOU to do the same in your space. I am not a designer by trade – this is just something I’ve learned over the years (and am still learning daily). So when I sat back and thought about this space specifically, I saw three main takeaways I wanted to share with you:
1. Paint Changes EVERYTHING!
As I’ve said already, we didn’t really change anything about this space. We didn’t tear down walls or build anything new. We simply swapped out some furniture and then painted EVERYTHING!
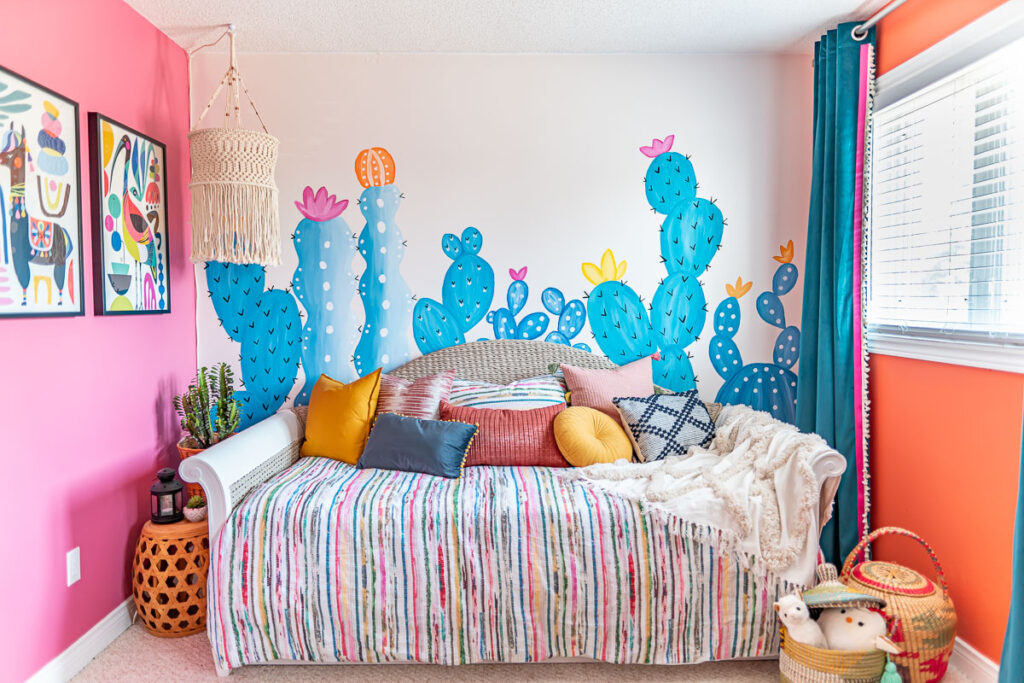
I mentioned in a previous post that I was initially a little nervous about painting the walls SUCH bold colours, but I had a feeling that once we got everything put in place, it would all come together nicely – which it DID!
Do NOT underestimate the power of a can of paint my friends! It changes everything!
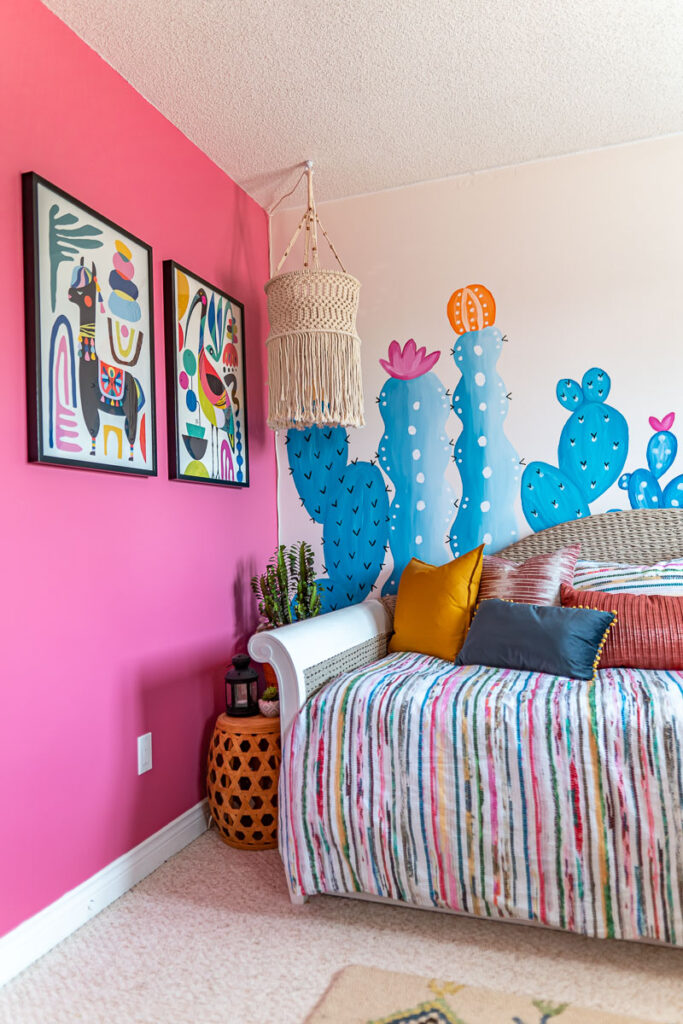

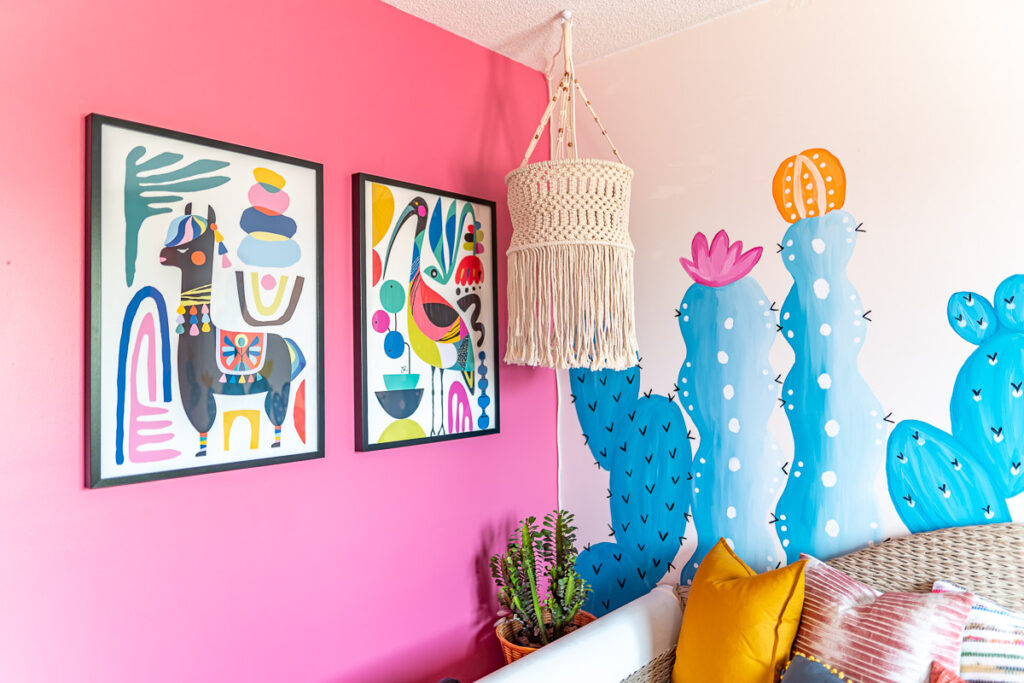
On top of that, get creative with your paint! Paint the furniture, paint store bought generic items, paint a mural on the wall – really anything you want! And before you say “But Christine, I’m not an artist” – girlfriend, NEITHER AM I! I free-handed the cacti mural on the wall (I didn’t use a projector, just kept referencing a few pictures online of specific cacti’s that I liked). There is no right or wrong way to paint a mural. I also painted the plant pots on the desk. These are just generic pots from the store that so many people have, but by adding in my own design, it transforms those little pots into something so unique!
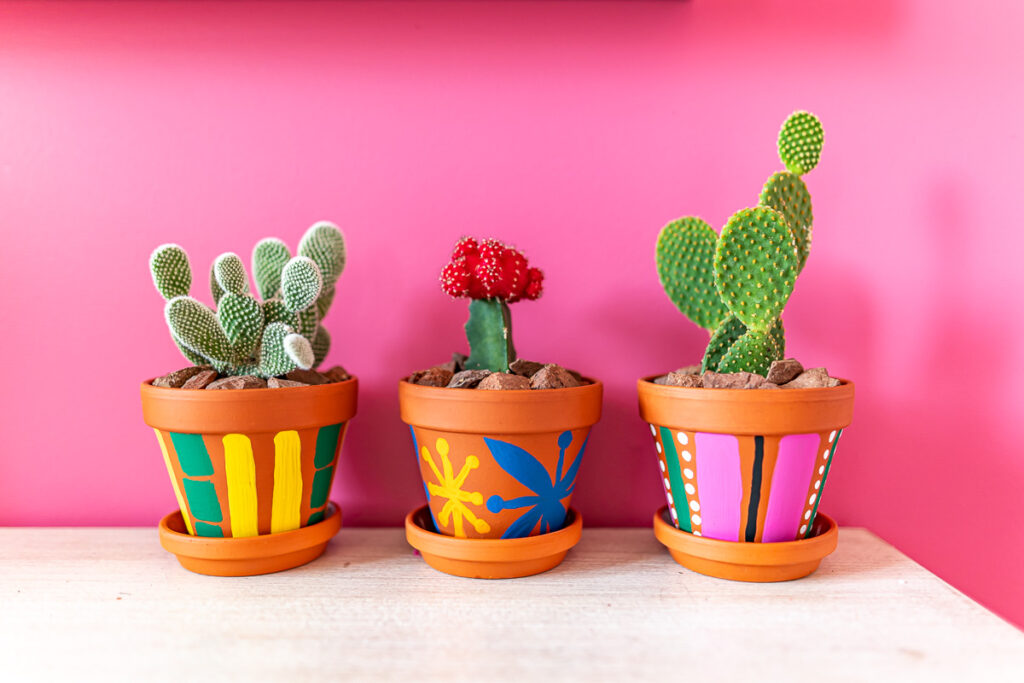
And what I really love about this is how unique this is to my daughter’s room. No one will ever have a space that looks exactly like this and that’s really fun to think about.
2. You Don’t Have to Spend a Ton of Money!
I hear this EVERY SINGLE TIME I do a renovation – “I wish I had your budget!” Friends, let me tell you, this was by far the cheapest room makeover we’ve ever done. As I mentioned, we did most of this during lockdown, so not only were the stores not open for business, but our own business took a massive hit during Covid. I wasn’t about to spend a bunch of our savings on decor during a pandemic. I had to be smart with our money.

When it came to the bed, I mentioned in a previous post that I had originally found one online that I wanted but it was over $2,000 for the bed frame alone. There was just no way I could justify that. So I hit up Facebook Marketplace and found a similar wood and rattan bed frame for $170 and then just painted the heck out of it to get it to the colours I wanted.

And this went for just about everything in this space:
– bookshelf – $30 from FB Marketplace
– desk chair – $25 from FB Marketplace
– carpet – Free from my living room
– desk – Free from her old room
– night table – Free from my basement
– prints – $15 from Etsy, framed with IKEA frames for $30
– light fixture – $40 basket from IKEA
– hammock chair – $40 from Mexico
– hanging light – $20 macrame hanging decor with FREE chorded light from a friend
The list goes on – all the baskets, the picture frames, the knick knacks – all thrifted or found within my home.

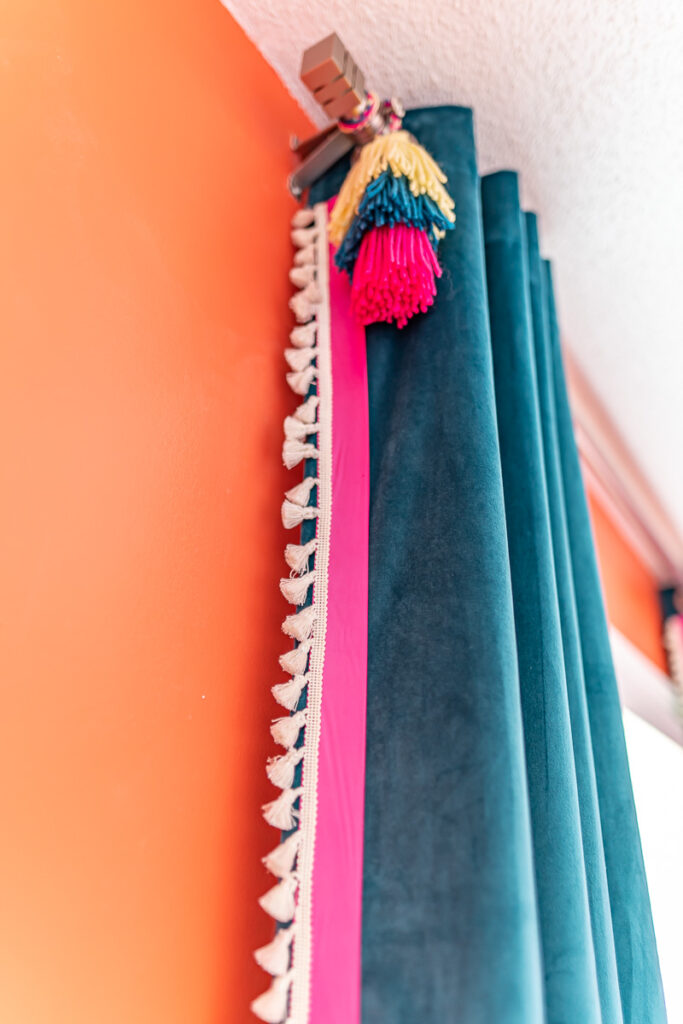
The only things that I splurged on where the curtains and the textiles – bedding, pillows, blankets (and even at that, I got them all on discount). My daughter had requested black out curtains so when I found these turquoise blue velvet ones, I knew they were perfect. And because she has two windows, that meant I needed four panels, which cost $120 total. I did increase that amount by adding on the tasseled trim and satin ribbon but these are like artwork in themselves, taking up almost an entire wall. So I’m ok spending a little more money in one area if it has a huge impact and if I’ve saved in other areas. (stay tuned for an IGTV tutorial on how I customized the curtains).

3. It’s All In the Details
I can’t stress the importance of focusing on the details in a space like this. One of my absolutely FAVOURITE things to do when looking at home decor online is to study the picture. I want to see how they layered in items. I am taking notes of the textures they are using, the heights they are playing with and the way they are grouping things together. It might seem like small things that you might not think matter – but that’s what makes the difference.
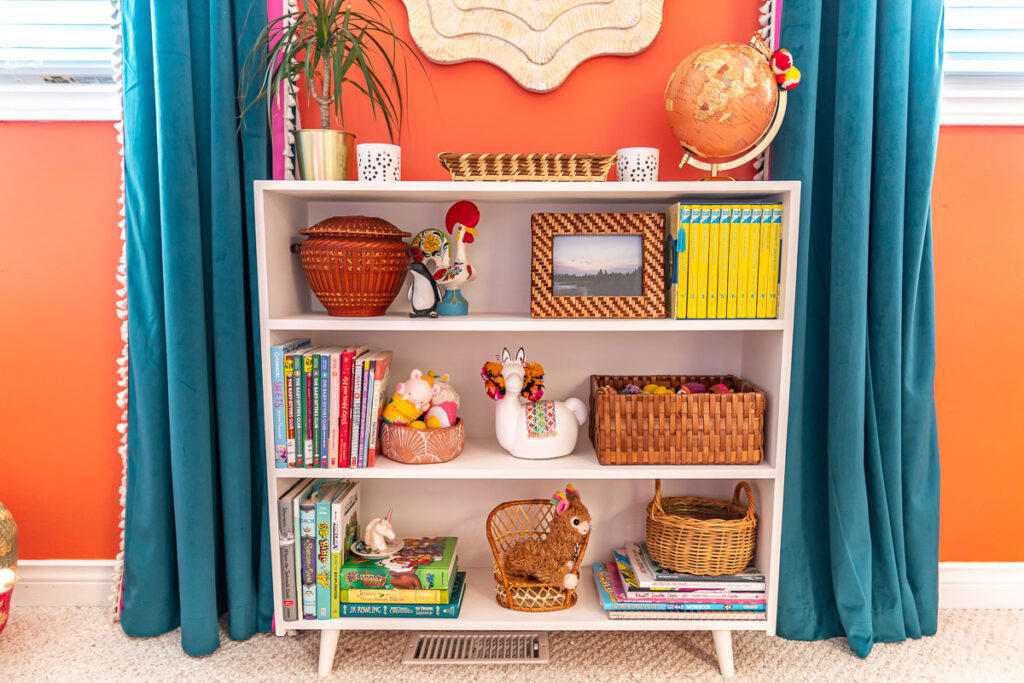
When it came to this Peruvian room design, I knew I wanted it to feel rich with colour and layered with details. I wanted natural materials and various textiles. I wanted your eye to be drawn in and wonder what the story was behind each piece. I wanted the room to feel full and lived in. And I think I achieved that with all the little details.



One final thing I want to share with you is this amazing light fixture I built using an IKEA SNIDAD basket! It turned out better than I thought it would! I’ll share more details on that later, but for now, enjoy this totally custom pendant light that cost me $40!

Well there you have it my friends, our Peruvian themed girls bedroom! I am SO SO SO pleased with how it turned out – and more importantly, my daughter is THRILLED with it! I actually overheard her say to her best friend the other day “Want to come up to my room? It’s the BOMB now that my Mom redid it!” That my friends, is the best thanks I could ever get!

Love & Blessings,
Christine


