Welcome back to part three of our ongoing series on updating an older home! If you’ve missed our previous two posts, make sure you check them out: Part 1 – Changing Doors with Metrie and Part 2 – New Hardware with Schlage. Today we are excited to share our dramatic update on our front entry way using simply Valspar paint! This entire series has been designed to try and inspire YOU to be able to make small, affordable and easily doable changes that will result in massive impact and increase not only the aesthetic but value in your home!
I can remember that for my 16th birthday, all I wanted was for my parents to allow me to paint my room walls forest green and buy me white eyelet bedding. Up until that point, the room was a light peach colour with a floral pattern bedding and it just did NOT reflect my personal style whatsoever.

I think back on it now and I’m not sure that many 16 year olds were asking to renovate their bedrooms for their birthdays but that had been a longtime dream of mine at the time. Sure enough, my parents granted me my birthday wish! We painted the room together and swapped out all the bedding for this beautiful white duvet and sheet set. We even added white drapes to match! It was PERFECT and it was the first time I can remember that I flexed my interior designer arm.
It’s also the first time I can remember seeing such a DRAMATIC change with a simple can of paint. I wish I could find pictures but that was before digital and those physical pictures are stuffed somewhere in storage. But trust me when I say it was DRAMATIC! My love for expressing my personal design style was born then and has continued to grow ever since. Even when we were first married and renting apartments for those first few years, EVERY SINGLE APARTMENT was painted. Even if it meant we would have to paint it back to white before we moved out, that didn’t matter to me. I just knew how much adding colour, even if it was neutral, to the walls changed an entire space!
When we moved into our new-to-us home last August, most of the walls had been recently painted white or light grey. So the home was very neutral and that meant we didn’t need to really do much right away. Instead, as we’ve been slowly renovating rooms, we’ve been tackling the paint each time.
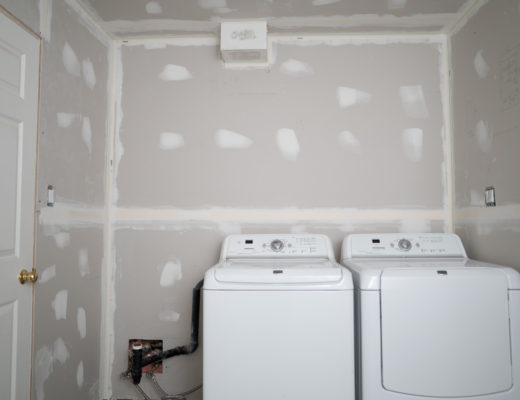
The staircase in our front entry way though was a bit of a different story. While I loved the circular shape of the stairs, I never liked the colour of the stain. It had a very orange finish to it and honestly, there were a lot of chips, scratches and deep scuff marks all over it. So we knew that we would need to change it sooner rather than later.
So for this front foyer renovation, we knew we would HAVE to strip and paint the stairs along with adding a fresh coat of paint on the walls. We turned to our friends at Valspar, who had provided us with paint a few months before for the boys room renovation, and they were thrilled to partner up again. This time though, they had us work with the Valspar Reserve Collection, as they knew we’d be using the paint in high traffic areas.

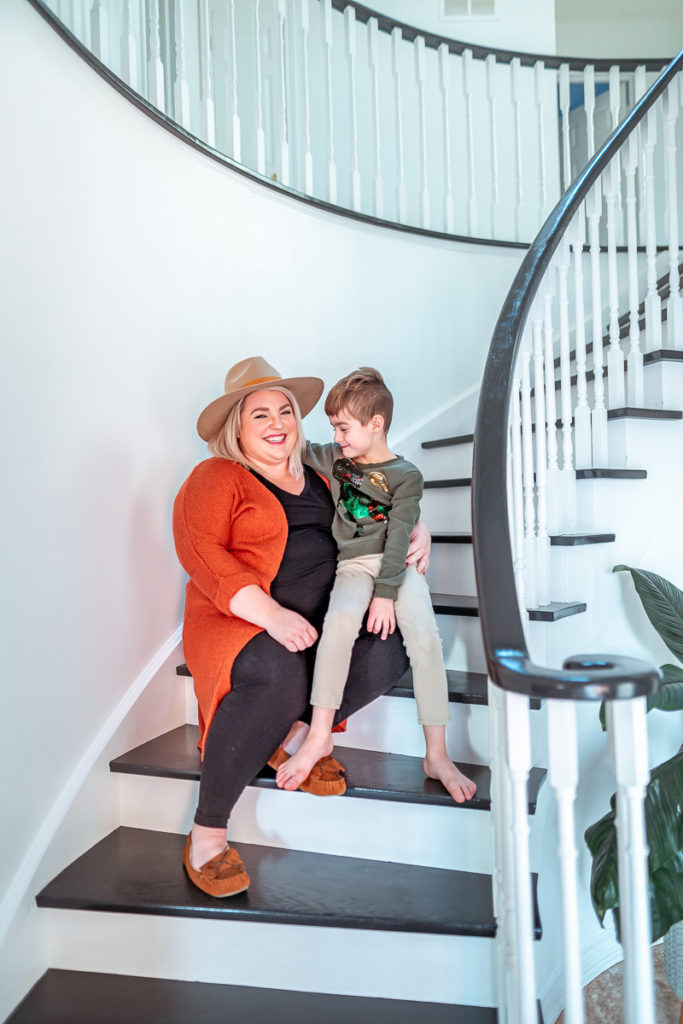
This was the first time we used the Reserve collection and we absolutely loved it! The Valspar Reserve paint is a one-coat, stain blocking paint + primer paint. The formula also has Hydro Chroma Technology which locks in the colour for longer. It’s dense and washable and has low VOC’s. We used the paint for the stairs, the balusters and the foyer walls. Here are the Valspar colours that we chose:
Black = “Noir”
White – “Blanched Pine”
Grey = “Notre Dame”

When it came to the stairs, we decided to strip them down to the bare wood. We figured, especially with the treads (the part you walk on), we wanted to make sure the paint had a really good grip. So on top of stripping the stairs down, we also used another primer to give it a strong base coat. We did two coats of the Reserve on the treads and railing, again just for good measure because we know those areas will see lots of wear and tear. To finish off the stairs, we used an oil based polyurethane to seal in the paint.

For the walls, we only needed one coat for complete coverage! We absolutely love how rich the colours look!

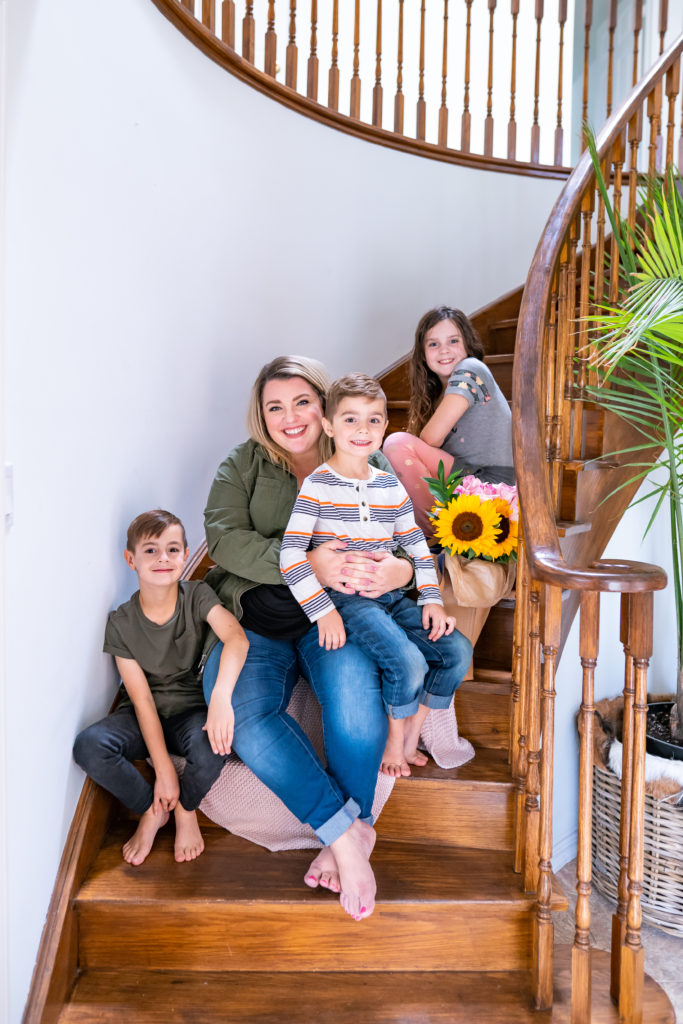
Overall, we couldn’t be more pleased with the results. It has completely changed the look of the entire front foyer and in our opinion, looks high end and very custom designed. Now the only thing that sticks out are the floors! But Chris tells me he needs a long break before we tackle those! I don’t blame him!
Check out the whole start to finish process including a few tips on how we did the stairs below!
We want to thank you guys for joining us so far on this series. We hope you are enjoying it and are inspired to tackle some small things in your home, like paint, to make a huge impact! Make sure to come back in the New Year as we continue with this series – next up will be how we transformed our KITCHEN for under $300! You won’t want to miss that!
Love & Blessings,
Christine
Note: This post was sponsored by Valspar Paint where we have received compensation and/or product in exchange for our honest review. As always, the thoughts and opinions are 100% our own.