Welcome back to Week 2 of our Modern French Kitchen Renovation with the One Room Challenge. If this is your first week joining us, make sure to catch up on our first weeks post to see a brief history about our space and why we are completely gutting our kitchen! For the next six weeks we will renovating our entire kitchen – gutting it, doubling it and rebuilding an entirely new space and we are taking you along for the ride!
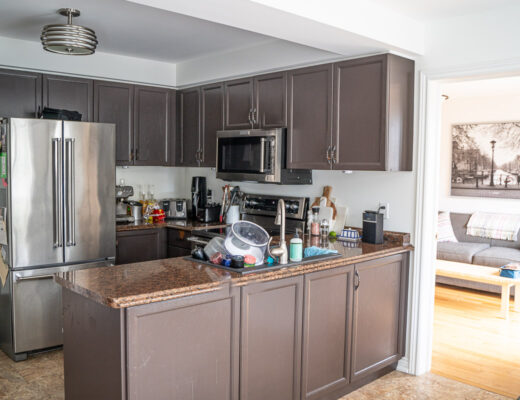
As a reminder, this was the BEFORE kitchen that we were working with. So small and oh-so-ugly!
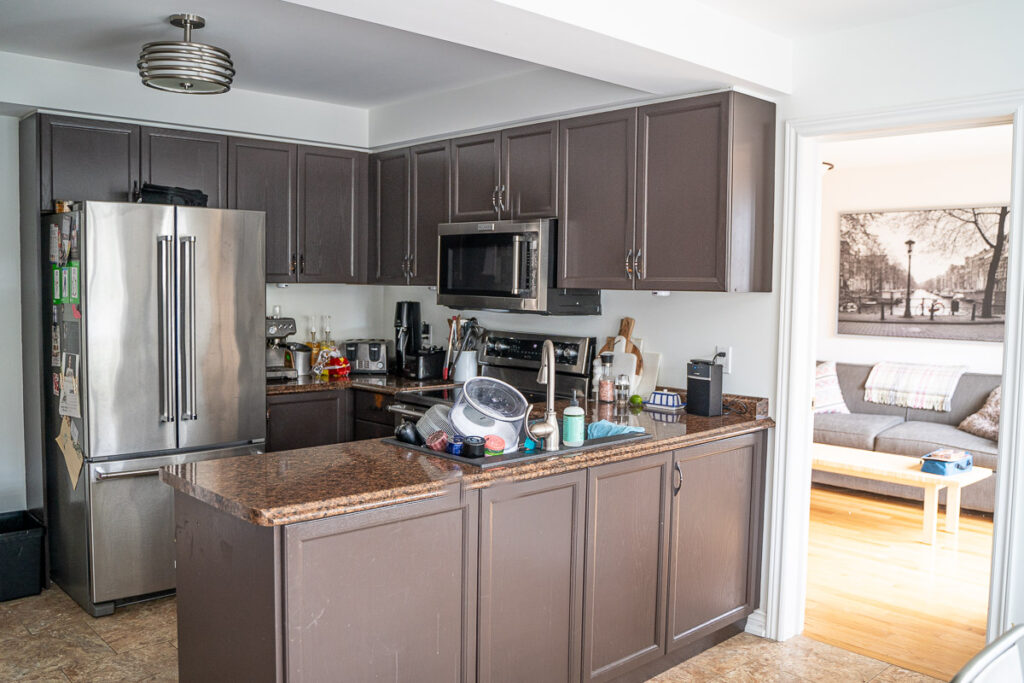
This is what the space looked like after a quick cosmetic makeover with just some paint. While this was a great, quick fix, the space was still way too small and non-functional for us.
This week is about two things: demolition and inspiration! Because the inspiration is SO much prettier, let’s start with that!
So as the title gives it away, we are doing a Modern French kitchen design! If you’ve been following along as we’ve been renovating this 30 year old home over the last two years, you will likely pick up on the fact that I love all things French. I think my more recent obsession with French culture and design came after visiting Paris, France for the first time three years ago. I am actually half French (French Canadian, which is very different than Parisian French), however, when we visited France, I had this overwhelming feeling like I was coming home. I felt so comfortable and alive in Paris. There was something that happened inside of me that I can’t quite explain but it felt like a calling to my French roots.

Since then, we’ve started cooking more French foods at home, signing up our youngest for French immersion (which he loves, btw) and starting to design a French-inspired home with spaces like our powder room, laundry room and even front foyer design.
When it comes to this kitchen specifically, while we wanted a French vibe that naturally has lots of history and vintage-flare, we also wanted it to feel modern. Try searching for modern French decor online and you’ll quickly discover that there isn’t much out there (however there’s TONS of French country designs you can find). So for me, like with many things, I feel like I’m kind of making it up as I go, borrowing a little bit of inspiration from many places.
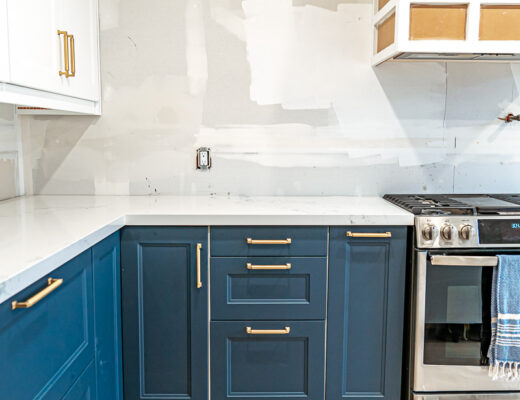
I knew when we first started planning this that it was going to be a navy blue and white design with gold/brass accents. I’ve been obsessing with all things blue since coming back from Paris. There were SO MANY AMAZING BLUE BUILDING FRONTS! (there’s three different pictures there for you to check out!)
Here is the mood board that I came up with to share with you the ideas behind this design. Very classic look with both modern and vintage vibes happening in it!

Now that you know what the design aesthetic will look like, it’s time to show you what we’ve been up in the kitchen!
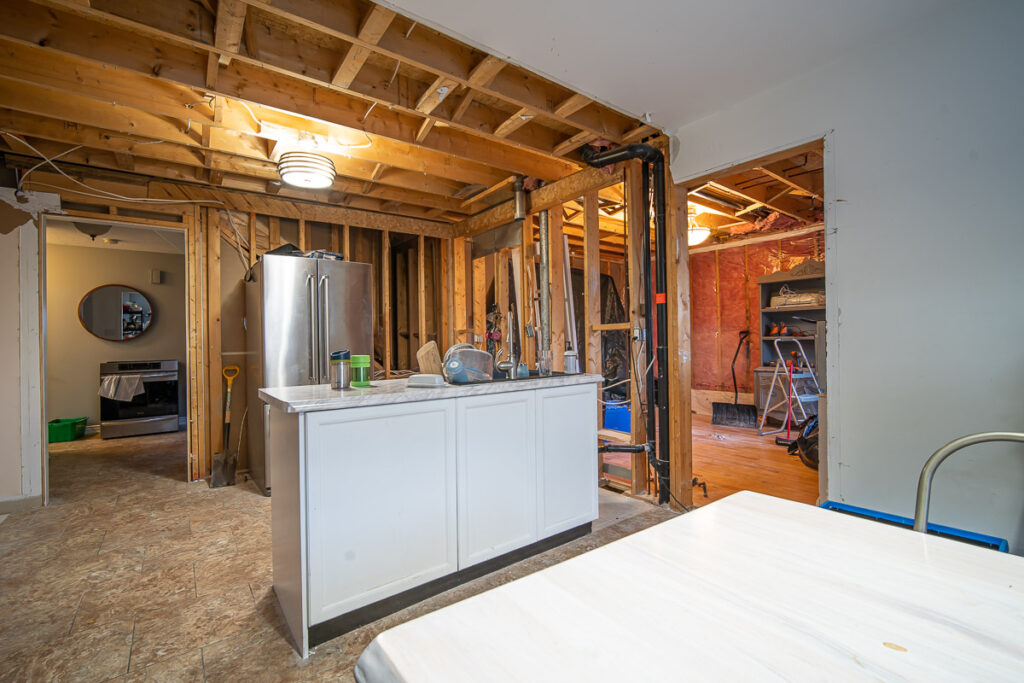
Three words – SO.MUCH.DEMOLITION!
For starters, we had to rip out the current kitchen, which as I mentioned last week, really couldn’t be salvaged due to the condition of the cabinets.
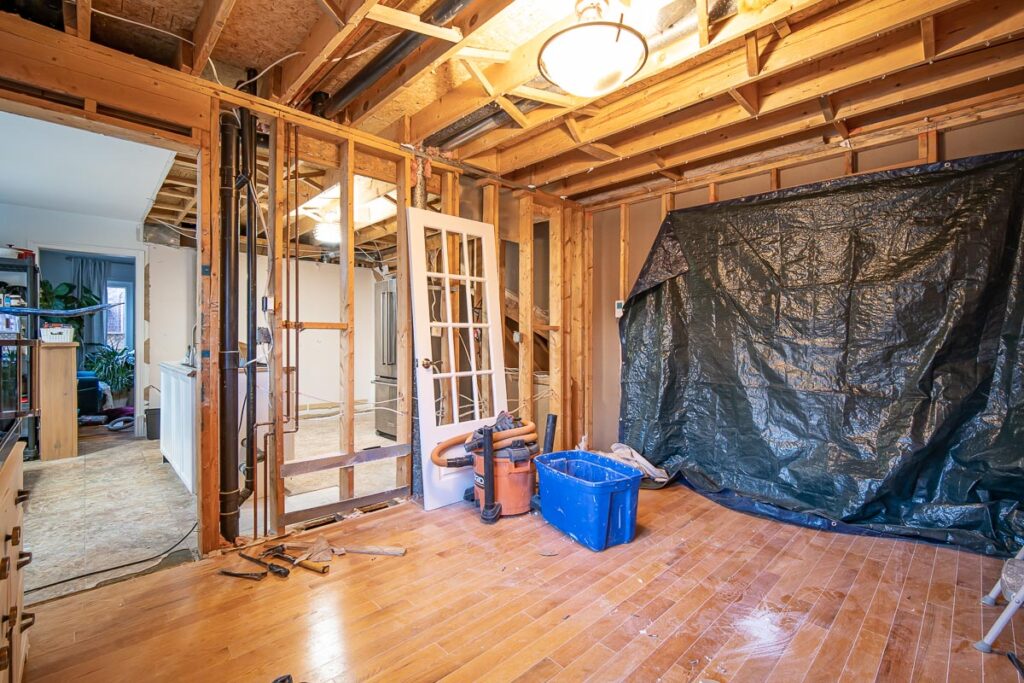
After that came tearing down the load baring wall. This was a HUGE undertaking, and one that we didn’t do ourselves. When it comes to structural stuff, leave that to professionals.
I mentioned last week that I would share our budget along the way with you guys, so let me start with the MOST expensive element – to replace this beam with an engineered beam (and close up the opening to the office), it cost us $15,000! Yup, you read that right. We had fare warning that this would be one of the most expensive aspects of the job and they weren’t kidding. Lumber has gone up so much during Covid but these engineered beams cost a lot regardless of the current climate. Also installing it was a huge undertaking – the contractor had to build two temporary walls to support the load of the upstairs before he could remove the load barring wall. Then once that was down and the beam in place, the two temporary walls could come down. It was super interesting to watch!
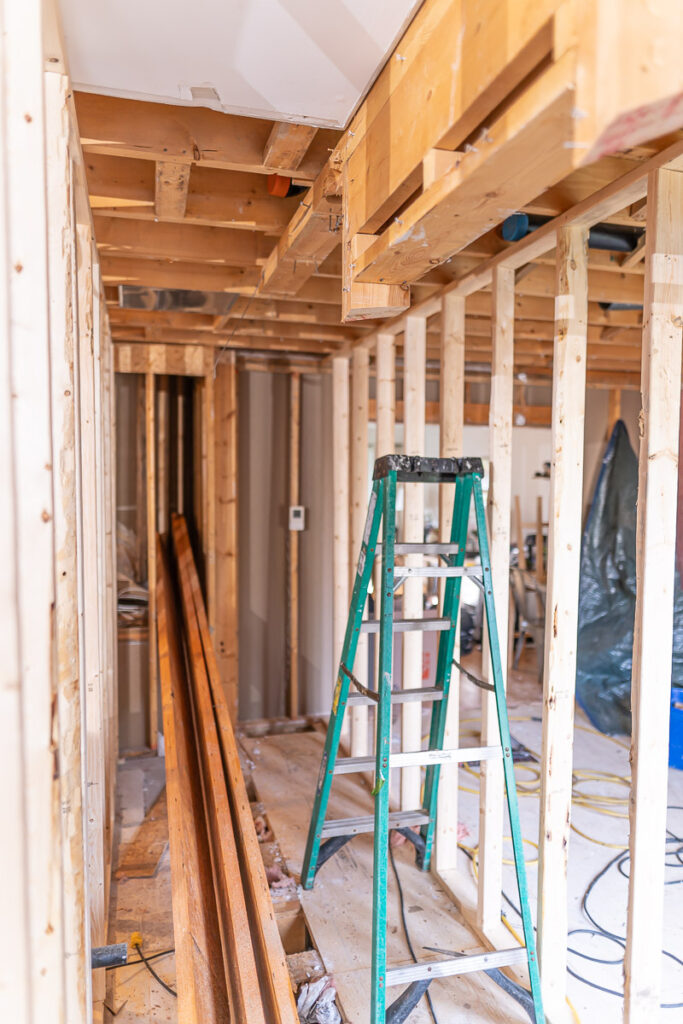
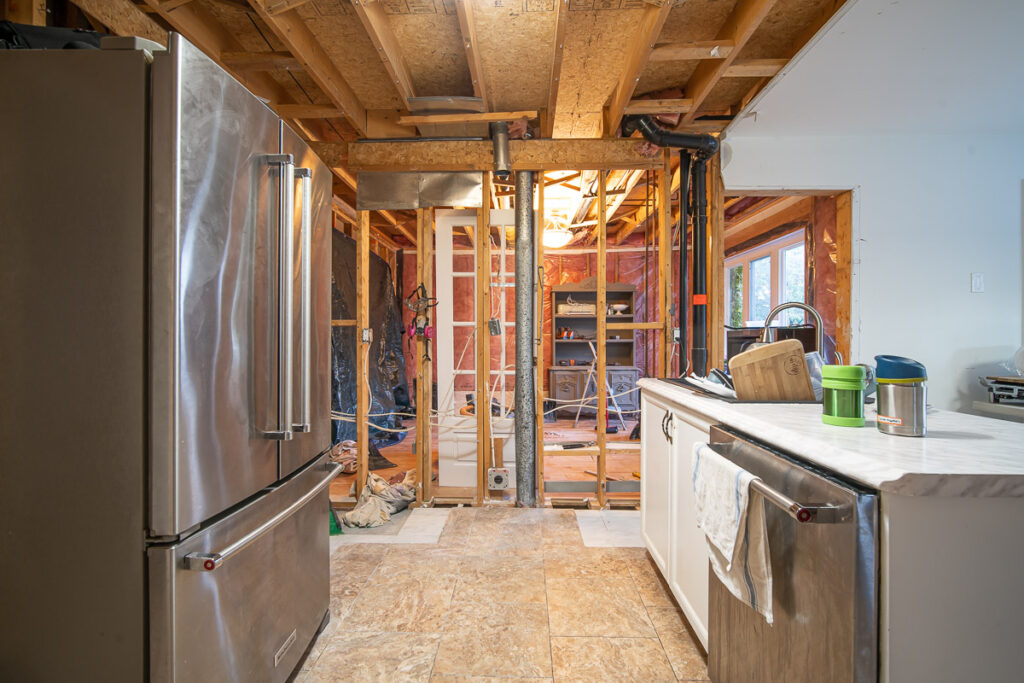
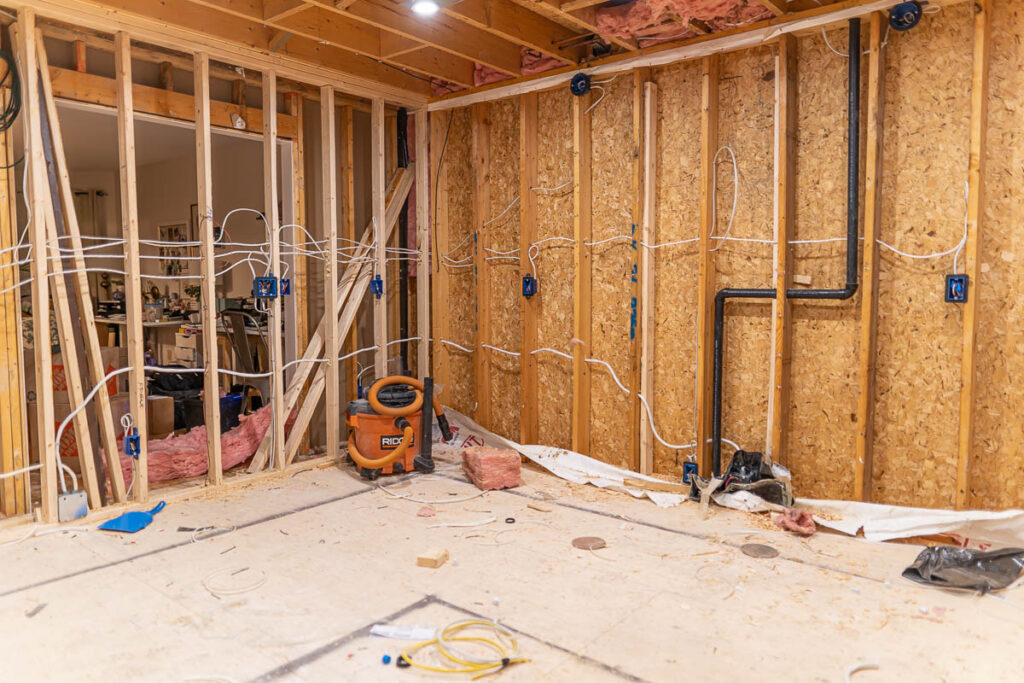
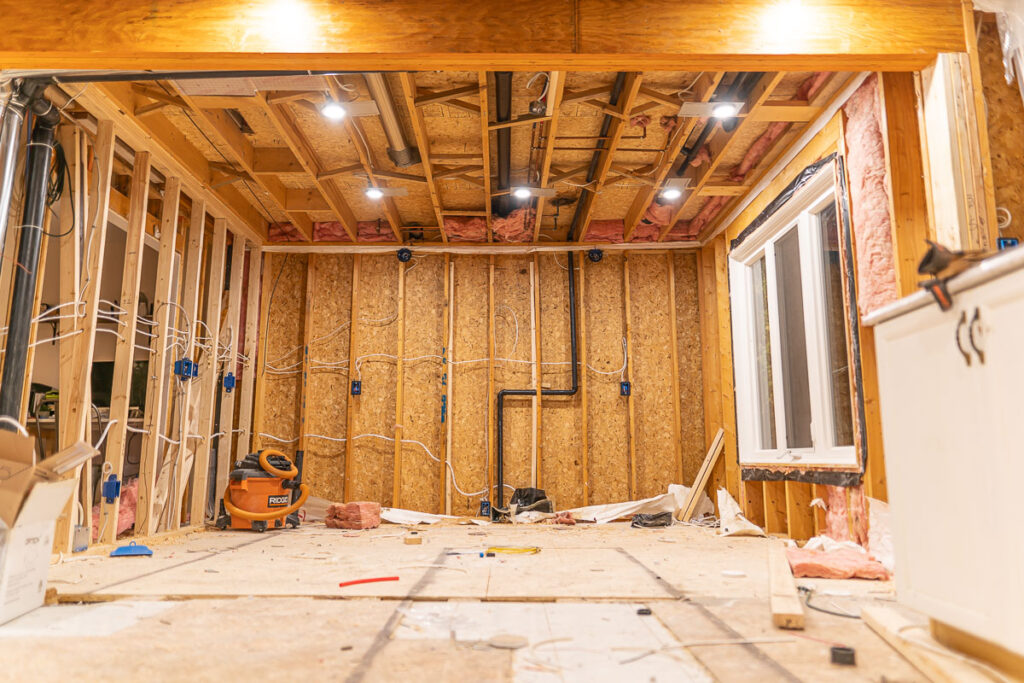
Once that wall was down you could really start to get a sense for just how big this new space was going to be! I mean – it’s HUGE, right?!
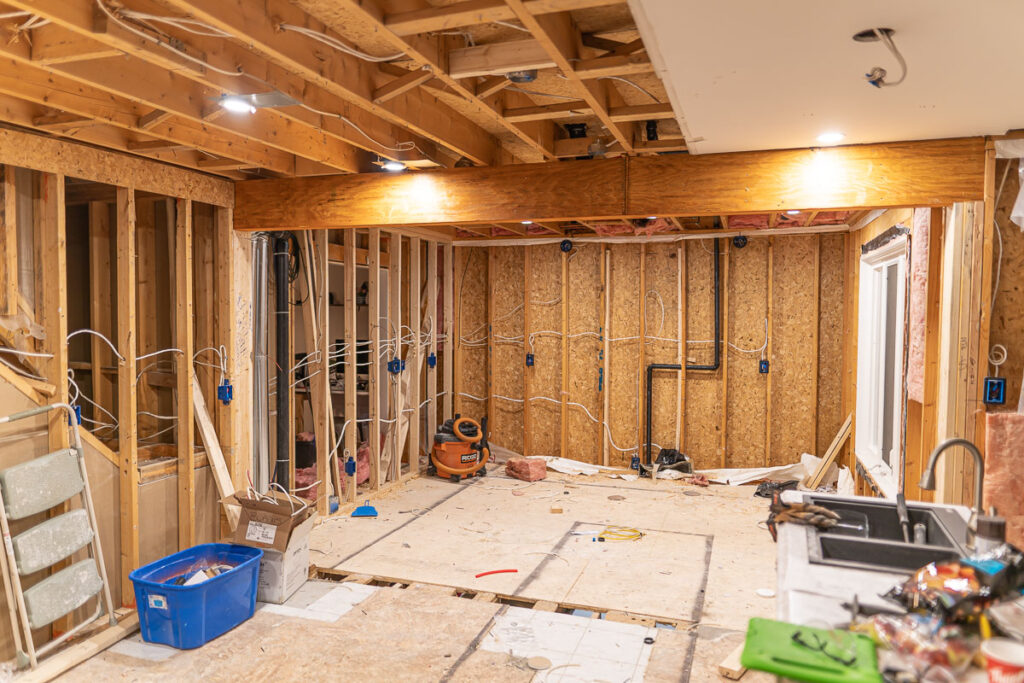
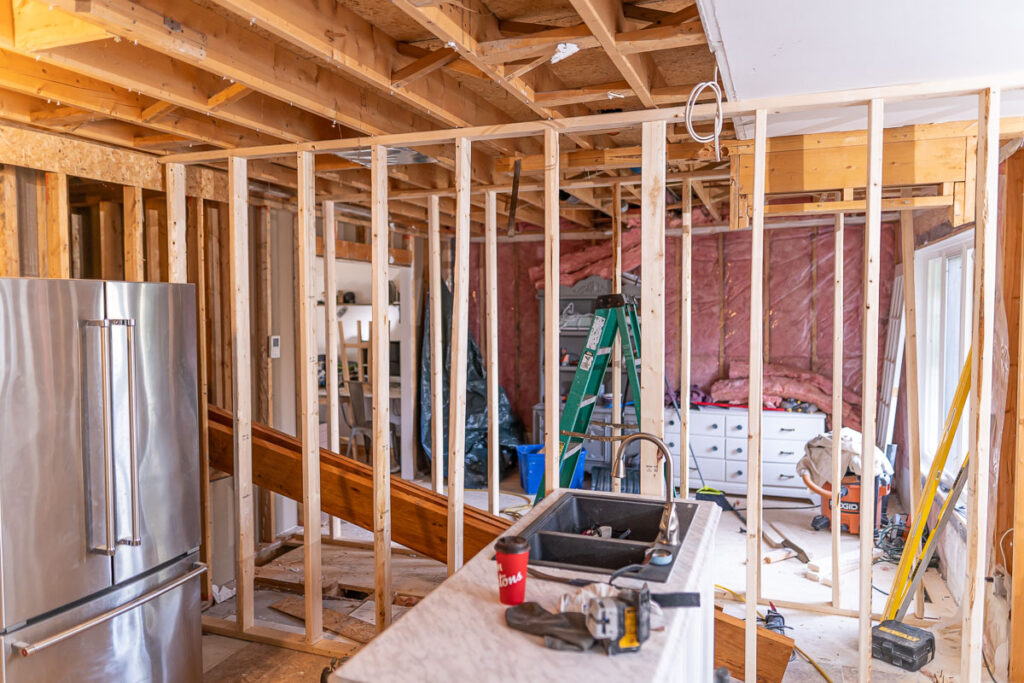
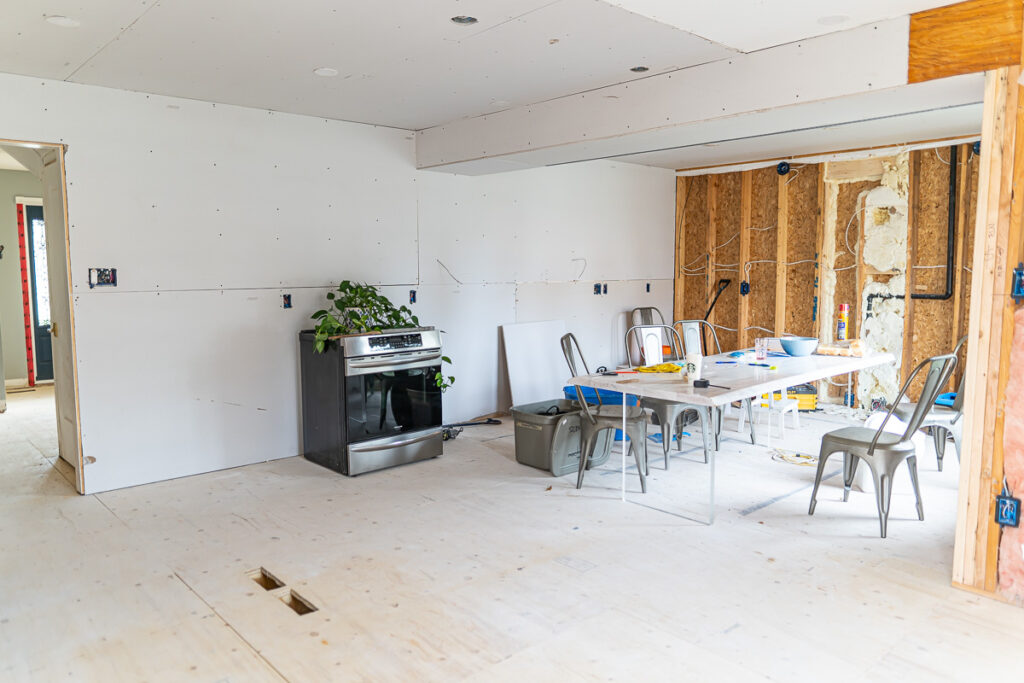
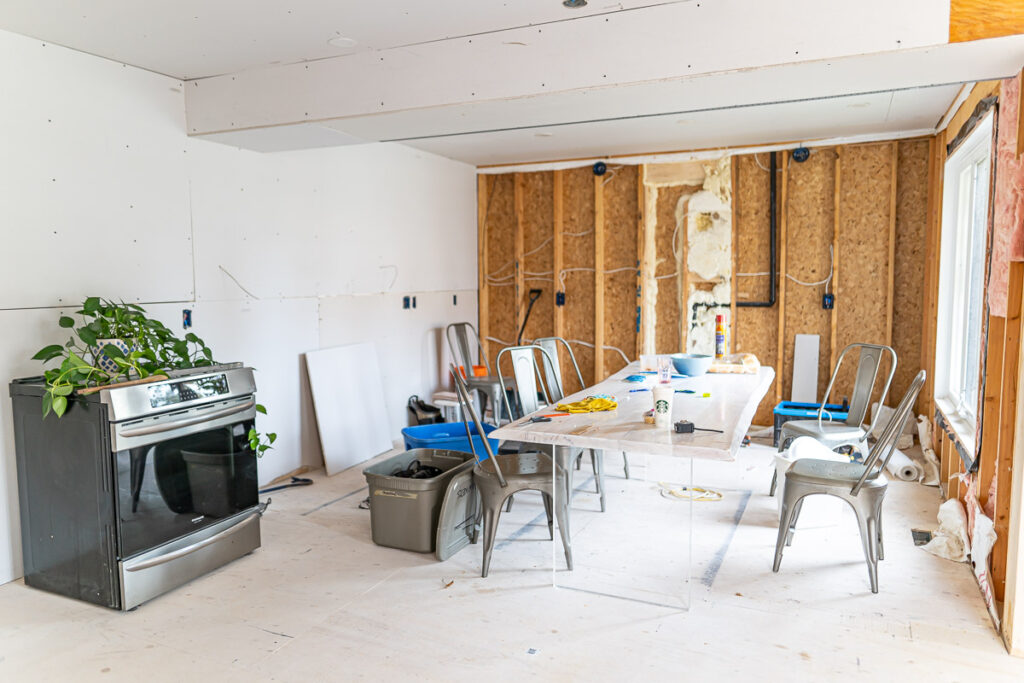
You’ll also notice all the new wiring and plumbing in the walls. We had the electrician, plumbers and HVAC guys come in and rewire everything that had been going through that load baring wall into the new wall and outside wall (which will be where the oven goes). It’s really neat to see all the new wires in places where there used to be nothing. Also really exciting to finally get to install the amount of lights we want and in the places we want (don’t even get me started on the silly lighting situation in this home).
After all of this, we had to rip up all the flooring. We originally thought we were going to be able to salvage the hard wood on part of the kitchen, thinking we could find a match, sand it down and stain it all, but after our contractor went to a liquidator, we realized we could get brand new, wide plank hickory wood floors for almost the same price. So after talking it through extensively, we decided that’s what we wanted to do. The only issue with that is that it meant having to pack up the ENTIRE main floor (because we figured we would redo all of it at the same time to match). This was definitely something I wasn’t expecting and caused some anxiety to set in, not going to lie! But I just keep telling myself how worth it its all going to be in the end!
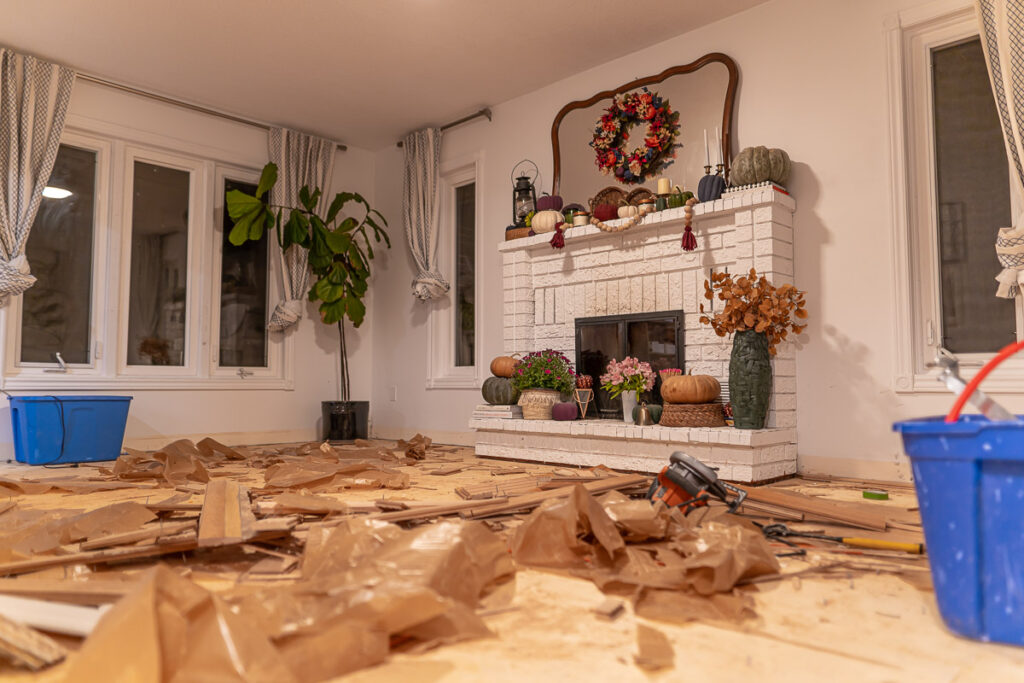
Finally, the drywall has started to go up! Now it’s REALLY starting to take shape when the walls go back up! Chris still has to finish sealing the outer wall, including putting the vent for the oven in there before he can put the drywall up there, but that should be done by this weekend!
Phew! I keep saying the worst of this project is the demolition , but I think that is true of just about every project. This one just seems like there’s A LOT of it going on!
I cannot wait to share more with you as we continue on with this process! By next week we will have our floors in AND our IKEA kitchen will have (mostly) arrived. I’ll be sharing all about that process – from the design to the ordering (nightmare) to the cost next week so be sure to come back for more!
Love & Blessings,
Christine