Hello Friends! Welcome to the Fall 2020 One Room Challenge! I am thrilled that we are participating again for our eighth room renovation this time around. And this year is sure to NOT disappoint as we take one our biggest renovation challenge yet – a complete gut job of our kitchen! Yup, you read that right – we are gutting and rebuilding our kitchen, which will double the square footage of our current kitchen!
There is A LOT to talk about with this renovation so let’s get right into it with a look at a bit of history on the space, a couple of phases of “light” renovations that we did prior and the dreaded BEFORE pictures!
When we bought this home just over two years ago, everything felt like an upgrade from our previous home. For starters, we were going from a townhouse (or row house as some might call it), where we were the middle unit (neighbours on both side walls) to a detached house. Our backyard went from being the size of a postage stamp to a gorgeous L-shaped yard with an inground pool. We gained a bedroom in this new home and even a custom built sauna in our basement.
But the one area that we did not upgrade on was the kitchen. If you’ve been following this blog for a few years, you know that our previous kitchen was massive in our townhome. That was actually how my husband convinced me to buy the town house – I was very opposed to the idea until I saw just how big and gorgeous the kitchen was. So when we moved into this almost 30 year old home that we currently live in, we knew immediately that this kitchen had a huge renovation coming in the near future.
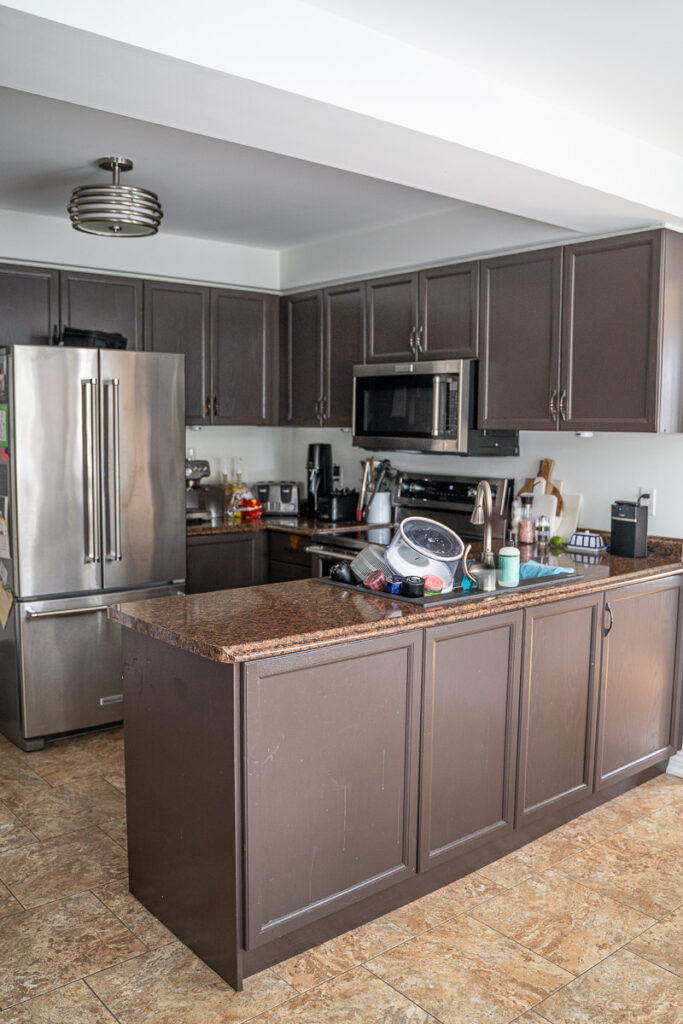
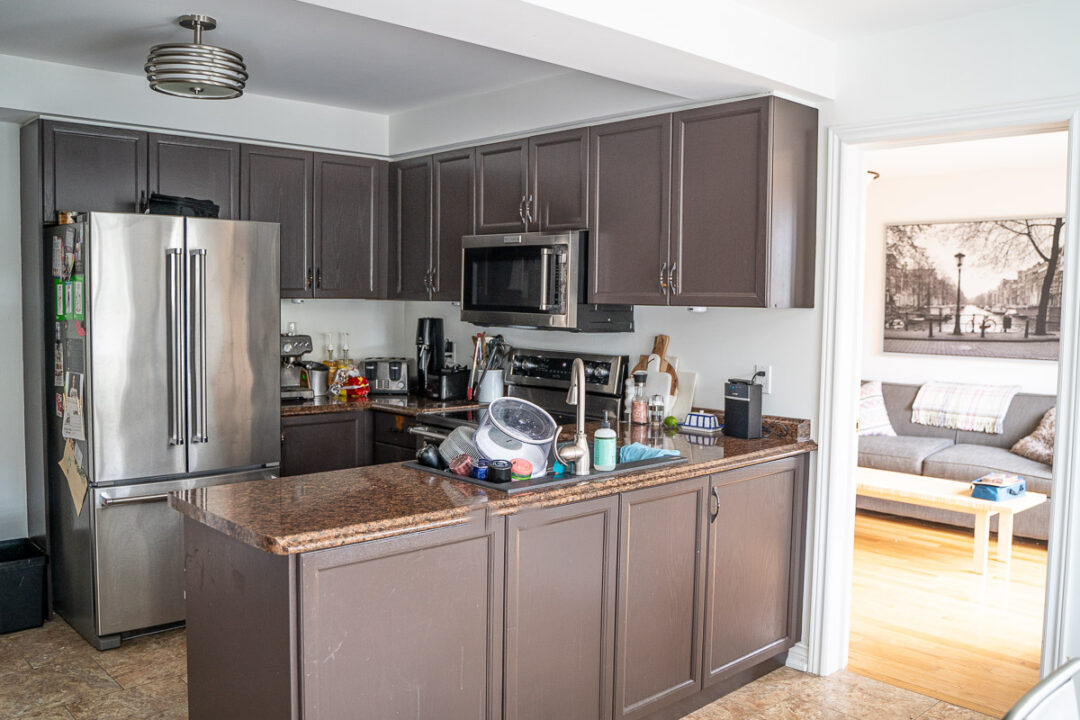
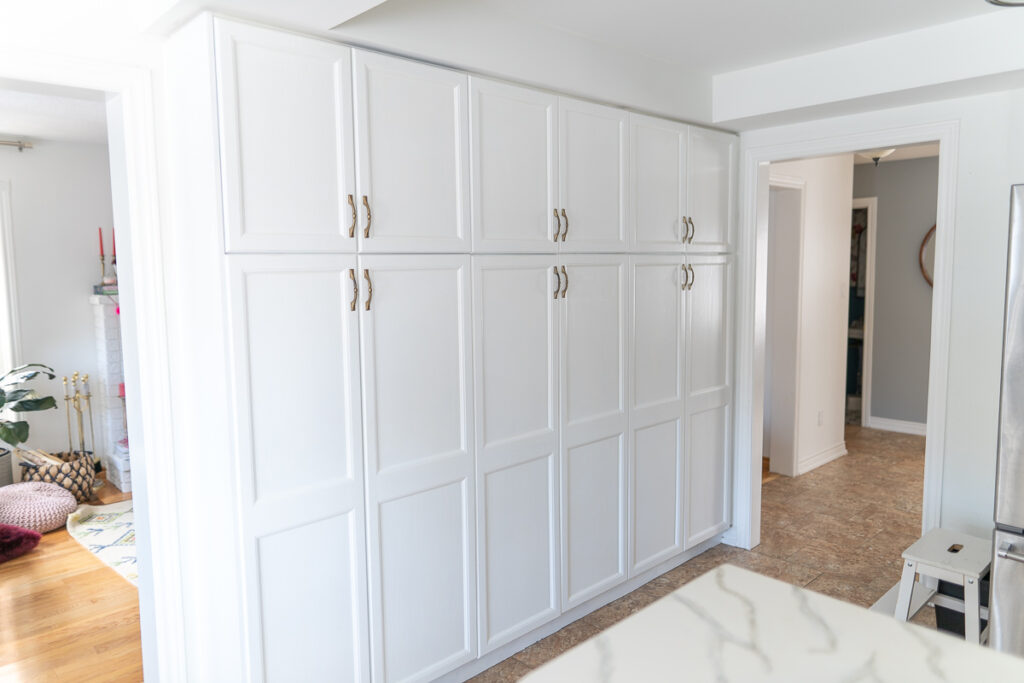
With only one set of drawers and three, small working countertops, this U-shaped kitchen could barely fit my husband and I if we were preparing meals together. Interesting thing to note, is that this home is almost the exact model of the childhood home I grew up in (just the mirror image). When talking with my mom, she’s actually told us that this kitchen model was considered the “big” model at that time when these homes were being built. It’s funny how much things change over the years – now the kitchens are the heart of the home – the place where families gather, cook, eat, entertain, etc all together.
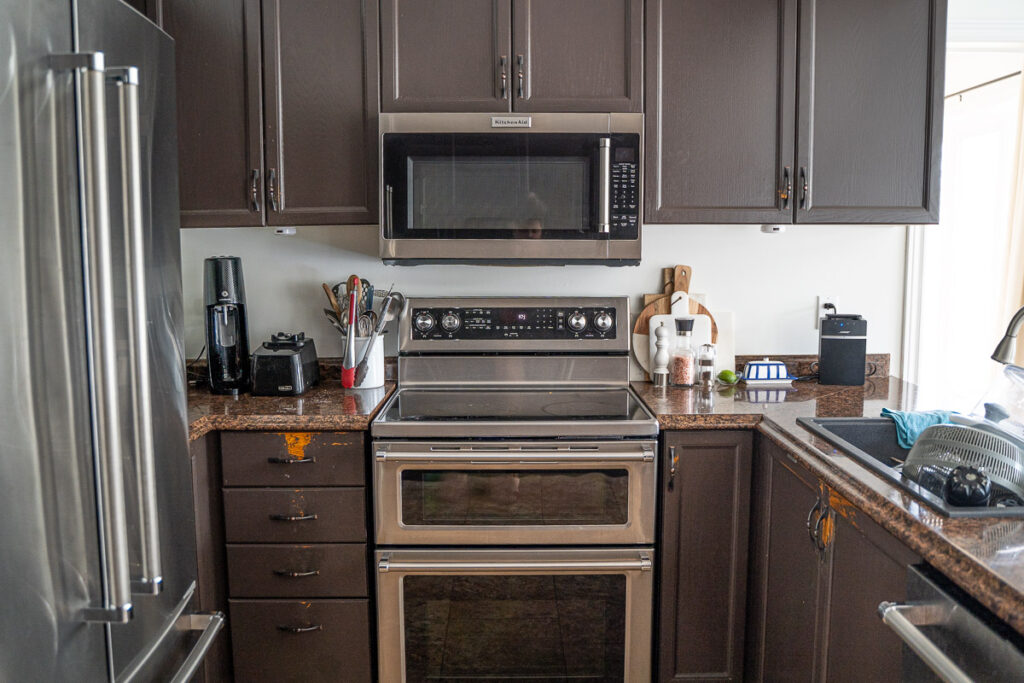
On top of this kitchen space being way too small for our family, the previous owners temporary facelift that they had given it was not holding up. We discovered fairly quickly that the brown paint on the cabinets was simply painted right on top of the original cabinets varnish – the cabinets had not been stripped first and then painted. So the paint started peeling badly, especially in high-touch areas, like around all the handles. It was so ugly. On top of which, dark brown just isn’t our vibe at all and we felt the colour just made the space look even smaller.
So last Fall, I decided to give this kitchen a quick and very budget friendly facelift. We had a number of kitchen campaigns for the blog and I couldn’t stand the site of the chipping, dark paint everywhere anymore.
We tried to just paint right over the brown paint but quickly realized it must have been some kind of oil based paint because the latex wasn’t sticking to it. So the project immediately doubled in time and energy as I had to sand down every single door before I could paint.
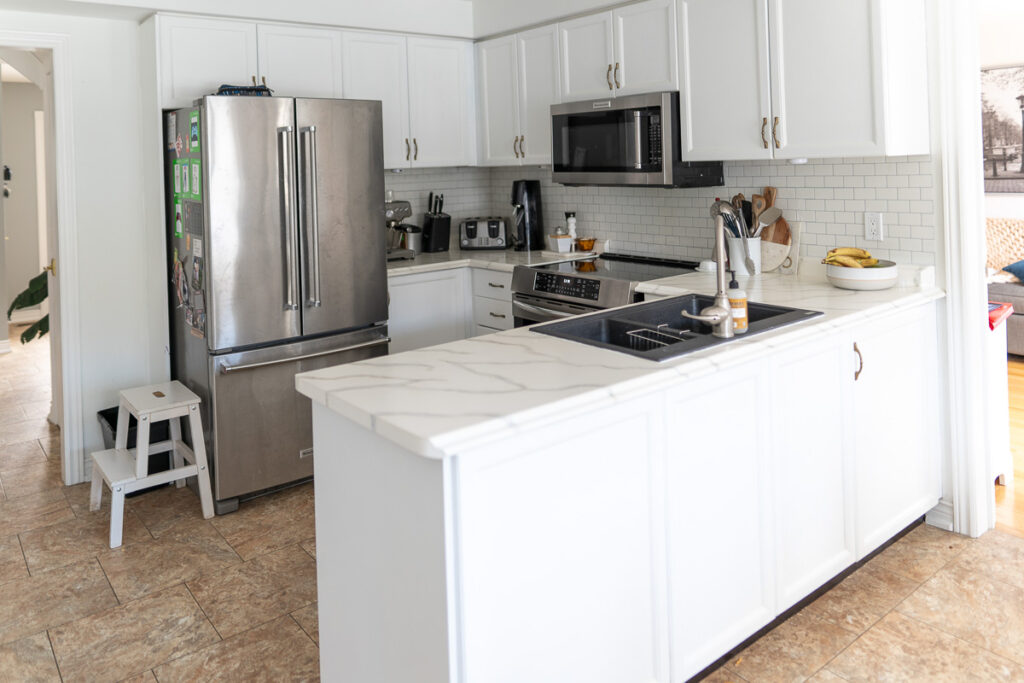
I also decided to paint the countertops myself – again after sanding them down – I hand painted a marble look on them. What was disappointing was that we were given false information at the hardware store when we asked for non-yellowing polyurethane which was supposed to seal it all, and within weeks, the counters and the doors were starting to yellow.
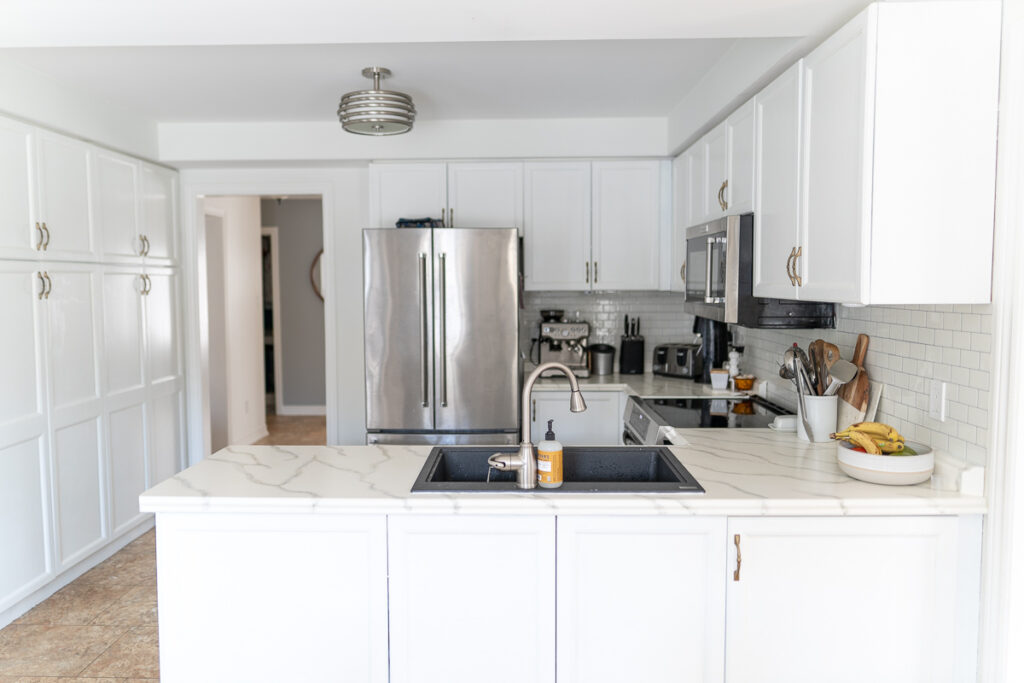
Overtime, the counters started to chip and even discolour if we placed anything hot on the surface, so this summer, I actually found marble self-adhesive drawer liner at the dollar store and decided to give it yet another quick update. We didn’t know then that we were doing this kitchen renovation this Fall, otherwise I would have left it. But I was really impressed with the drawer liner and they would have been a good short term solution to help cover the unsightly counters.
So that is the brief history that has led to where we are today. Add in the fact that the room directly behind the kitchen, traditionally the formal dining room, is a space that we never used. In fact, we had an extra couch in there with a couple of dressers/dining hutch because we just didn’t know where to put those things. As we see in many home designs these days, people are forgoing the traditional dining rooms and opting for one big central dining space. So we knew that when it came to renovating the kitchen, we would be breaking down this wall and doubling the space.
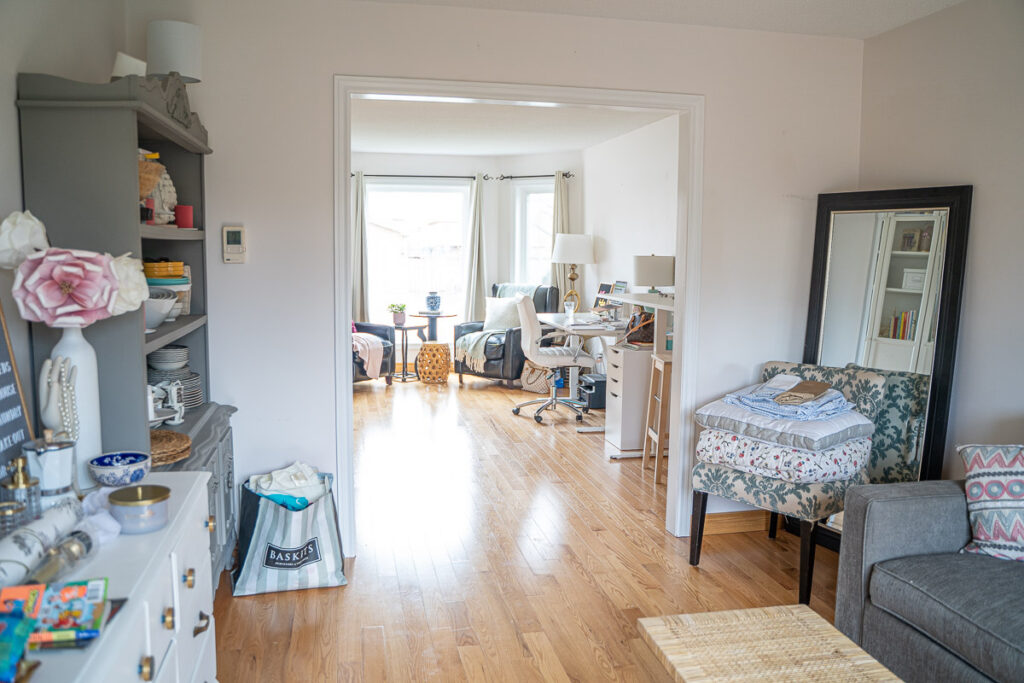
And that’s exactly what we are doing! We are tearing down this load baring wall, closing up the space between the dining room and office and doubling the footprint of our current kitchen.
I wanted to share that back story because it’s important to the “WHY” for this renovation. I posted a video the other day of my husband running and smashing the cabinets and I was surprised to receive a decent amount of negative comments. Not only were people upset that we weren’t trying to salvage the cabinets (more on that in a minute), but people kept commenting about how beautiful the current kitchen was and they’d never tear it down.
This was obviously surprising to me because if people knew the backstory that this was in the plans since the beginning and if they also knew just how non-functional the current space was for our everyday needs, I don’t think they’d say that. I guess it is a form of praise in a way that people think our quick facelift that we gave it last year was good enough to last – but like I said, up close, it wasn’t that nice with all the chipping and yellowing.
On the salvaging the cabinets front, we couldn’t do that for a couple of reasons. First, there’s three layers of paint on these cabinets. Many people recommended donating them to a restore place, but we don’t think they would even take them because of how bad the paint jobs/yellowing situation was. We frequently donate to the restore and just didn’t feel these cabinets were good enough. Secondly, we’ve had a pretty intense mouse situation in our home that we’ve been trying to deal with. While we haven’t seen a mouse for months, what we discovered in this kitchen is that the mice made their home above and behind these cabinets. So there was mice excrements all over these cabinets. It was likely a health hazard, so again, we weren’t comfortable with the idea of donating these to anyone. I’m all about reusing and recycling and I love to thrift, but I think there are some things in life that once they’ve served their purpose and their time is up, it’s time for them to go.
So that is how we end up here – where we are now gutting, doubling and completely overhauling this space to create the kitchen we’ve been dreaming of.

We are SO excited to take you on this crazy journey with us. If you aren’t already following on Instagram, I’d encourage you to do so as I’ve been posting all the behind-the-scenes in my stories. Our renovation is actually well under way (we had to get a head start), so make sure to follow along there to see in between these posts what we are up to!
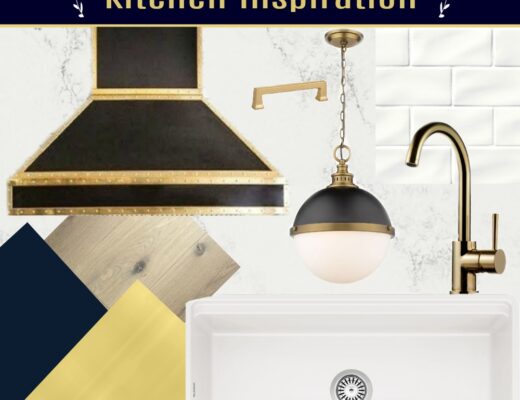
Next week, I’ll be sharing our design inspiration and mood board, along with all the gnarly demolition that’s taken place. Many have asked also to know how much things are costing, so we will be sharing some of that along the way too, so make sure you stick with us for this journey!
Love & Blessings,
Christine