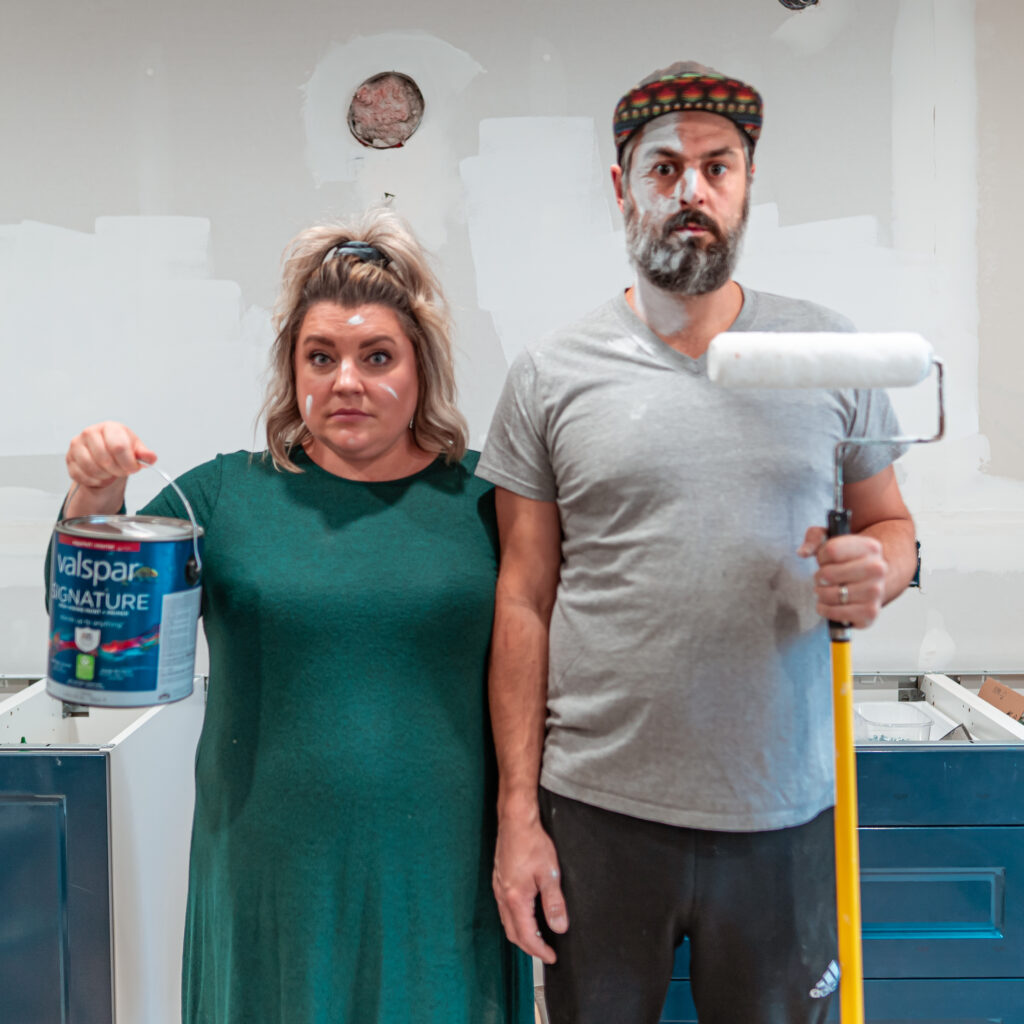
Hello friends and welcome to Week 4 of our Modern French Kitchen renovation, which we are doing alongside the One Room Challenge! This week we are tackling the paint with our favourite paint partner, Valspar Canada.
If this is your first time here, I’d love for you to catch up before enjoying this post: Week 1, Week 2 and Week 3. I’ve shared all the before photos of the space, a little history behind it and why we are renovating, our mood board and inspiration for the new space and last week, the new lights for the space, which so many of you loved as well!

Our renovation is trucking along well and we have lots to update you on! For starters, we completed the walls this week, which was a big step! We actually enlisted the help of one of our contractor friends to come finish the drywall for us (we paid him, don’t worry). Making sure those seams were all done well was important to us as this will undoubtedly become the heart of the home and we will be spending many hours in here.
Once the walls were finished, it was time to start putting in the base cabinets. We decided to do this before painting for two reasons: 1) Because we learned a tip online that suggested that it was easier to mount the cabinets to the wall before the paint goes on so that you can see exactly where the studs are in the wall (in order to properly mount the cabinets on). 2) Because we had to get the cabinets in place ASAP in order to get the measurements done for the countertops. We have to get the counters ordered and fabricated which takes a couple of weeks, so we had to expedite the cabinet process to accommodate.
Once that was all done, it was time for paint! As you know, we’ve been long-time partners with Valspar paint, so it was a no-brainer that we would work with them again for the kitchen.
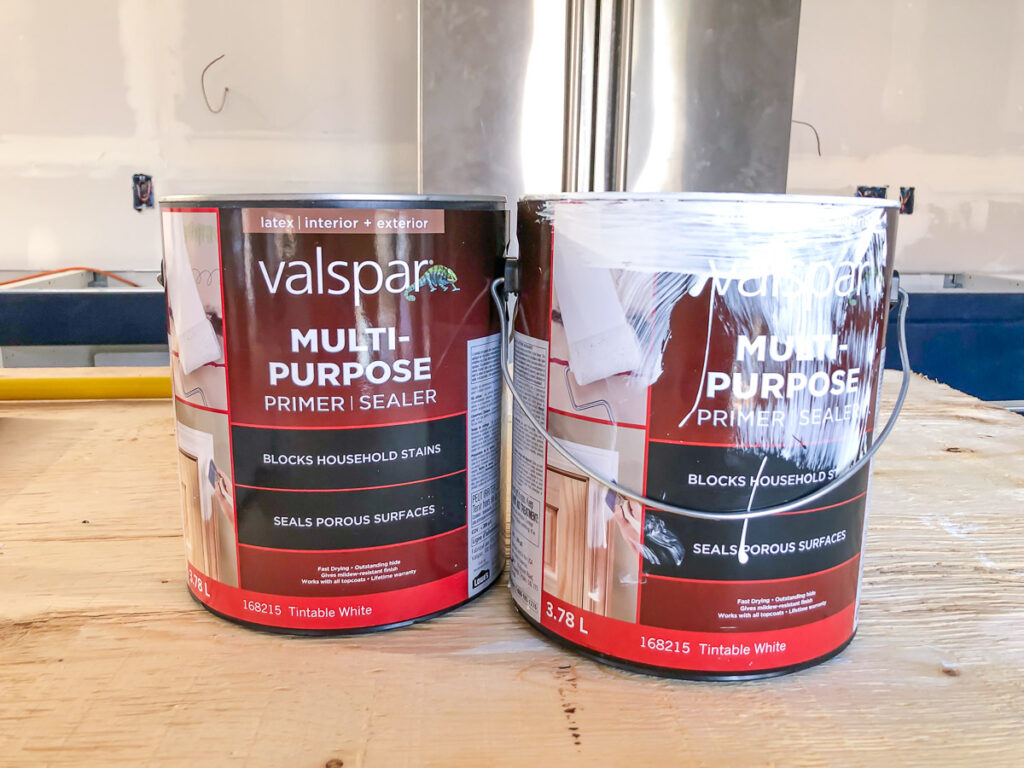
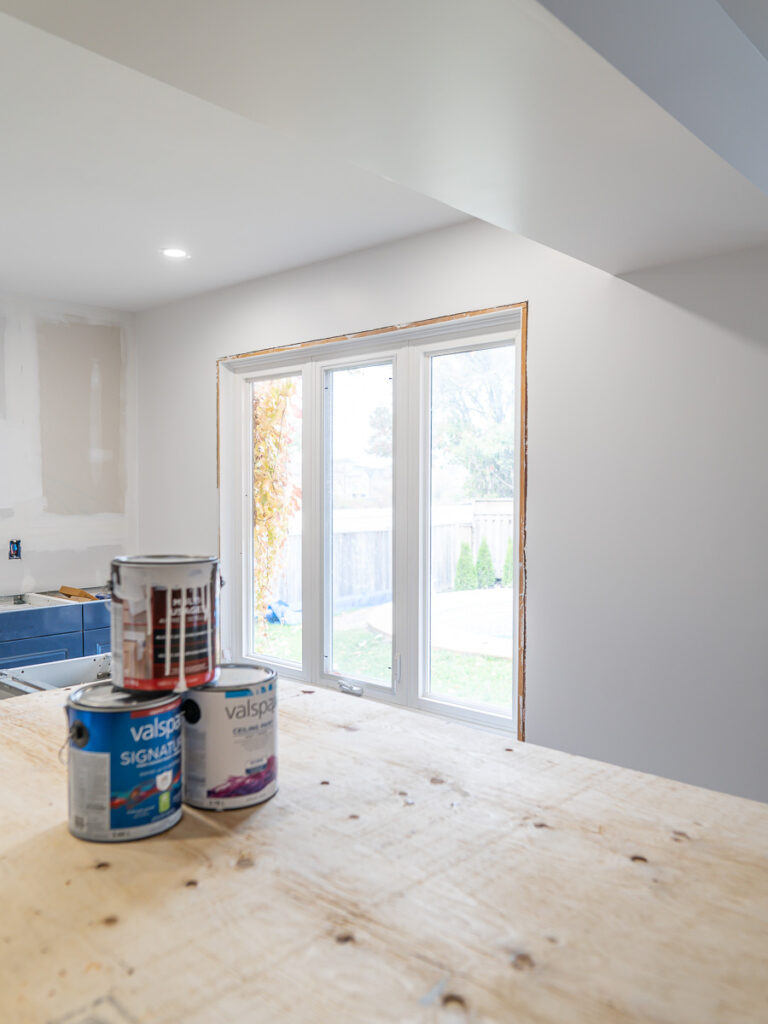
Because these were brand new walls, we needed three different kinds of paint: drywall primer, ceiling paint and tinted wall paint. Whenever you are using new drywall, it’s always a good to seal up that drywall with a layer of drywall primer. I’ve always found that new drywall is really absorbent as it’s quite porous, so make sure to grab enough primer to do at least one coat and if you can, do a second one too.
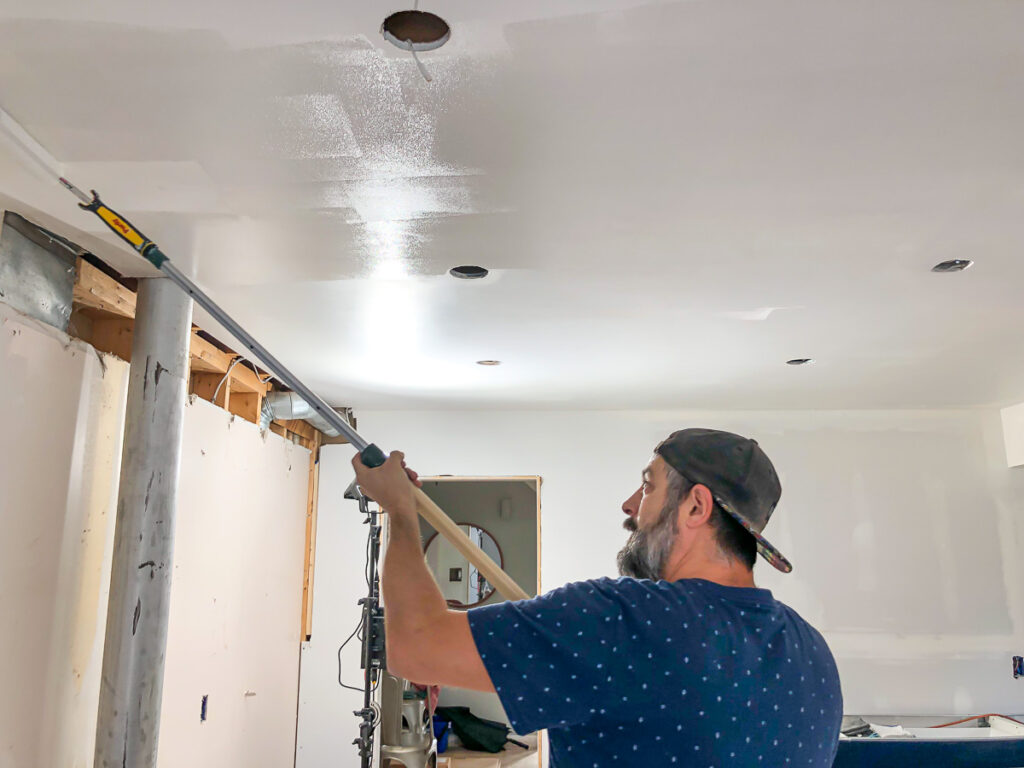
For the ceiling paint, we used Valspar’s Flat White Ceiling Paint and Primer. It went on so easily with almost no mess, which is so nice when painting a ceiling. It’s already hard enough to paint the ceiling, so having no leaks or splattering was fantastic!
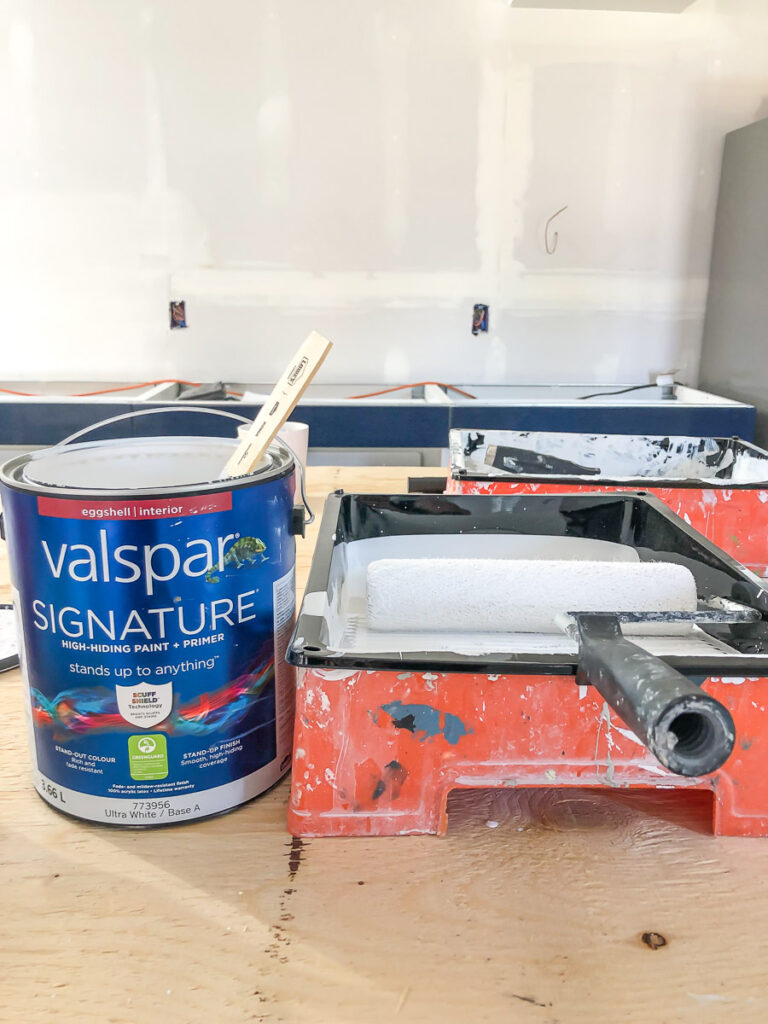
For the wall colour, we went with Valspar Signature paint in colour “Du Jour.” Friends, let me tell you – I think I just found my FAVOURITE white paint! It is absolutely BEAUTIFUL the colour. It’s a very neutral white, with a hint of warmth to it. Because we are going for a French kitchen, we want to make sure there are elements that bring in warmth and a slight vintage feeling. So when we saw Du Jour at Lowe’s, we knew it was the one!

We absolutely love Valspar paint – the application is so easy and smooth, there’s so many colours to choose from and it’s durable – both washable and scuff resistant. It’s the only paint we’ve used in our new home and we are so happy with how it turns out every single time!
That’s all for today’s update, friends! It’s SO exciting to start seeing this space really come to life. If you aren’t already following along on Instagram or TikTok, I’d encourage you to as well! I share lots of behind the scenes updates in between these weekly blog posts. I’ll leave you with this fun TikTok dance trend that I just couldn’t resist while painting this week!
Love & Blessings,
Christine


Note: This post was sponsored by Valspar Canada. As always, the thoughts and opinions are 100% my own.