This is a sponsored conversation written by me on behalf of Cricut. The opinions and text are all mine.
I can remember the first time I ever heard about a Cricut. It was back in 2011 when I got really serious about crafting. I had just moved to a new community up north and the ladies there took their crafting very seriously. So we started a weekly craft night at our home. Everyone would bring over something to work on, I’d provide some snacks and we would have a girls craft and hangout night. It was so much fun!
I remember my one friend showing up with a Cricut and I exclaimed, “What is this Cry-cut machine?!” She immediately laughed and said, “It’s not a CRY-cut, it’s a Cricut!” (pronounced like the game of cricket). I was fascinated as I watched her work away at it and watched the machine cut her designs. I knew then that I wanted one but it wouldn’t be until this Fall, eight years later, that I finally got one!
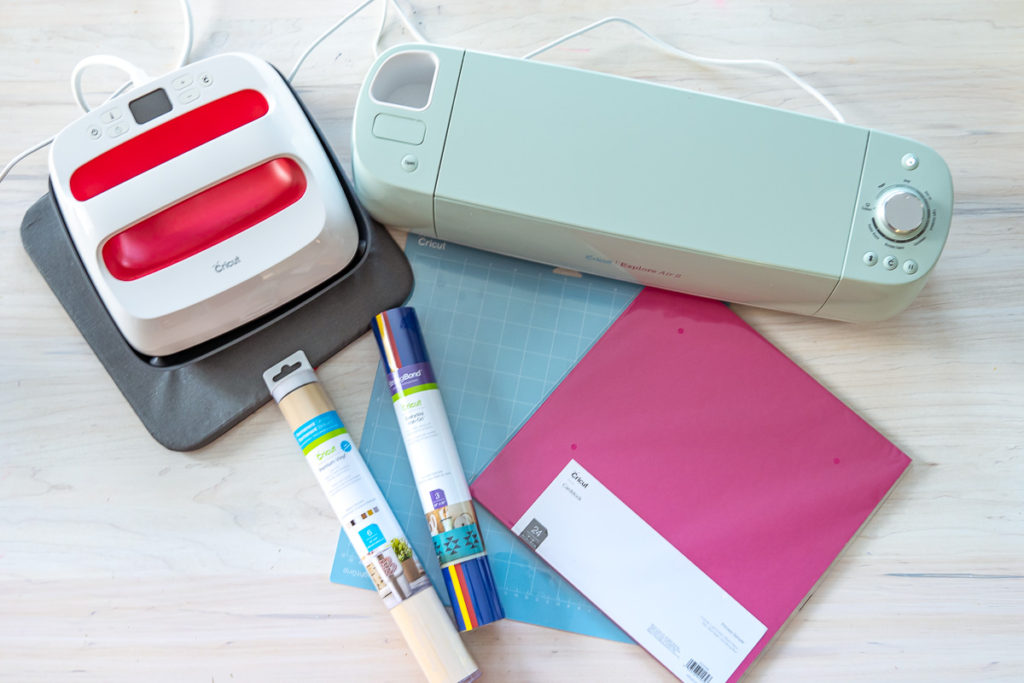
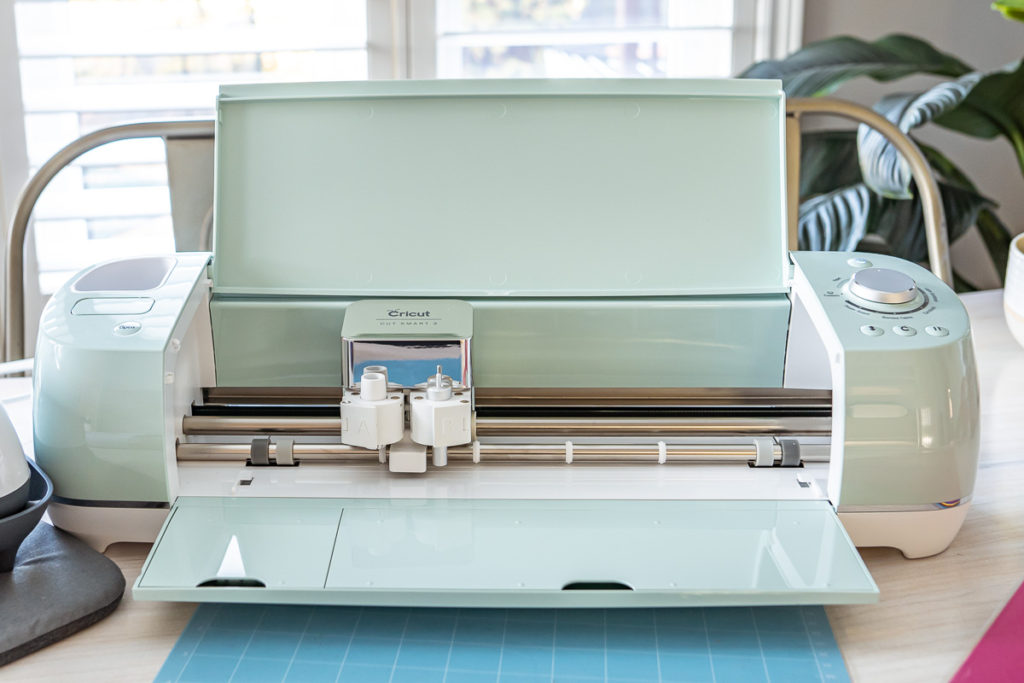
I was tickled pink when Cricut approached me to work together as I had been wanting to create with one for so long. The Cricut Explore Air 2 and the EasyPress 2, along with a few Cricut supplies showed up at my door and I couldn’t wait to dive in! I unwrapped my gorgeous mint machine, did the initial set-up and started exploring the online Design Space. There were so many designs, I honestly didn’t know where to start. I quickly became overwhelmed and I’ll be honest, I left the Cricut sit for a few weeks.
What I’ve come to learn is that there is a whole world of Cricut out there just waiting for home crafters like myself to dive into. Like learning any new electronic, there is a learning curve. There are so many possibilities with Cricut that it can feel a bit overwhelming to know where to start. But once you dive right in, the resources online that are available to help you along are incredible!
So if you’re new to Cricut and not sure where to start, let me show you my very first Cricut project that took me less than five minutes to complete! I actually laughed out loud when I was done because of just how easy peasy lemon squeezy it was to make!
How to Make Monogrammed Christmas Stockings with a Cricut
For my first project, I thought Christmas stockings would be relatively easy. I found these stockings for $1.25 at the Dollar Tree and knew they’d be perfect with the kids initials on them.
Step 1: Create the Monogram on Design Space
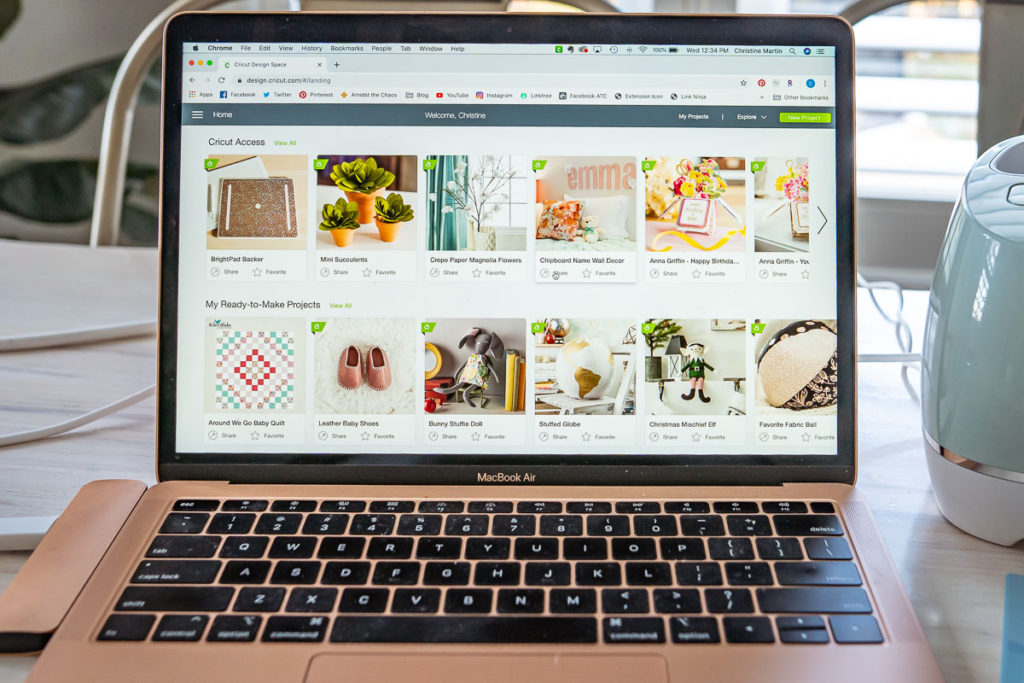
Once you’ve set up your Cricut, it’s time to start designing. There are thousands of free (and some paid) pre-made designs on the Design Space online. It’s a good time to mention that you can also access this on your mobile device and/or tablet too with your Cricut Explore Air 2 (this means you can create on-the-go!).
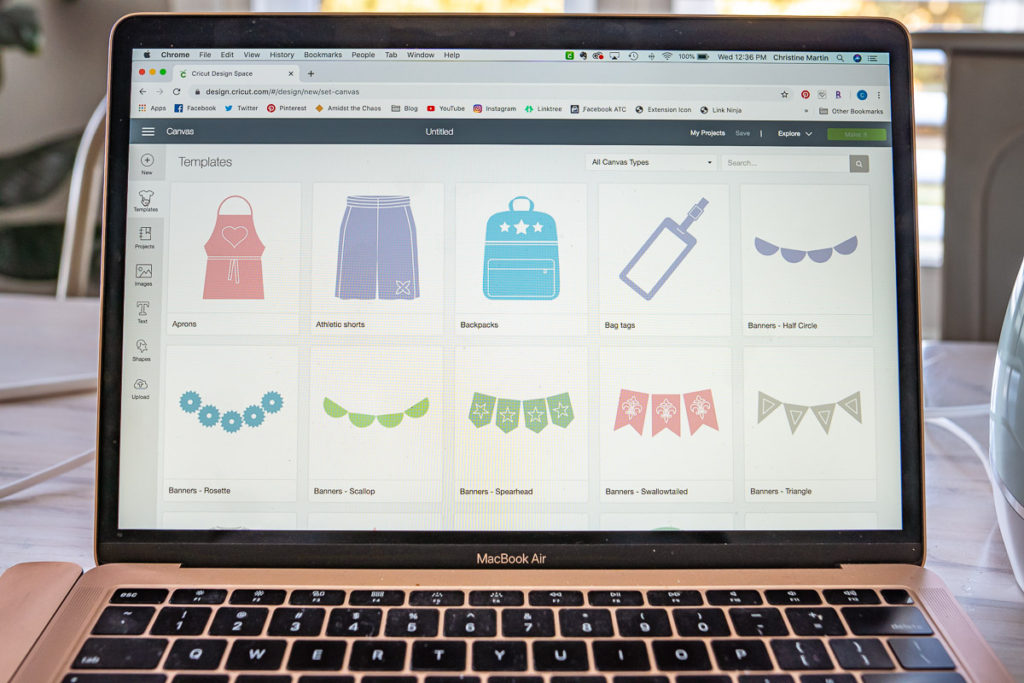
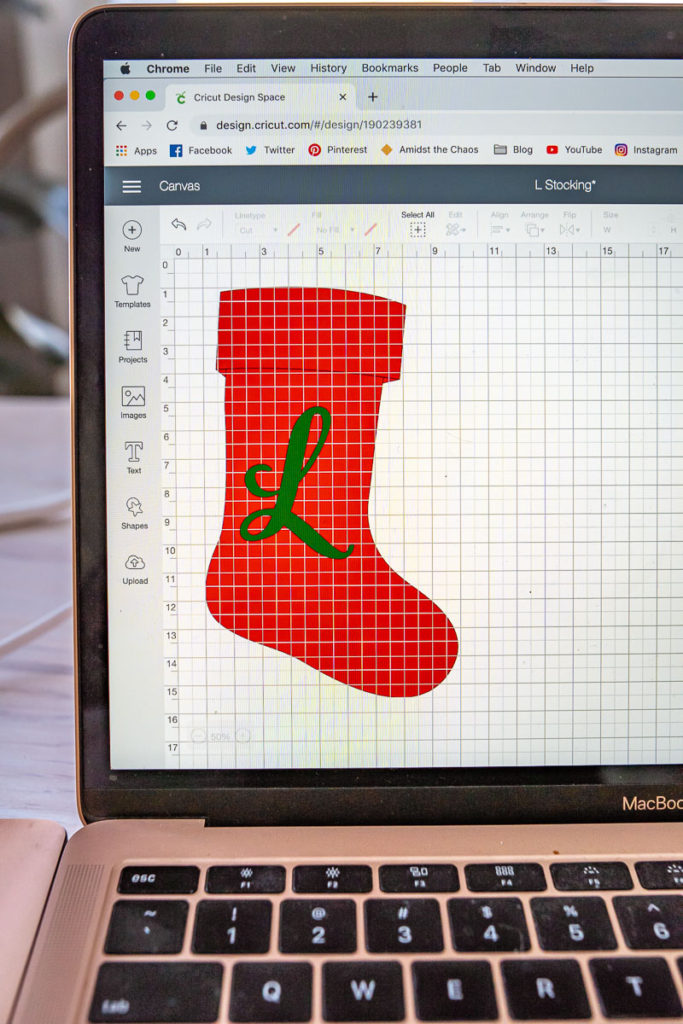
There are helpful templates to help you visualize your design. I found a stocking, which was relatively the same size as the one I had and was able to change the colour to reflect the colours of my stockings (this again just helps for the visualization).
I then selected the letter for the monogram and was able to choose a font from the hundreds of free fonts available in the Design Space. I then changed the size so that it would fit nicely inside the stocking template.
Step 2: Cut it with the Cricut
It’s time to bring your design to life!
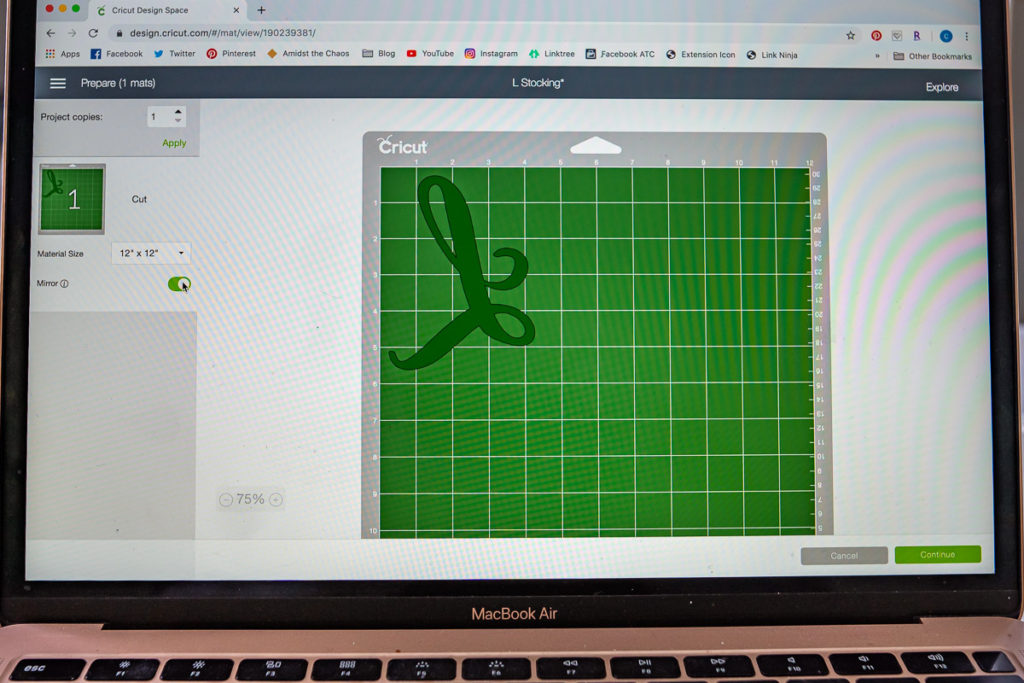
Once you are done and ready to cut the design, you click the “Make It” on the bottom right corner of the screen. This will lead you through a series of prompts and these are IMPORTANT to pay attention to.
When you are using an iron-on vinyl for a t-shirt, apron, stocking, etc, it’s CRITICAL that you toggle on the “mirrored” button once in the Prepare tab. If you don’t do this, it will cut your image backwards.
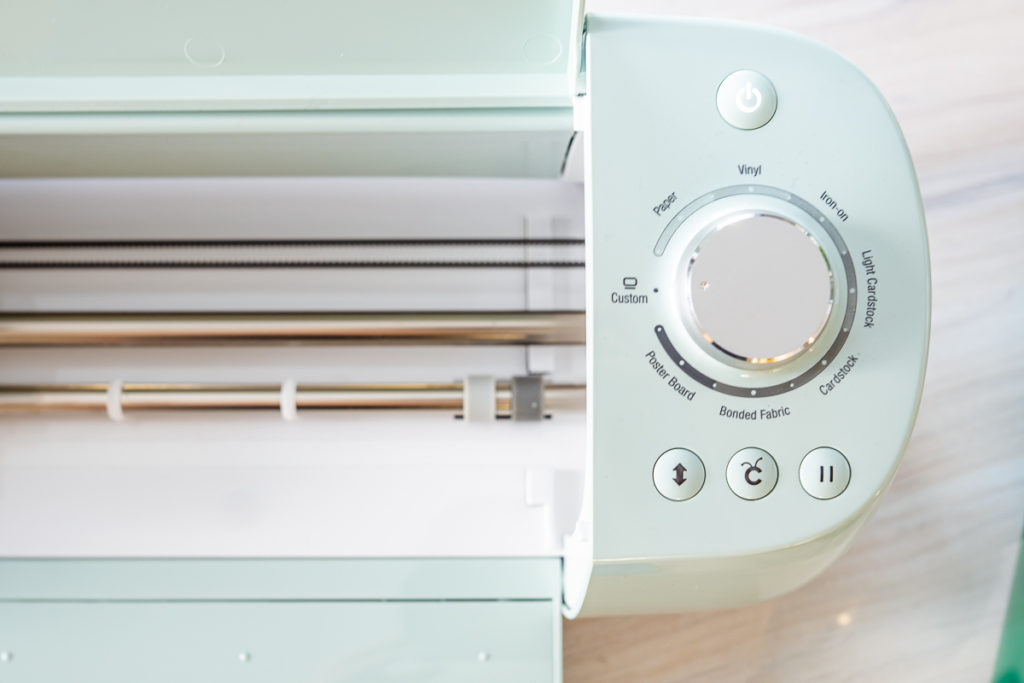
When it comes to selecting the setting on the actual Cricut itself, you can either choose what kind of material you will be using: Paper, Vinyl, Iron-On, etc or Custom. I watched a few tutorials and many people suggested choosing “Custom” so that’s what I do. This way you can select from the drop-down menu on your screen the exact kind of material you are using. I was using the Everyday Iron-On, so that’s what I chose. I also clicked on the “default” drop menu and scrolled up to select “More” to make sure it had a lot of pressure when cutting.

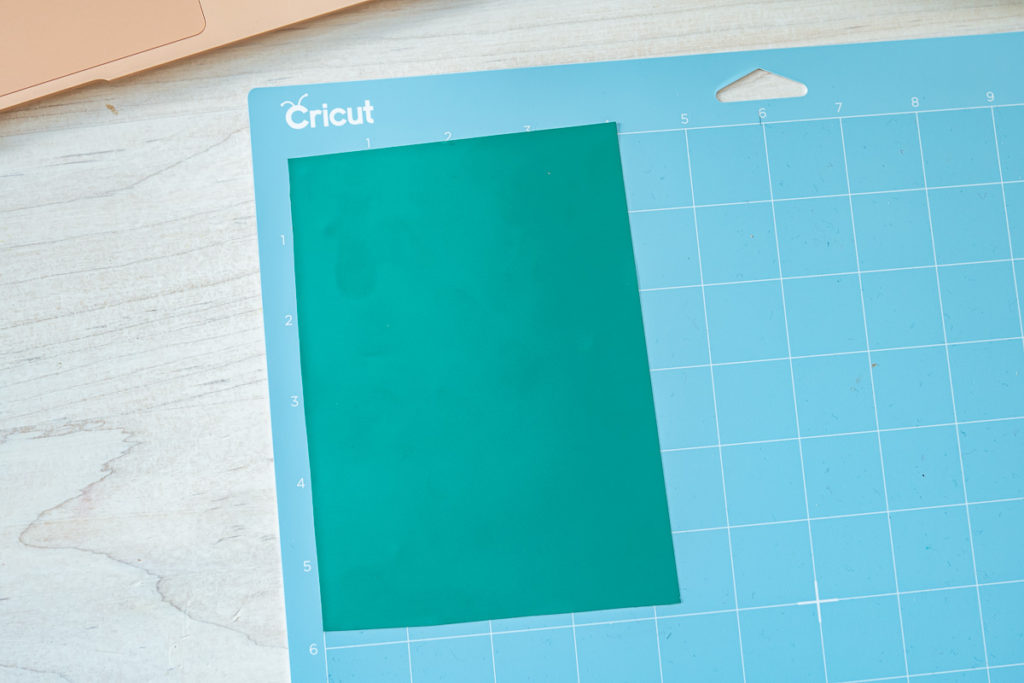
Next, you’re going to cut the size of material that you need and place it on the Cricut Grip Mat (I have the LightGrip, but you can use whatever grip mat you have). Make sure you remove the plastic protector from the grip mat in order to reveal the sticky side of the mat. You want to make sure you place your Iron-On shiny side DOWN. Place it in the top left hand corner of the mat (just make sure you line it up with what you see on your computer screen to make sure the cut lines will be in the right place).
After that, you’re ready to insert the mat into the Cricut. There is a load button that will flash on the actual machine once you click on the Design Space that you are ready to cut. Place your mat right up to the Cricut and press the load button. It will draw the mat in and position the blade in place.

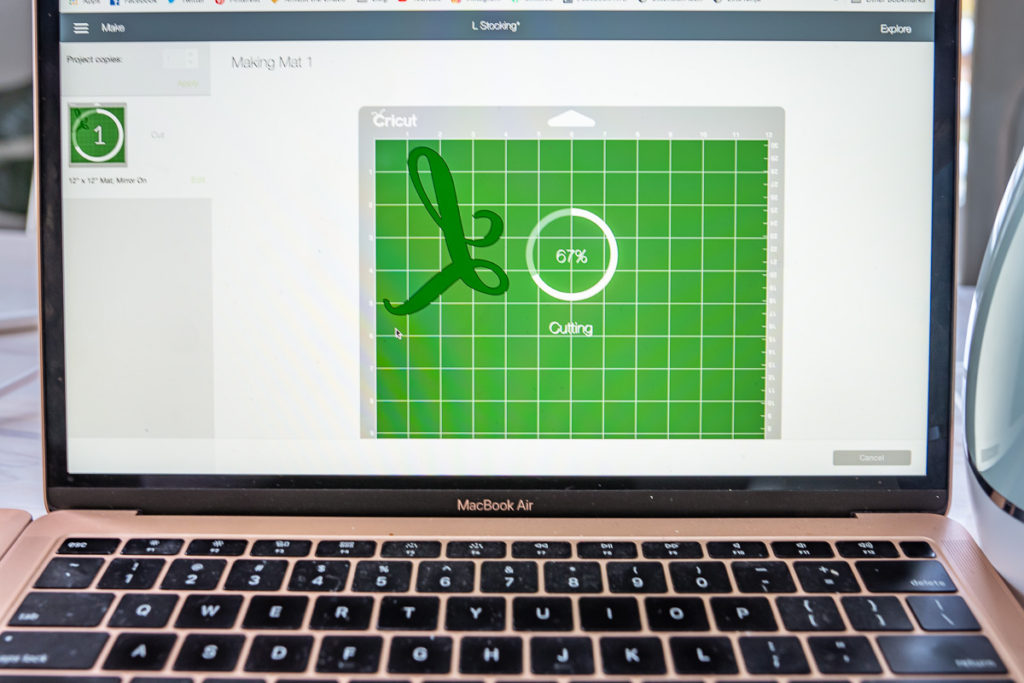
Then it’s time to rock n’ roll! Once the mat is in place, the C button on the machine will light up and you simply click it and watch your creation come to life! A progress wheel will appear on your screen to show you how long it has to go until it’s completed cutting.
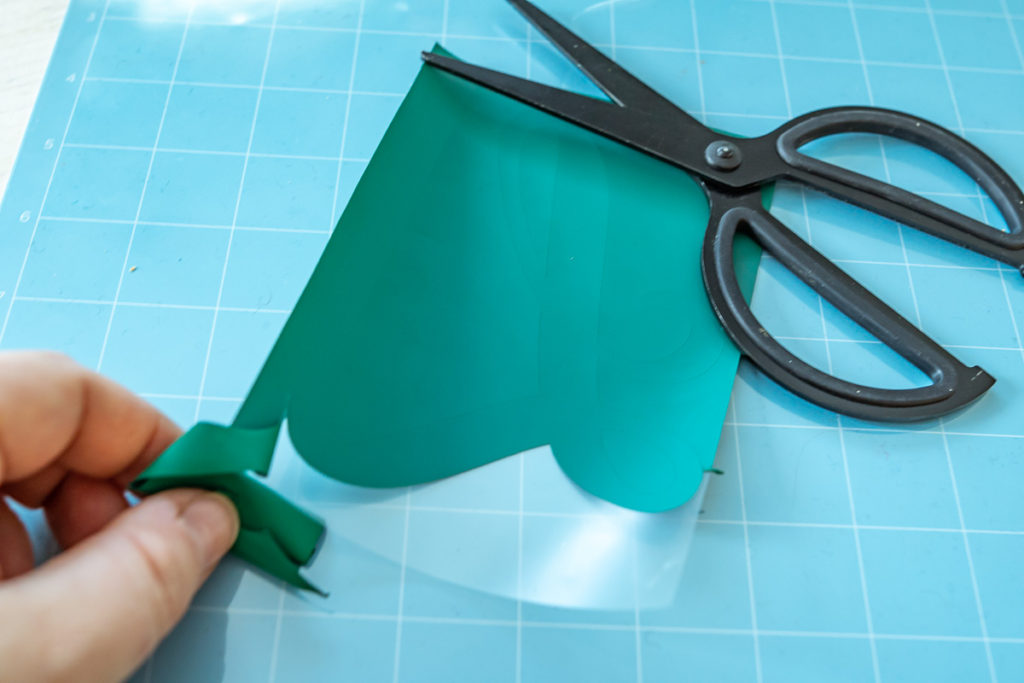
Once the material is cut, press the load button again for the mat to release from the Cricut. You will then peel the material from the grip mat (make sure to put the plastic protector back on the mat).
It’s now time to remove the excess material and reveal the image you created. You can use your nails to remove it or if you’re having a hard time removing the material, carefully use a knife to get it started. Once it gets going, it should come right off, leaving the design behind.
Step 3: Monogram Your Stocking
Now that you’ve got your monogrammed vinyl ready to go, it’s time to iron it onto the stocking. I will go into more detail about the EasyPress2 in my next post, but if you have the Cricut iron, turn it on and heat it up.
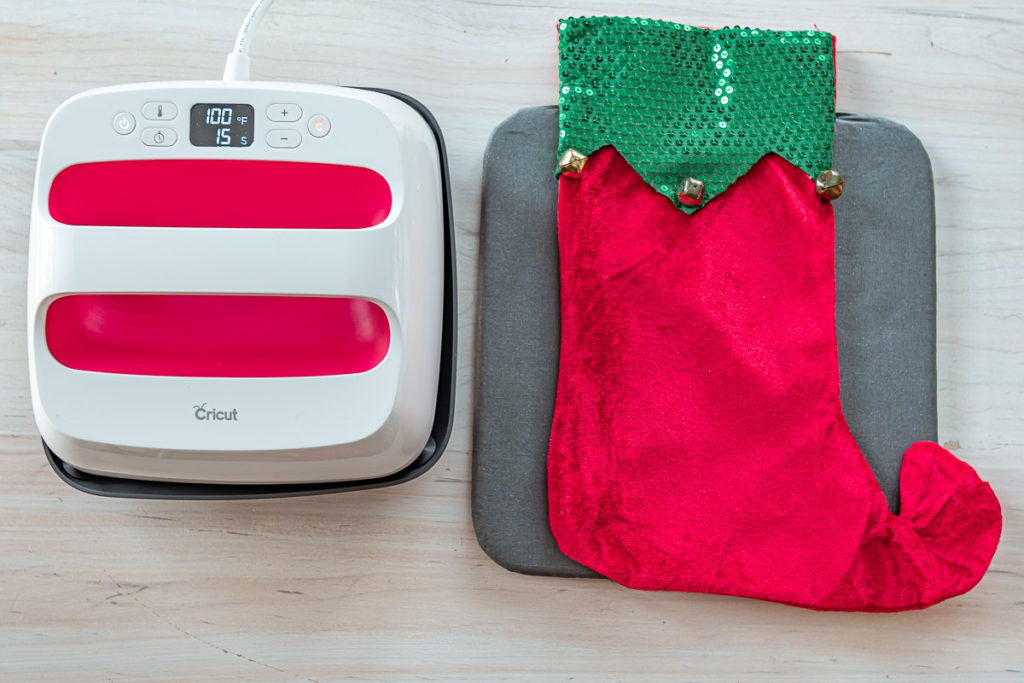
A fun fact to note is that Cricut has a heat guide right on their site which lets you input your material and fabric and tells you exactly what settings to set the EasyPress 2 to and how long to hold it for.
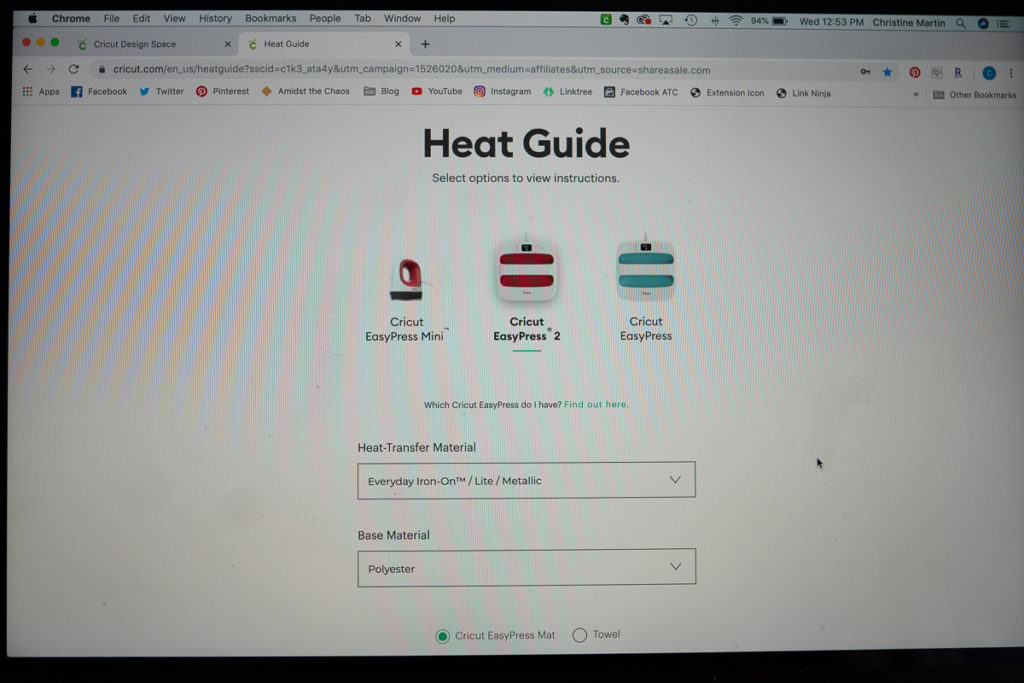
So for the stocking, you’re going to heat the EasyPress2 to 300 degrees and will hold it for 15 seconds with a firm pressure applied. You need to pre-heat the stocking for 5 seconds and then apply the monogram. Once in place, place the iron back on top of the monogram, click the Cricut button timer and hold until it beeps. You will then flip the stocking over and hold for another 15 seconds.

For this vinyl monogram, the heat guide recommends that you remove the plastic backing once it’s cooled slightly and is warm. Gently remove the backing, ensure all sides are sticking down.
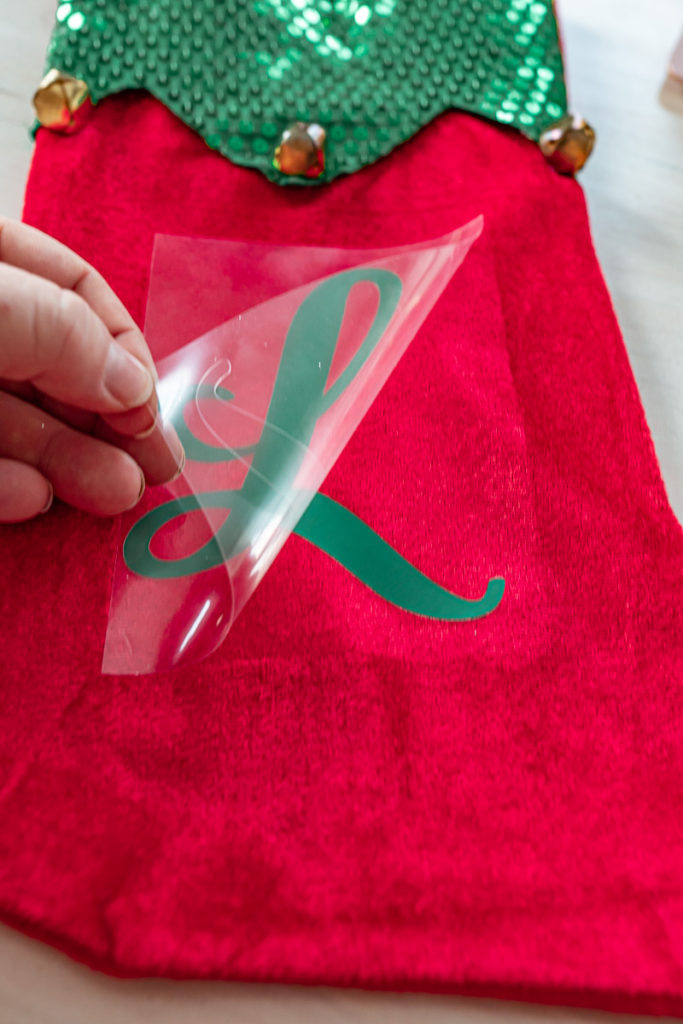
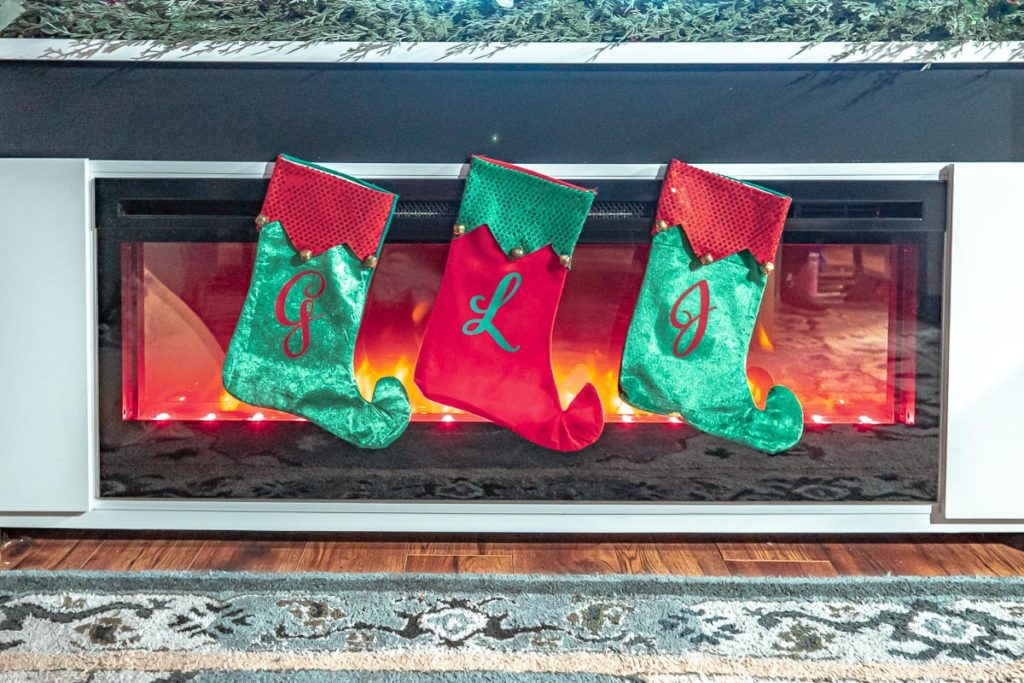
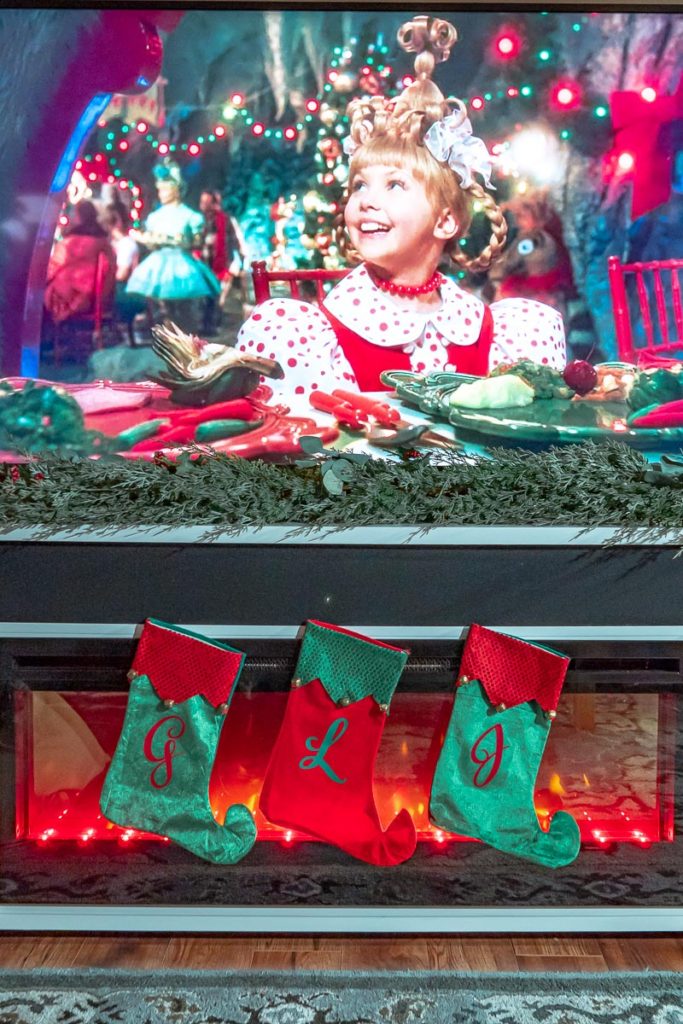
And then, you are finished! Here is the completed monogrammed Christmas stocking!
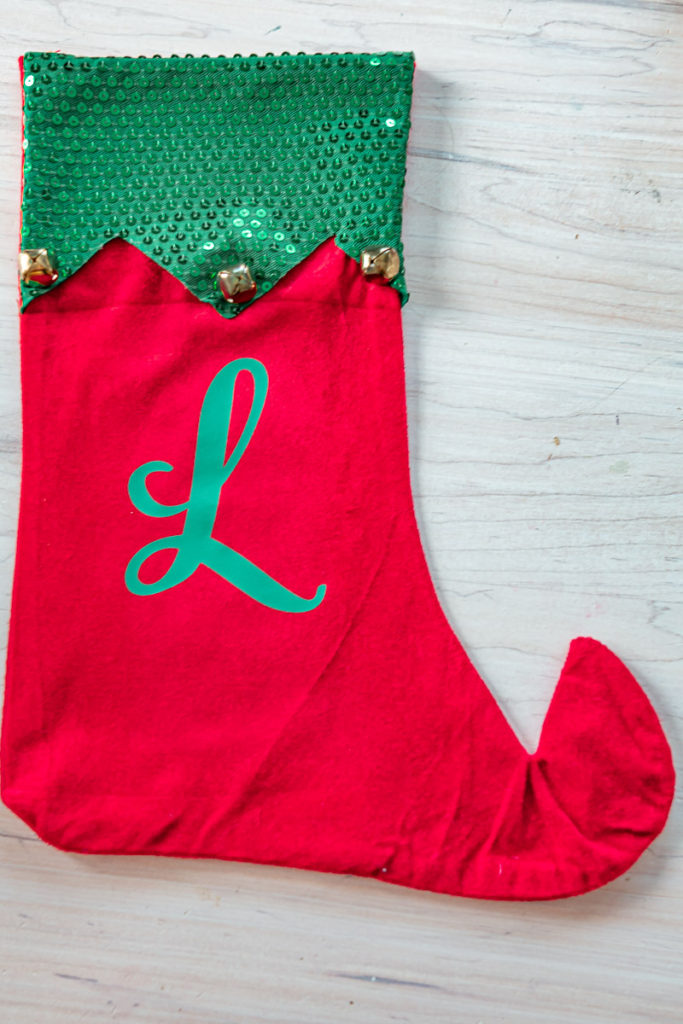
I know that sounds like a lot of steps, but trust me when I say that it took me less than five minutes to do from start to finish, once I had my design in place. BONUS: I’ve made my design public for you to use as well, just click this LINK and customize to your own letter.
I am SO impressed with the Cricut Explore Air 2 and I’ve only just begun my journey with this machine! The kids are even thrilled, begging us to create their own designs for t-shirts and personalized gifts. The options of things to create from paper items to iron-on vinyl to press-on vinyl on mugs or plates to even cutting leather – I know that this machine will bring our family hours of fun and countless unique creations!
Make sure to come back after Christmas where I’m going to share three personalized $5 hostess gifts that you can bring to someone’s home year round! You won’t want to miss it!
Until then, love & blessings and happiest of holidays,
Christine