I don’t know about you, but my kids are snackers. We are talking, non-stop, could-eat-all-day, would-rather-have-a-granola-bar-than-a-sandwich, kind of snackers. I’ve actually had to put the snacks under lock and key before because even when I think I’ve placed the snack box out of reach, my little monkey’s ALWAYS find a way to get them.
Now, to be fair, they do come by it honestly. I am a HUGE snacker as well. In fact, I would rather eat smaller, snack-style meals throughout the day than three large meals. I love just about anything bite-sized, hard-boiled, pickled and dipped. It should come as no surprise then how I feel about charcuterie boards and appetizer platters. YUM-Y!
One of my all-time favorite snack foods have been hard boiled eggs. My mom used to make them all the time for us as kids and this is a snack I continue to make for myself as well as my own kids, now that I’m older. I just love the amount of protein that is packed into such a small, yet tasty snack!
Now the one thing I DON’T love about hard boiled eggs is the boiling, cooling and shelling process. To be totally honest, this is what keeps me from having them more often. I’ve tried boiling them a number of different ways (including baking them in the oven). I’ve tried running them under cold water and submerging them in ice so that they peel easier. Yet it doesn’t seem to matter what method I try, my hard boiled eggs almost ALWAYS end up looking like a crater that was found in outer space: huge holes, jagged edges and not really round once I’m done with them.
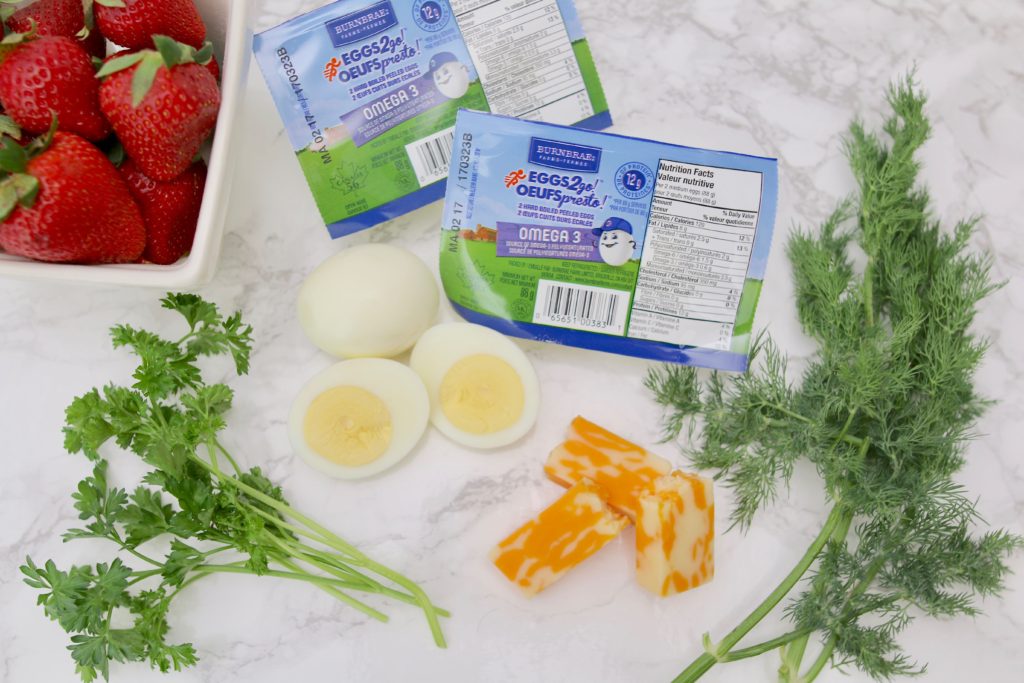
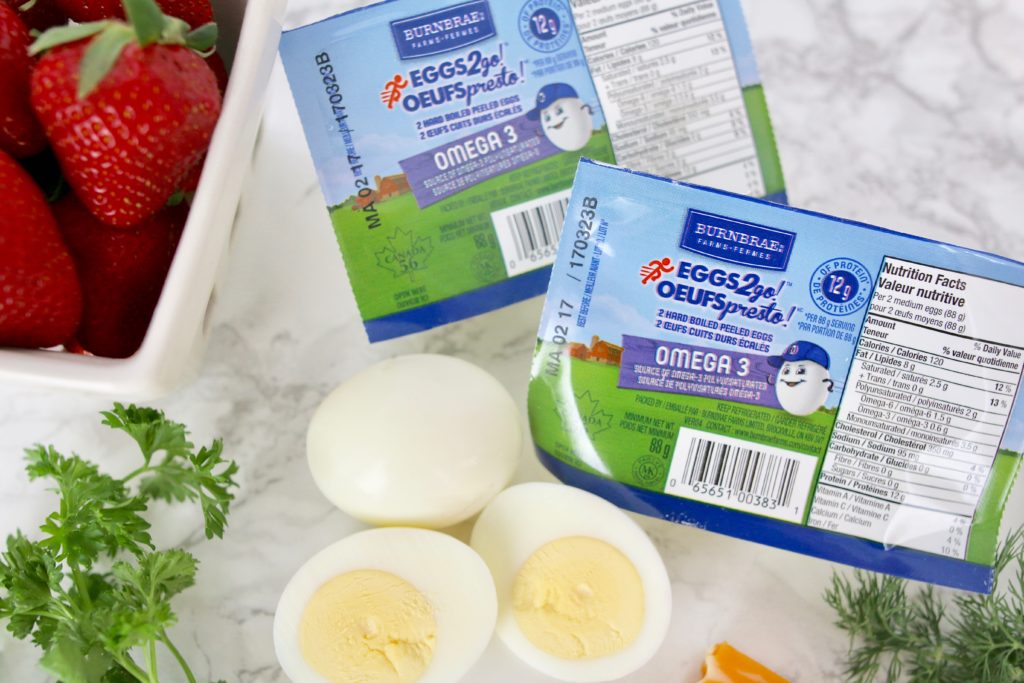
So you can imagine my sheer delight when I recently discovered Burnbrae Farms EGGS2go! hard boiled egg snack pack, filled with two medium sized eggs that are pre-boiled and peeled and ready for you to enjoy! As someone who loves hard boiled eggs but hates the hassle, these are absolutely a game changer for me!
Especially around this time of year with Easter celebrations this weekend, kids are going to be consuming an obscene amount of chocolates and various other candies. Because that’s what we do at Easter: we have Easter egg hunts and fill baskets with chocolates and enjoy 3-pounds of chocolate bunnies. And there’s nothing wrong with that! However, it’s important that we also try to incorporate some healthy snacks for the kids to keep their immune systems running smoothly and make sure they are getting the proper nutrition.
Now, like most kids (or even adults for that matter), chocolate almost ALWAYS looks more appealing than a healthy snack, am I right?! So the trick here is to try and make the healthy snack FUN and interactive!
So this week, we came up with the cutest little hard boiled egg creature that you can make with your children this weekend to enjoy all together!
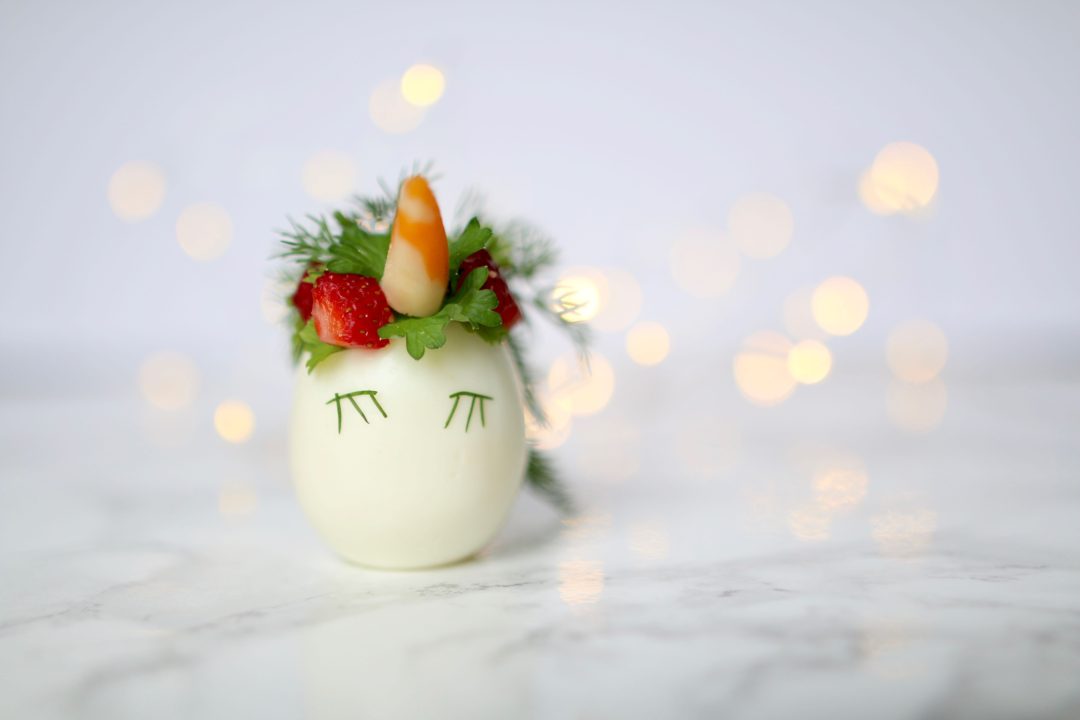
Let me introduce you to Unicorn Egg!

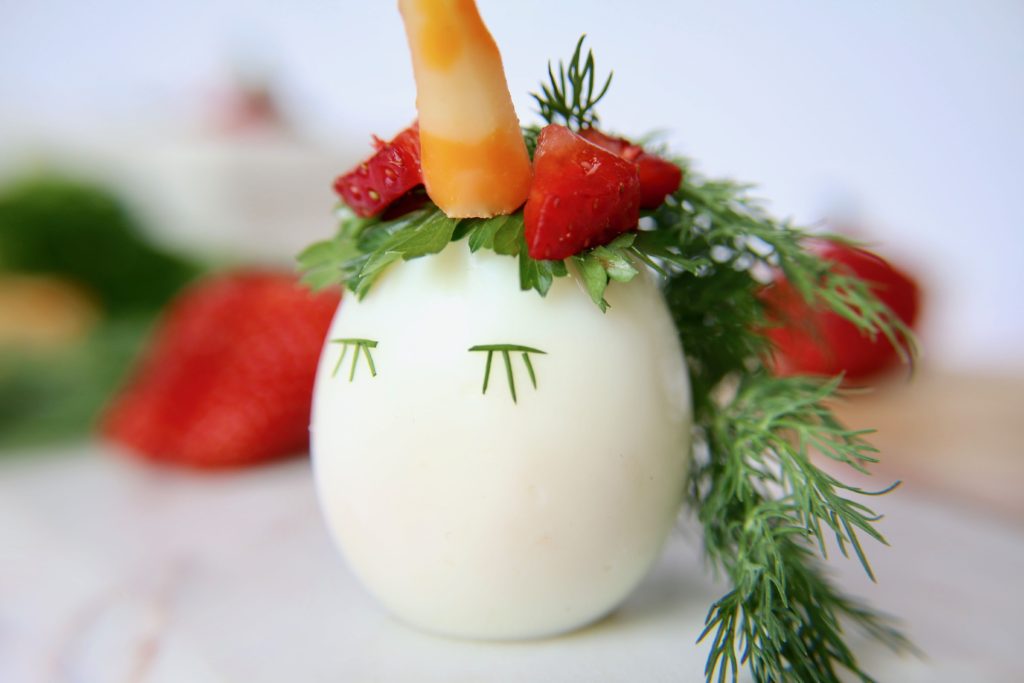
That’s right, we turned these Burnbrae Farms EGGS2go! into magical unicorn critters that are just about the cutest thing I’ve seen in a long time! And guess what? We only used four ingredients, most of which I already had on hand and the kids were able to join in the fun! Let’s walk you through the process so you too can make these magical creatures this Easter weekend!
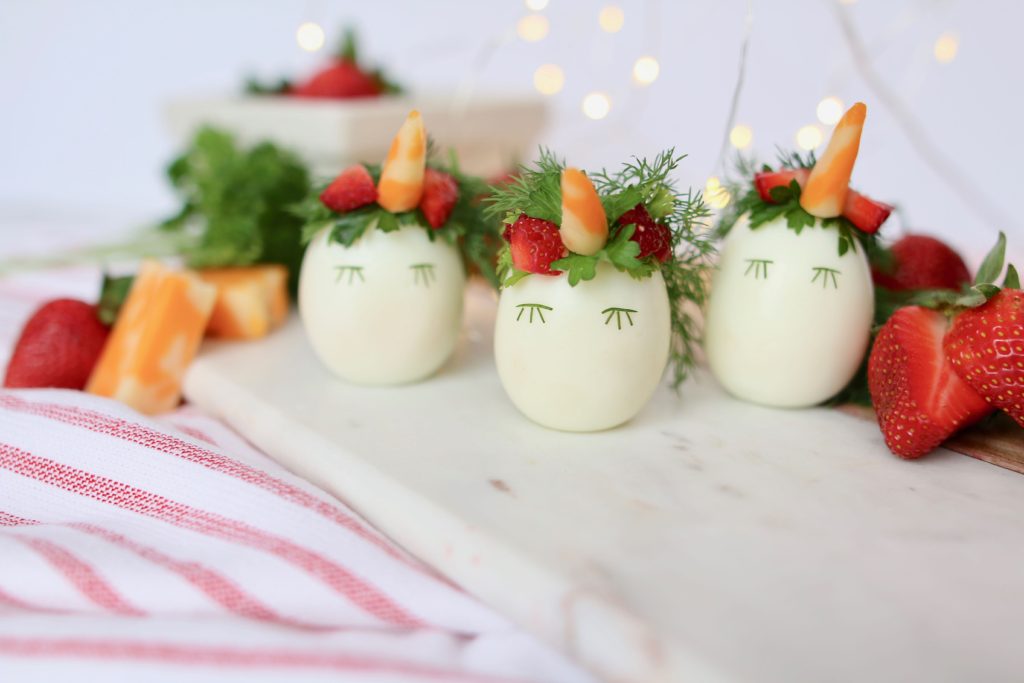
How to Create Unicorn Hard Boiled Egg Creatures
Step 1: Start with Burnbrae Farms EGGS2go! Snack Pack & Assemble Ingredients
To make this process as simple as possible, start with the Burnbrae Farms EGGS2go! snack pack. These are readily available in the deli section of most local grocery retailers. You will want to grab a few packs because I promise you that once your kids see these magical creations, they will ALL want them!
You will also want to assemble your ingredients for this creation. You will need marble cheese for the horn, fresh curly parsley and strawberries for the floral crown and fresh dill for the mane as well as the eyes. You will also need a bunch of toothpicks to help hold everything together.
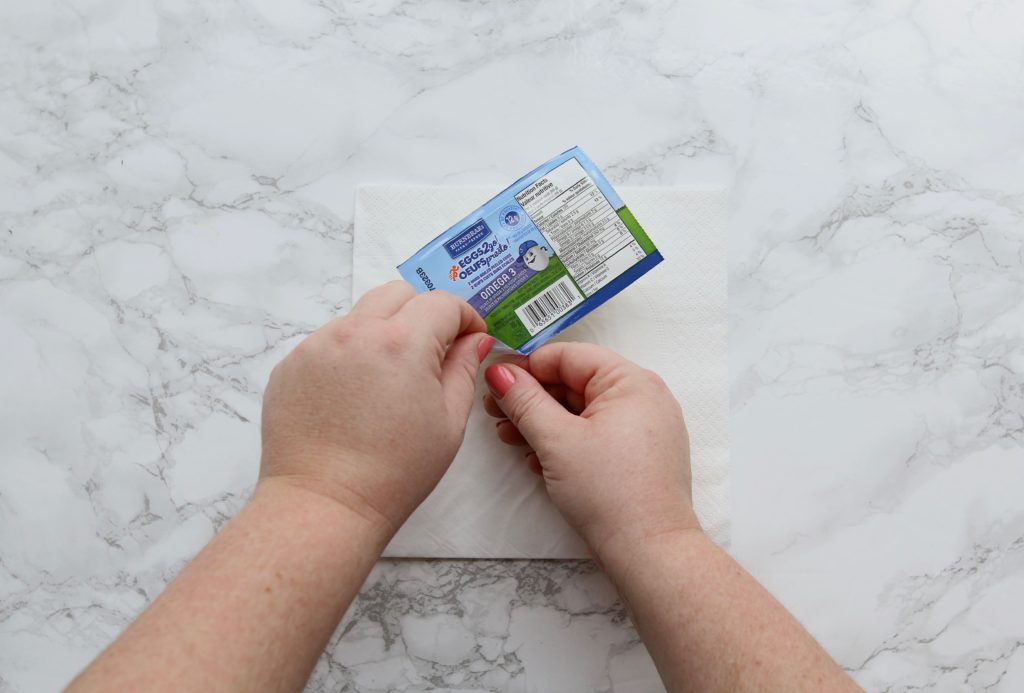
Step 2: Open Package and Pat Eggs Dry
Once you open the easy-to-open tab on the package, remove the eggs and pat them dry with a paper towel or serviette. The eggs are packaged in water to keep them fresh but you will want to dry the eggs off a bit in order to “stick” the ingredients on to create your creature.

Step 3: Create the Unicorn Horn
Now it’s time to start sculpting. Note, you can get as intricate or not here with this horn. Simply take a rectangle chunk of marble cheese and carefully using a knife, carve a unicorn horn. You will want the base the widest part and round in shape, tapering down to a smaller tip. Another note, make sure an adult does this part!

Step 4: Begin Assembling the Horn and Crown
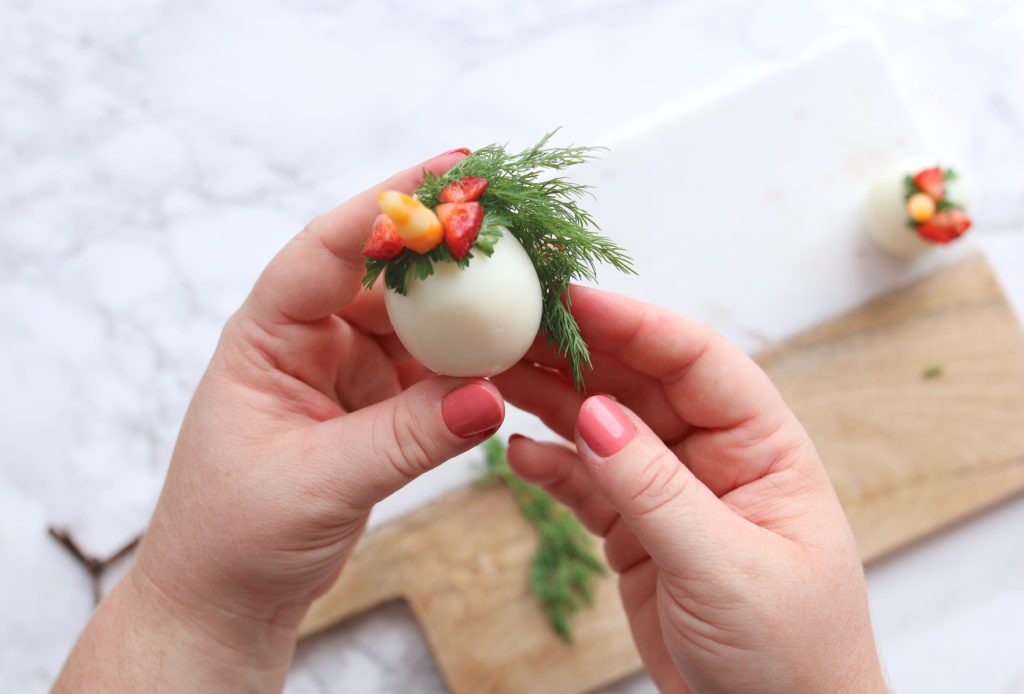
Breaking off the sharp point of a toothpick, spear the base of the horn with the toothpick. Then, take a leaf of curly parsley, place on the top of the egg and place the horn on top of it, securing it into place.
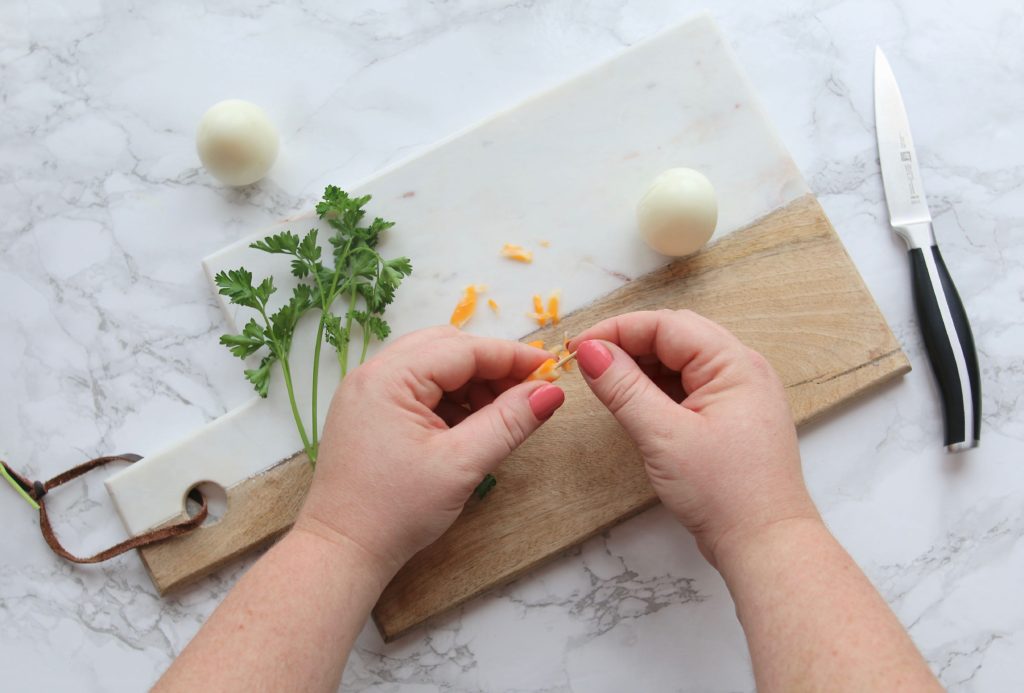

You will then want to add a few more pieces of parsley to complete the base of the crown. You may be able to spear the parsley directly into the egg or you may want to use the tips of toothpicks to further secure it. Note: just make sure that if you are using toothpicks to hold this all together that you do remove them all before the kids eat these critters!
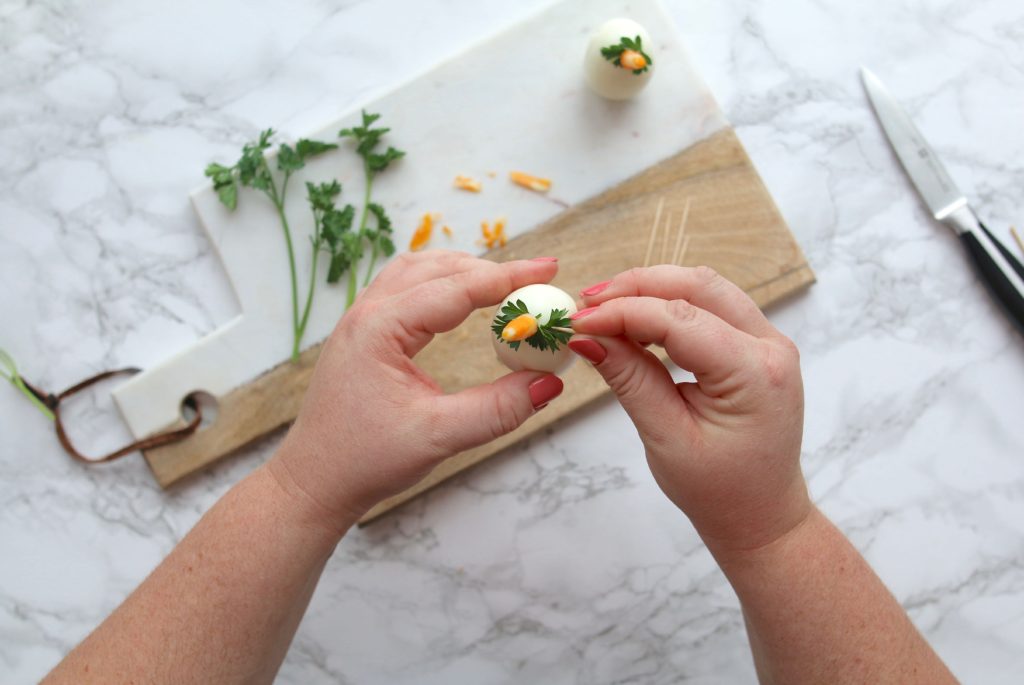

Step 5: Add in Strawberries to the Crown
Dicing up a strawberry into small pieces, add in three to four pieces of strawberry on either side of the horn to complete the crown. If the tips of the toothpicks are still sticking out from the curly parsley, you can simply place the strawberry piece on top of that. Otherwise, use more toothpicks to secure into place. This is a great job for the kids to help with!


Step 6: Add the Mane
You can’t have a unicorn without a mane, right?! Taking a few larger sprigs of fresh dill (look for ones that have more of a natural curve in them), secure the mane behind the horn. Again, I suggest using toothpicks to really secure it all into place.
If you find that the mane looks a little sparse, you can add in a few more sprigs of fresh fill underneath to give it a thicker look.
Then gently pull the dill to one side and hold tightly against the egg until it almost “sticks” to the egg.

Step 7: Create Eyes
The final step in bringing these unicorn egg creatures to life is to give them eyes! Using the bundle of fresh dill, simply cut off individual pieces of dill and place accordingly. I chose to do one larger piece of dill as the eyelid and then three shorter pieces of dill per eye, as the eye lashes.
Surprisingly, the dill was really easy to put into place. It will stick to your finger and then easily stick to the egg. Then I used my finger nail to gently move the “lashes” into place.


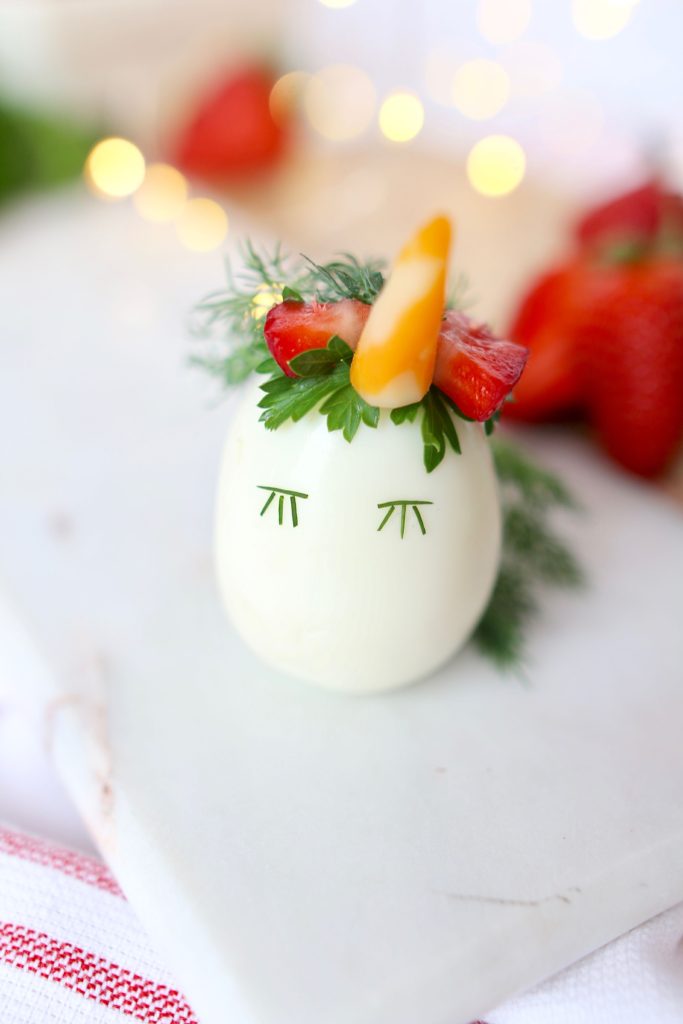
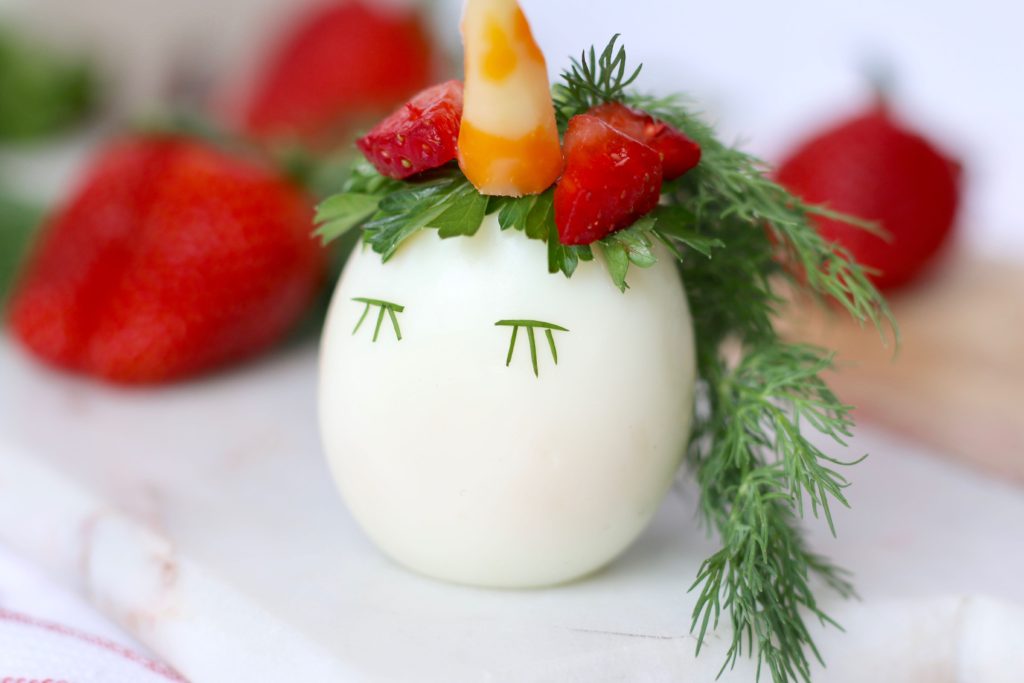
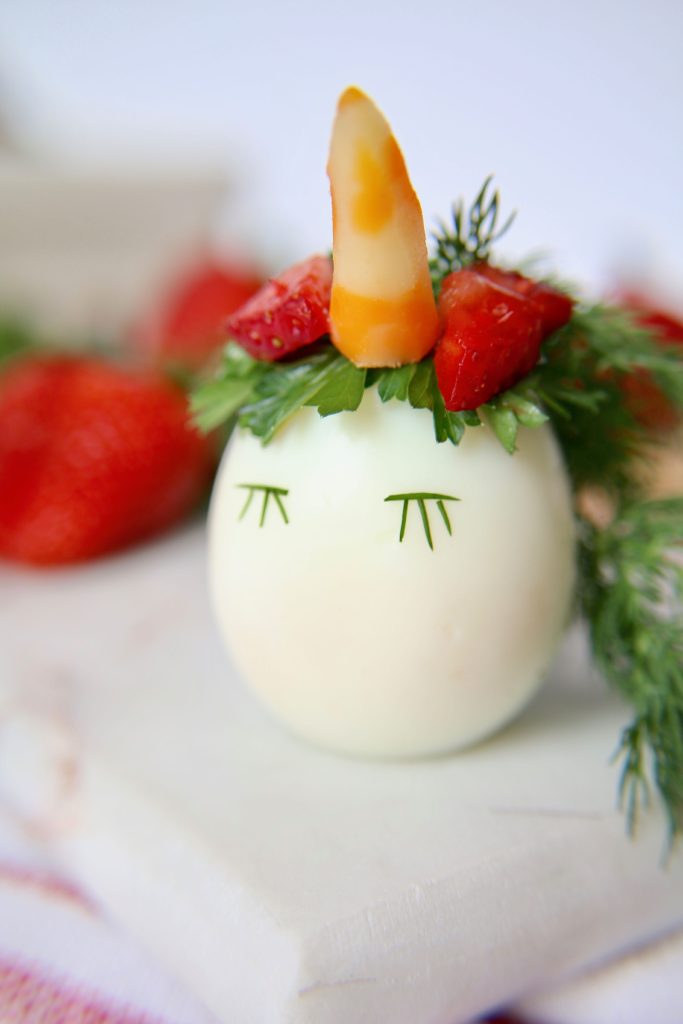 And there you have it! Your very own little hard boiled egg unicorn! Talk about the cutest yet healthy snack for you and your kids to enjoy this Easter weekend! Using all healthy ingredients, you can set these little critters out worry-free, knowing your kids will be getting a good source of protein while enjoying this fun-filled snack!



Have a healthy, safe and fun-filled Easter my friends!
Note: This post is sponsored by Burnbrae Farms where I may have received product and/or monetary compensation in exchange for my honest review. As always, the thoughts and creative ideas are 100% my own!

