Welcome to week three of the One Room Challenge. You know what that means? We are technically halfway there! Yahoo! If you have missed the first couple of weeks, you can catch up here: Week 1, Week 2.

The reason I say “technically” is because although it’s the halfway point of this challenge online, we are definitely not halfway done with the room. Yikes!
Have you ever done renovations in your home and you have to wait for one item to be done in order to finish EVERYTHING else?! Ya, well, that’s exactly what’s been happening here.
There are two main components that we are building for the room: the board and batten and the platform bed. While neither of these are necessarily hard, they are time consuming. And when hubby has a full time job, that means he’s slowly working away at this at night or on the weekends (sorry neighbors).
So today we are going to show you how to do your very own simplified board and batten. The reason I say simplified is because we didn’t actually install a “board.” We simply put up the battens, which gives a very similar yet simplified board and batten look.
Ok, so, you might be asking yourself “What is board and batten?”
Board and batten is a type of interior paneling (can also be exterior siding) that has alternating wide boards and narrow wooden strips, called battens. The boards are usually (but not always) one foot wide. The boards may be placed horizontally or vertically.
Let me show you my inspiration pictures that I was using when designing this room.
 Image Sources: Left / Middle / Right
There is just something that I’ve always loved about board and batten in a room. I feel like it brings the walls to life by giving them dimension and therefore adding instant character to a space.
I had always thought that it would be such a huge and nearly impossible process but after some research into it, we realized that we could definitely tackle it ourselves.
So with the help of our friends at Home Depot, we thought we would show you just how easy it is so that you can add a simplified board and batten to your space!
How To Build and Install Simplified Board and Batten:
Step 1: Decide On The Design
There are so many different designs when it comes to board and batten. You might want the battens closer together. You might want horizontal battens as well as vertical. There’s also height to consider. We decided to have ours go about two thirds of the ways up the wall, but some have it go all the way up. It’s completely up to you!
Places like Pinterest and Houzz are great sources of inspiration for these sorts of projects.
Step 2: Measure Out Your Space
Once you have the design set, you need to measure the wall(s) where you will be building the board and batten. This is so you know how much material you will need to purchase.

Step 3: Prepare the Room
Before you even make your first cut, you will need to prep your room. What we mean by this is that you will need to remove the furniture from the wall (if you have anything propped up against it) you are going to install the board and batten on.
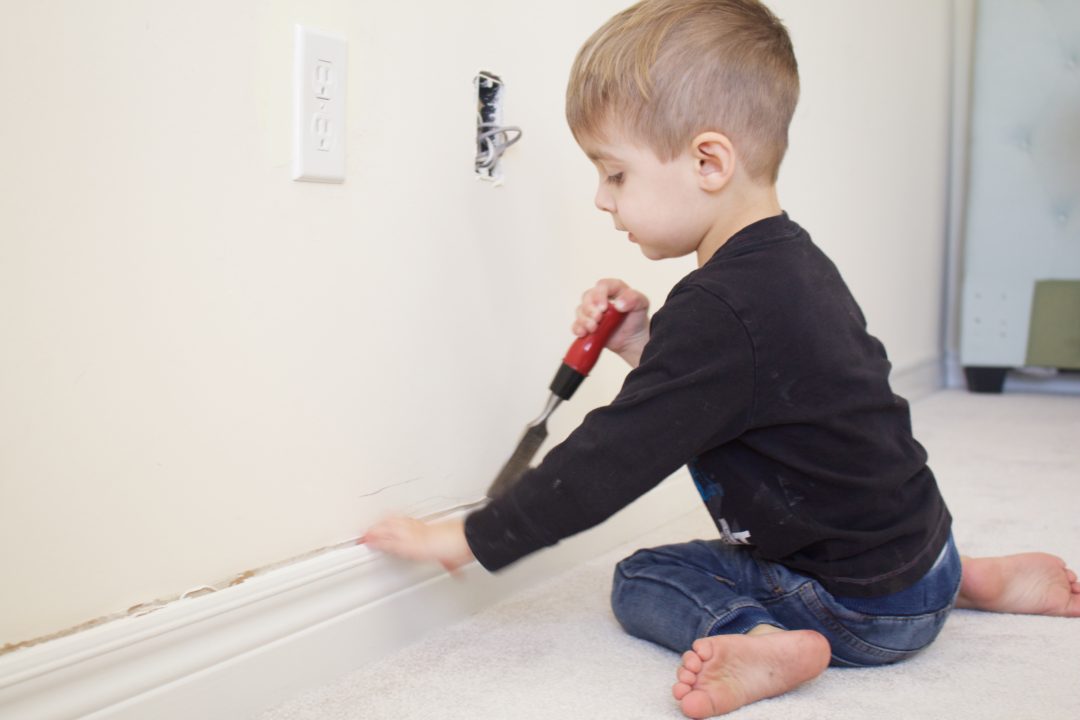
Along with clearing out the room, you will also need to remove the baseboards from the wall as you will be installing new ones.

 Step 4: Purchase Materials
Now that you’ve designed, measured and prepared the space, it’s finally time to SHOP materials! Again, there are many ways to do board and batten and therefore there is a large range of products you can shop.

We were able to do the headboard wall in our master bedroom for about $100 CAD. There were two reasons we were able to keep the cost low. First, we didn’t use boards for this project. We simply added the battens directly onto the wall, which gives it a very similar look while keeping the cost down. Secondly, we were able to find sheets of MDF that we could cut instead of buying pre-cut MDF or pine. This is much more cost efficient. If you don’t have access to a table saw where you can cut the MDF sheets yourself, I should mention that Home Depot offers a cutting service in store. Typically the first few cuts are free and then there may be a small fee for additional cuts.
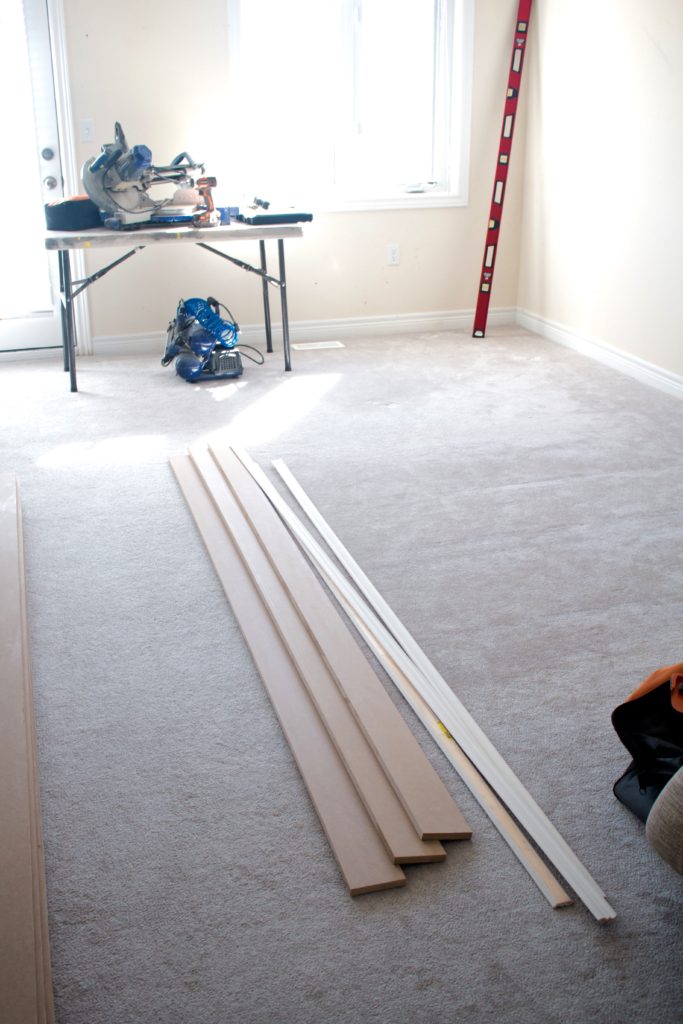
So here are the items that we used to complete the simplified board and batten look.
– MDF Sheets
– Moulding
– PL Constructive Adhesive
– Nails
Step 5: Cut the Board Into Strips
Like I said, we decided to go with the sheets of MDF and cut them into strips. We needed two different sizes: the baseboards were 4 1/4″ and the battens and top piece were 3 3/4″. My husband was able to set his table saw to the proper measurements and working together we were able to guide the sheets into the saw to be cut to size.
As I mentioned above, if you don’t want the hassle of cutting the sheets into strips, try getting them cut at Home Depot or buying the pre-cut pieces. They will cost more but sometimes time is money and it’s just easier to go that route.
When you are finished cutting all the pieces, make sure to wipe them down as there will be quite a bit of sawdust on them and you don’t want to track that all over your home.
Step 6: Mark and Layout Where Battens Will Go
Warning: this step requires some math skills. You want to make sure that you space the battens evenly apart. But you also want to make sure that it’s centered on the wall. So you will need to find the center of the wall and then you want that center point to become the center of one of the “boards.” Make sense? You will also want to place a batten on either end of the wall, so you need to factor those in too. We spaced our battens 23 inches apart so that we could get an even number of battens, spaced evenly on the wall.
Once you have everything calculated and measured out, now it’s time to make markings where the battens will go. For the top horizontal batten, it’s best to draw a line, to make sure it’s straight. If you happen to have a chalk line, this would be the perfect place to use. Having one person on either end of the wall, “snap” the chalk line to leave a blue line.

Step 7: Put Up Frame First
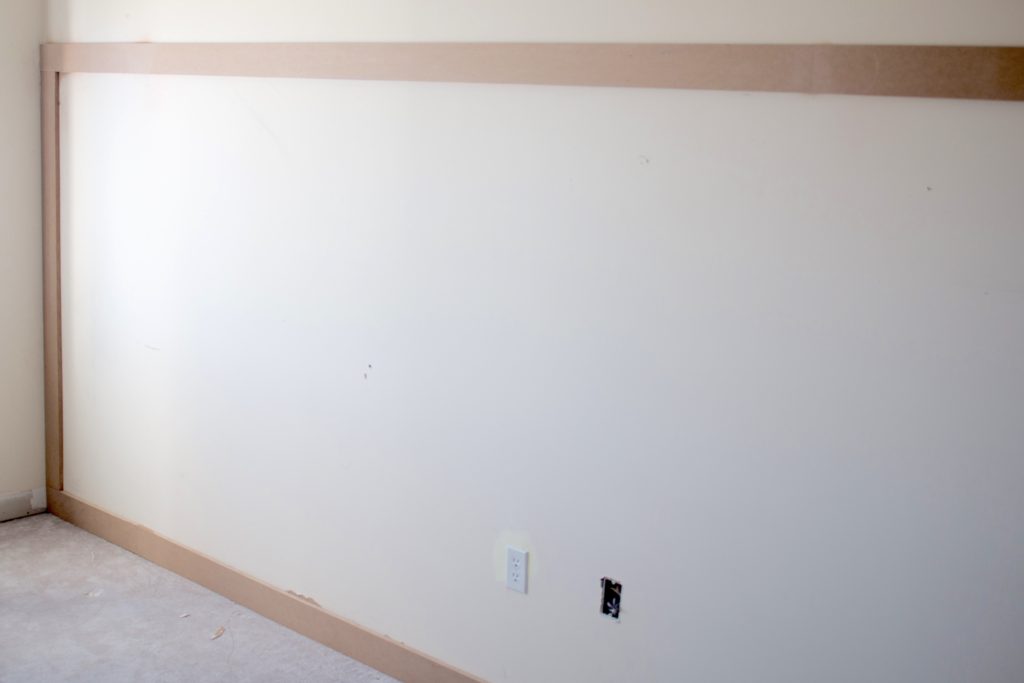
Now it’s time to start putting wood on the wall! Yay! Like most other building jobs, you are going to build your frame first. Start with the baseboard along the bottom and then add the two vertical pieces on either end. Once those are all in place, you will add the top horizontal piece.

Ok, back track, I guess I should tell you HOW to install the pieces eh?! You are going to use two items, which I listed above: nails and PL constructive adhesive. The adhesive needs to be applied in a thin bead-like manner (you don’t want too much dripping out the sides). For the nails, my husband uses 18 gauge, 2′ long brad nails in his air powered nail gun. This makes the job go so much faster.


 Step 8: Put up Battens
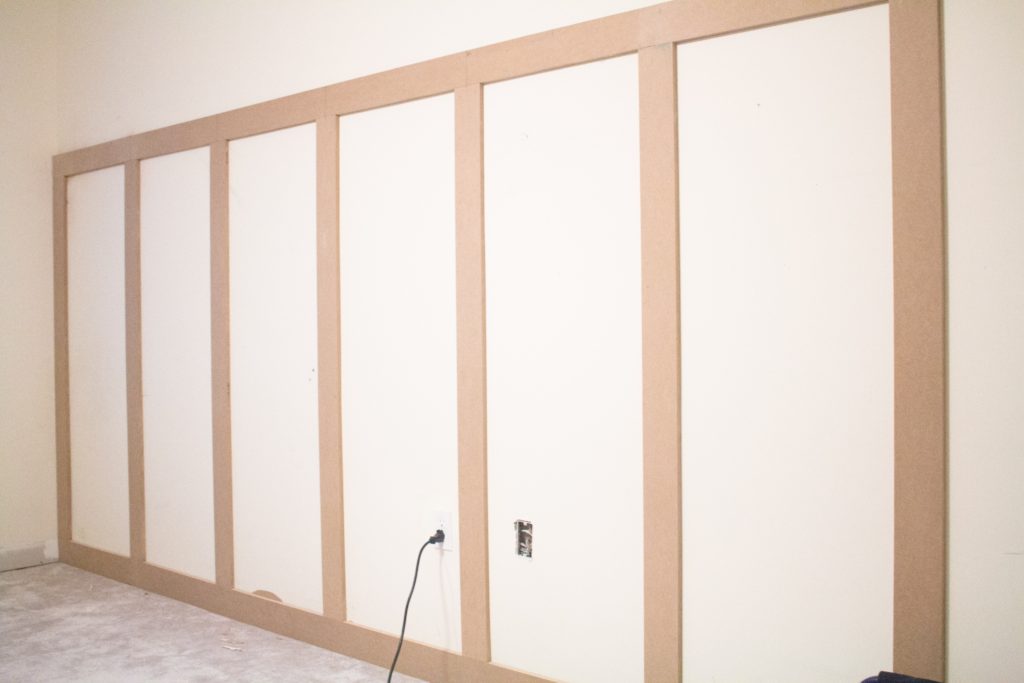
Once the frame is up, it’s time to put up the battens. Before you adhere and nail the boards to the wall, make sure they are EXACTLY where you want them. Otherwise it will be quite tricky to get them off.
My suggestion would be to start from the center point and work your way out, nailing battens on either side each time, til you reach both ends.
Step 9: Install Picture Ledge
For our design, we wanted to have a ledge on the top of the batten to put pictures on. To determine the size of the ledge, it will depend on the size of the crown moulding that you use. They need to match when butted up against each other. For us, our ledge is 2″ wide.
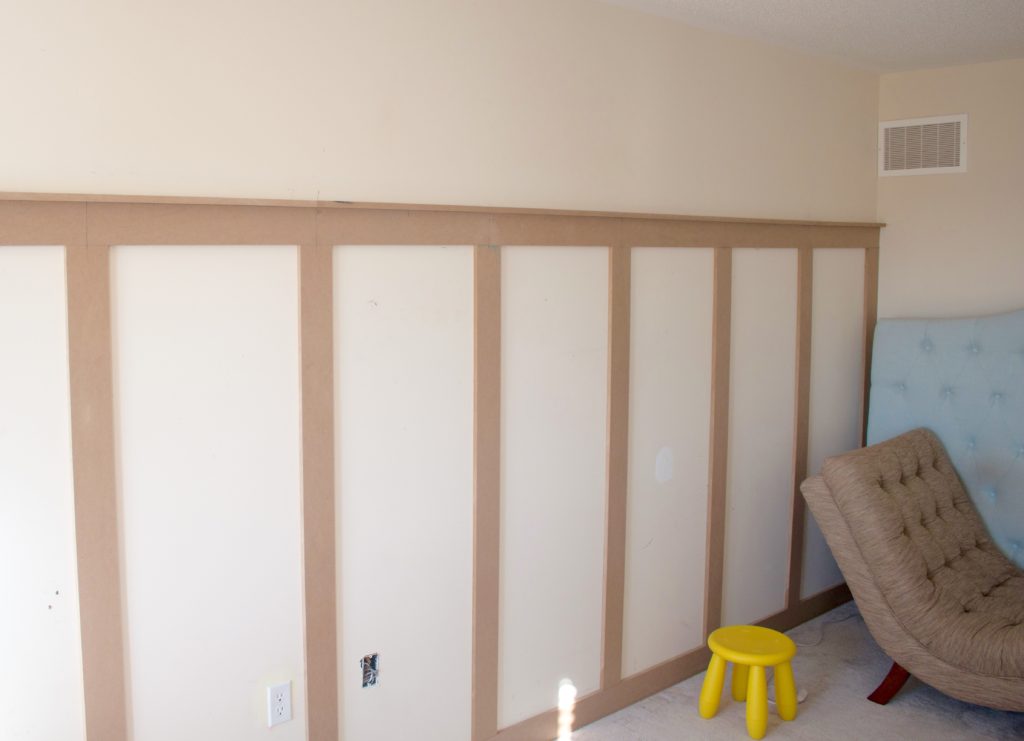
When installing the ledge, run a bead of glue along the top part of the horizontal batten that is already on the wall. Then using the nail gun, nail the ledge to that top batten.

Step 10: Install Crown Moulding
Crown moulding is the perfect way to finish off this look. Taking long strips of the moulding, using both glue and nails, place the crown moulding underneath the ledge, against the face of the batten to create a nice finished look.


Step 11: Fill In Nail Holes, Gaps and Sand
The final step in the construction of this simplified board and batten is to fill in all the nail holes and gaps. You want a smooth look for the finished product, so it’s important to not skip this step.
We had a tube of acrylic latex caulk to fill in all the little gaps. Once that has dried (a good 24 hours), then it’s time to sand the caulk down and you should be left with seamless perfection!
I unfortunately don’t have a finished picture yet, because as I said at the top of the post, it’s not finished! We’ve had a major delay waiting on all the paint to arrive, so fingers crossed it comes tomorrow and we can get this board and batten painted and prettied!
So what do you think? Would you try this simplified board and batten in your home? Let me know in the comments below so I can encourage you to GO FOR IT!!!
And make sure to come back NEXT week for week four of the One Room Challenge where we will teach you how to build a platform for you bed!

