Welcome to week three of our boys room makeover. For the last few weeks, I’ve been sharing the beginning details of their new room design. If you’ve missed it, you can catch up here, here and here.

Last week I talked with you about how we painted the walls and this week I wanted to talk about how we painted the beds! Yup, you read that right: we painted the beds!
Before I get into that, let me walk you through our decision on what beds to get the boys. Up until this point, our older son was in a loft bed and our youngest was still in his crib.
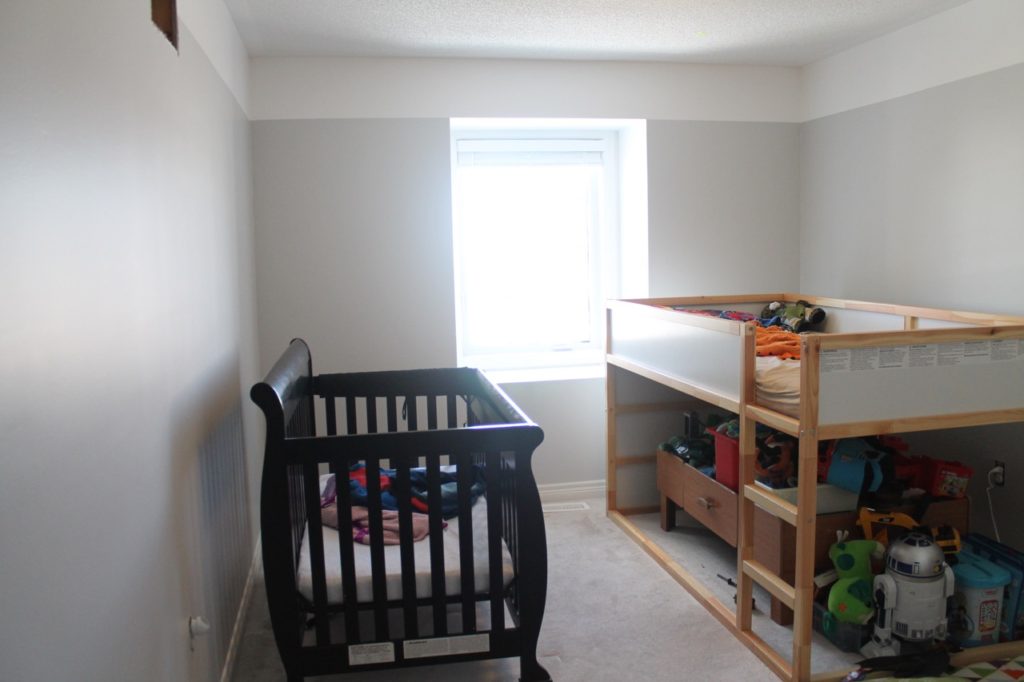
We had always thought that we would want bunk beds in their room but as we started searching we realized that a) bunk beds aren’t always the coolest looking things and b) the coolest ones were super expensive.
I ended up finding a bunk bed on kijiji (similar to Craig’s List) that were two identical twin beds, that you could stack on each other for twins or use as two separate beds. They were in almost perfect condition and a fraction of the costs of bunks.

The only issue with them was that they weren’t the right colour. So we decided that we would paint them.
For colour, we wanted something fun that would bring out one of the colours from their comforters. So we decided on yellow!
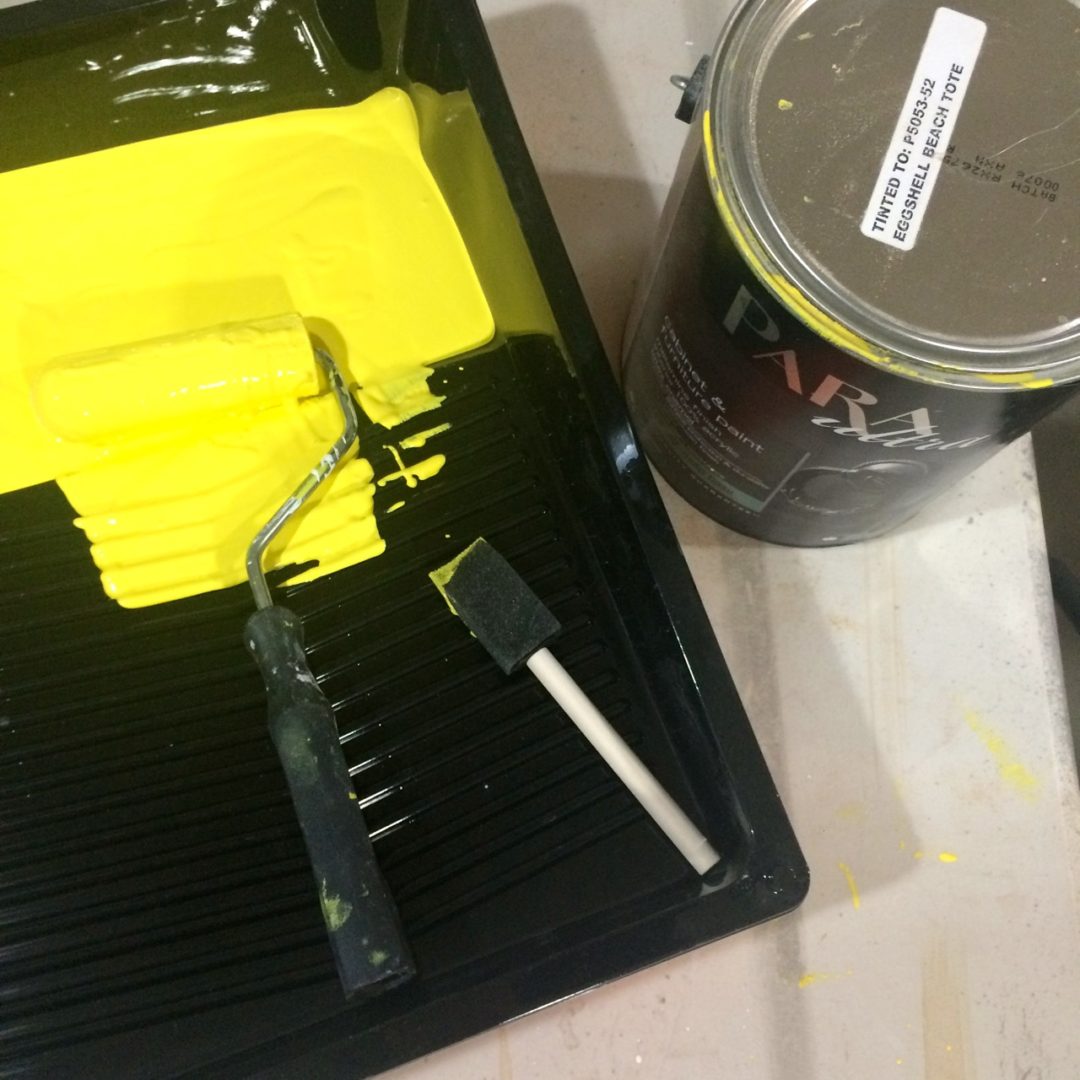
Using our Para Paints fan deck, we selected the perfect yellow paint called “Beach Tote.” It’s like the perfect blend of lemon and banana a yellow.
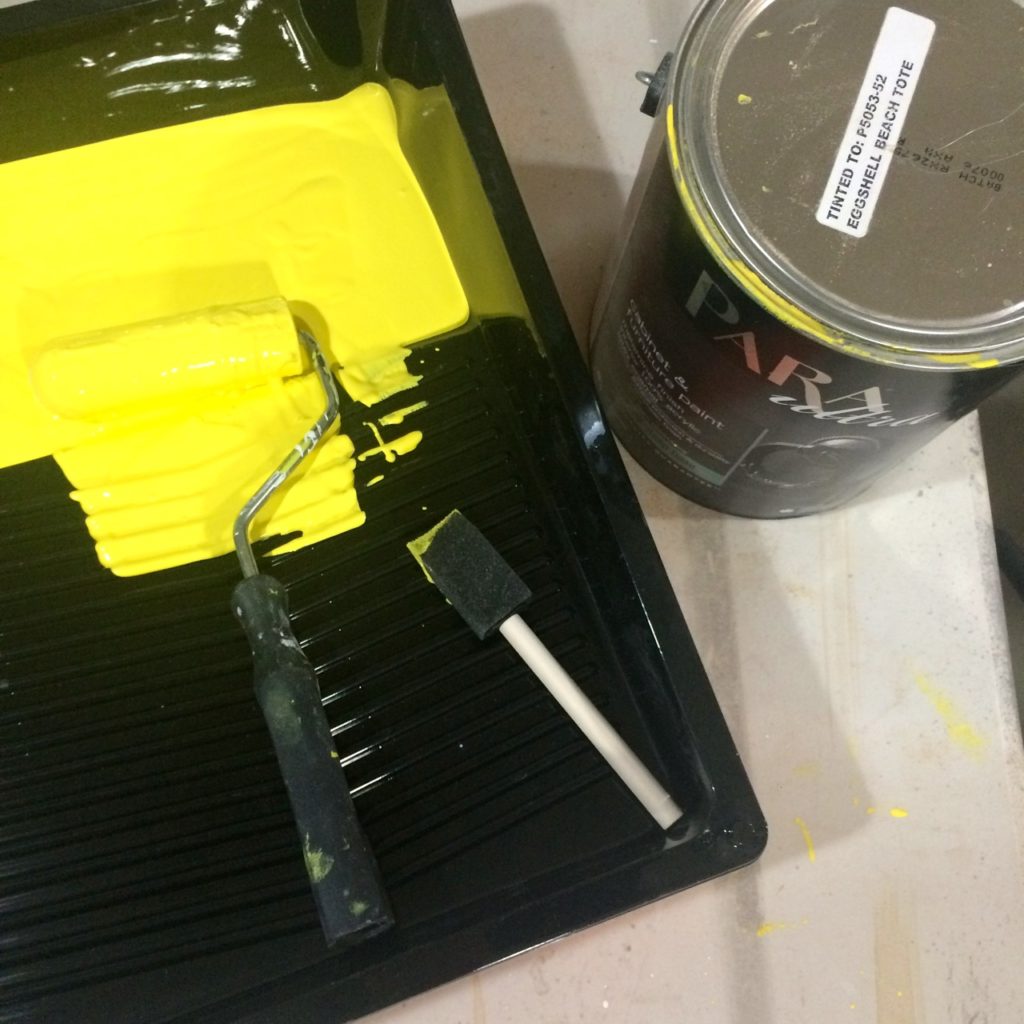
My husband and mother-in-law set up quite the paint shop in our garage. They used Para Paints super stick as a primer first. But there ended up being a problem: the beds ended up having an oil finish and so once the super stick primer was dry, you could peel it right off.
So my husband sanded down all of the parts of the bed and they started over again.

The paint went on really well, as it did with the walls. I really love Para Paints for the thick consistency, easy application and low odours. It makes painting that much more enjoyable!

And that, my friends, is it for this weeks update! Make sure to follow along with all the other participants from Calling It Home’s One Room Challenge!
And be sure to tune in next week when I show you the bedding that we chose and how it looks set up with the beds!

