You know those unfinished projects that sit around in your home for months on end, with the hope that you WILL get to them one day? Ya, we all have them. Sitting there, collecting dust and more and more promises that they will one day, get worked on.
Well, this past Labour day weekend, the hubby and I decided to finally tackle one of those projects! Last summer, we purchased an old buffet and hutch from Kijiji (Canada’s version of Craiglist), for $80. It had already been “refinished” but not well.

For starters, when the previous owner was placing it into our van, he dropped it and one of the panes of glass shattered. So it’s literally sat for a year, in our kitchen, with a piece of glass missing, while we debated what we wanted to do about the broken glass (you probably can’t even tell which side is missing the glass in the picture!). We thought about replacing it, but then quickly realized, that would work because the two side doors don’t open. Then we thought about breaking the other side pane of glass and putting chicken wire on both sides. But, that seemed like a lot of work. So, it sat for a little longer, unfinished.

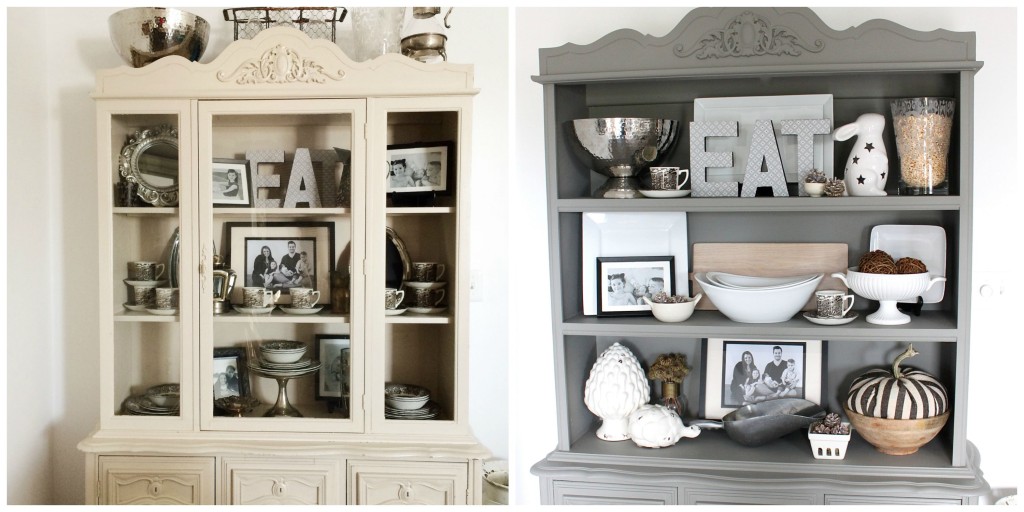
After a few months of staring at it, I decided that it looked too closed in and that I couldn’t really see anything in there. Hubby also hated the color. It had quite the glossy finish on it which he also wasn’t a fan on.
So, this past weekend, we came up with a final plan and just went for it. My husband basically rebuilt most of the hutch part. He took off all the doors, cut down the side trim, took apart the glass shelves and cleaned up the inside (it was full of random nails, cords and a light). He built new shelves and put on new trim to finish off the look.
This is the ONLY “during” picture that I got! I’m not good at stopping and taking progress pictures (although I did ‘snap’ a few pictures and videos for my SnapChat followers. If you want to follow along, my username is amidstthechaos).
 Then I mixed up some chalk paint, using our Benjamin Moore “Chelsea Gray” paint and went to town on painting this piece. It took me FOREVER! I really loved the recipe I used (I will do a post on that soon), but it was a little thin, so that meant multiple coats. And there are so many crevices and finer details that I had to take my time with.
After three coats of the chalk paint, it was time to wax. If I thought painting three coats was time consuming, I had another thing coming with the wax coat. You have to wax over top of chalk paint and as you apply the wax, you have to buff it out…so it’s almost like doing two things at once. Lots and lots of “elbow grease” put into this. BUT…the end result is better than we expected!

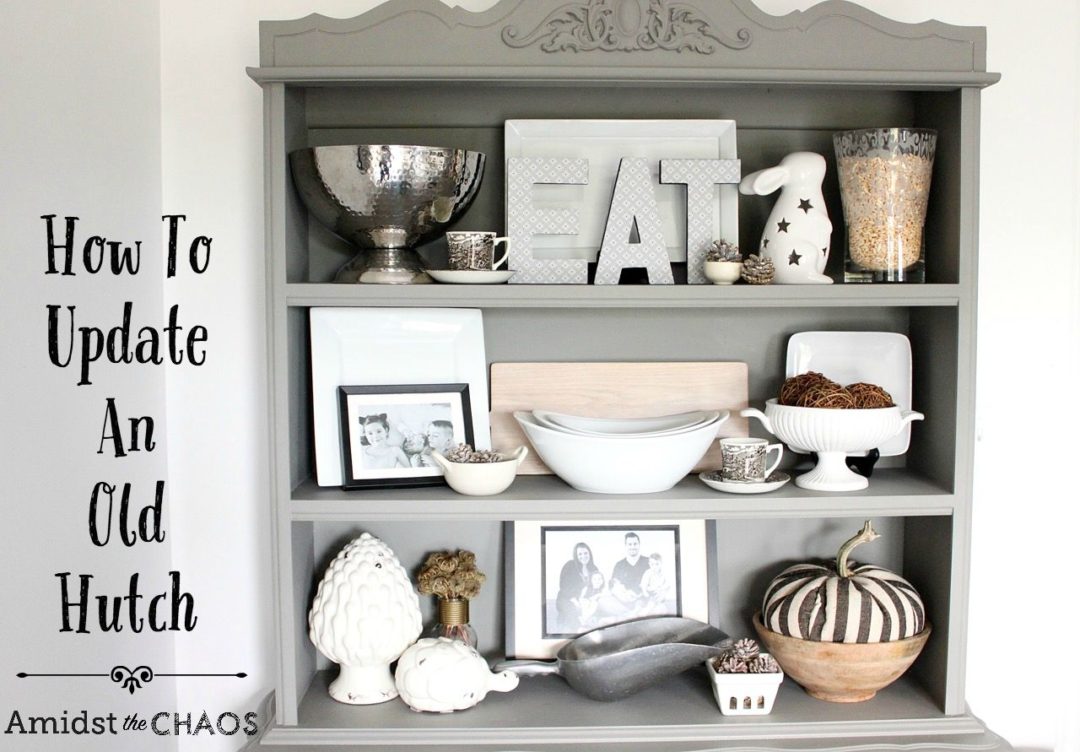
I absolutely love the open look of these shelves now. I went through and really edited which pieces I wanted to display. I even went into my cupboard and pulled out some of our white serving dishes to put on display.
So if you have been thinking about redoing an old hutch, I would make sure you set aside a few days, because it is a BIG project. But it is SO worth it! Don’t be afraid to take down the doors and open the shelving up. By purchasing inexpensive trim at the hardware store, you can finish the front of the shelves to make it look like it was in fact built exactly like that. This project cost us about $20 of materials, using paint we already had.

When it comes to styling your hutch (or any open shelving, for that matter), make sure to shop your home first. You will be amazed at what you can find. And as I said, open up your kitchen cupboards and see what you can put on display from in there. For mine, I used the white serving trays and bowls, a cutting board, a punch bowl and a few smaller bowls.
Then add in your thrifted finds. I found this amazing metal scoop at my local Value Village and I knew it would look amazing on the shelf. If there are any items that your family is no longer using, ask if you can have them. For example, my mom’s old dish set, that she started collecting before she was married (over 34 years ago), she had packed away in a box. So I asked if I could have it to display in our kitchen! I love having pieces like that, that tell a story!
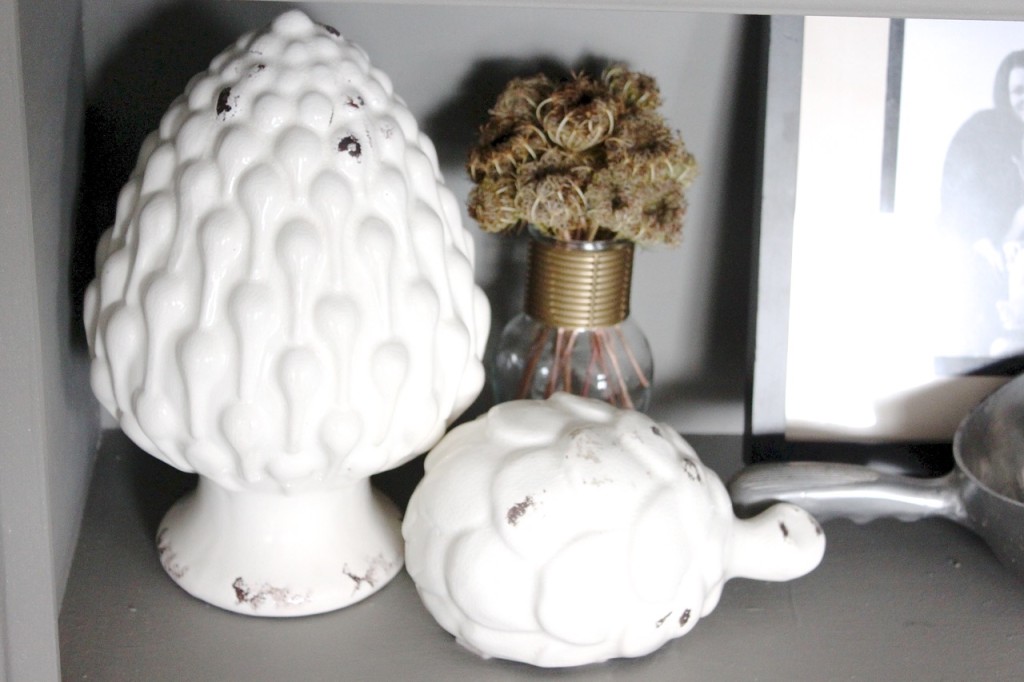
Finally, you want to add in some crafty pieces. I made the EAT sign from letters that I got at Hobby Lobby and then modge podged them with paper. I also wanted to add in a little bit of nature, so I found some pine cones in a box (that I’m pretty sure are Christmas decorations, but that’s ok). I then went out to the field behind our home and snipped a few dried flowers to finish the look!

 I’d say the before and after is pretty incredible! The whole piece looks twice the size. It feels like there’s more “breathing” space…it’s not so confined, not so closed in. And by darkening the color of the hutch, it really makes our pieces stand out that much more.
For less than $100 dollars, we not only got a buffet/hutch, but we were able to update the entire thing and bring it back to life!

I want to know what projects you have been putting off in your home? Let me know in the comments below and let me encourage you to get to them this coming weekend!
Love & Blessings,


