It’s another exciting day at Amidst the Chaos as I get to introduce you to one of my friends and the newest member of our ATC family of contributors: Jess! She is a DIY expert and I know you will all love her super cool and eclectic style. Jess will be sharing a DIY tutorial style post once a month here. All of her projects are easy, relatively inexpensive and very doable! I’m so excited for you all to meet Jess and get to know her! So make sure you give her a warm welcome to Amidst the Chaos!
Hello All! My name is Jessica aka Jess and I blog over at Domicile 37. I have been creating things since a young age and designing spaces since college, I now have the opportunity to take my design addiction to another level and share it with all of you. I am a mom to 3 crazy, spirited kids and am married to a collegiate strength coach. I have a degree in Industrial Design and I minored in Interior Design. Throughout all my adulthood, every career choice I made pointed me to design. I now have the opportunity to share my eclectic sense of style with all of you at Amidst the Chaos.
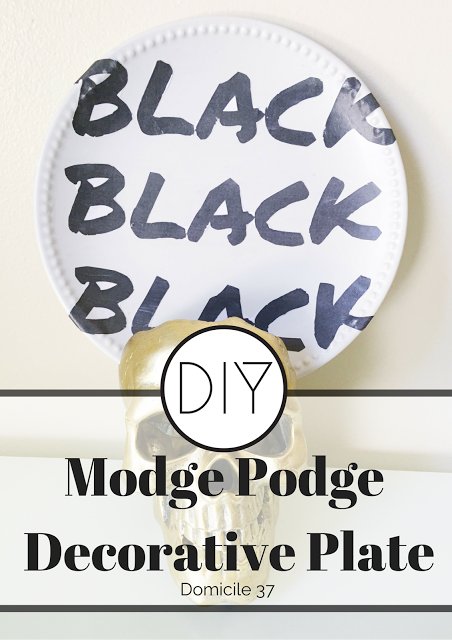
Today, I have an easy DIY that can be interpreted any way to fit into your home decor style. My decor style is more of an eclectic edge with a vintage twist, but when it comes to DIY I like to take it up a bit and modernize pieces that I can use within any design scheme. For some reason I love how the word “black” looks in cool fonts—It is kind of an obsession…I saw the word “black” written in a chic fashion magazine a couple years ago and since then, I have been hooked. With this DIY I took a play on black and white stripes and substituted black stripes for the word “black.” I used a thrift store white medium sized plate that I purchase for approximately a quarter. You can find plates to DIY anywhere…the dollar store, yard sale, thrift store, ebay, walmart, target…anywhere!
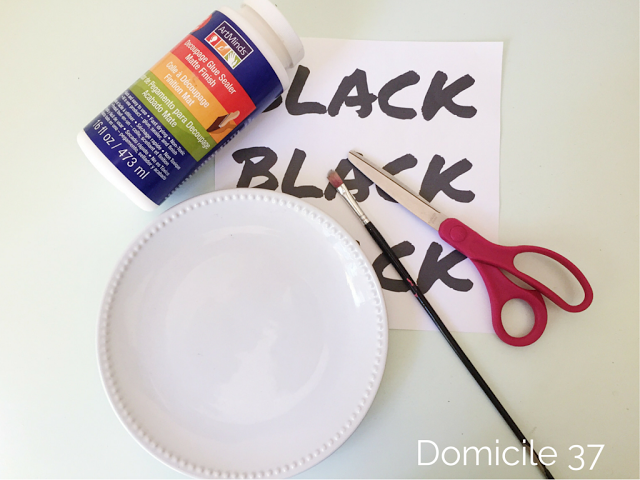
Materials:
Printed image of your liking
Plate of your choice and size
Modge Podge
Scissors
Paint brush or foam brush
*Note: Remember to print your image in proportion to your plate size
Steps:
Prior to doing anything, make sure the plate you are working with is clean and dry.
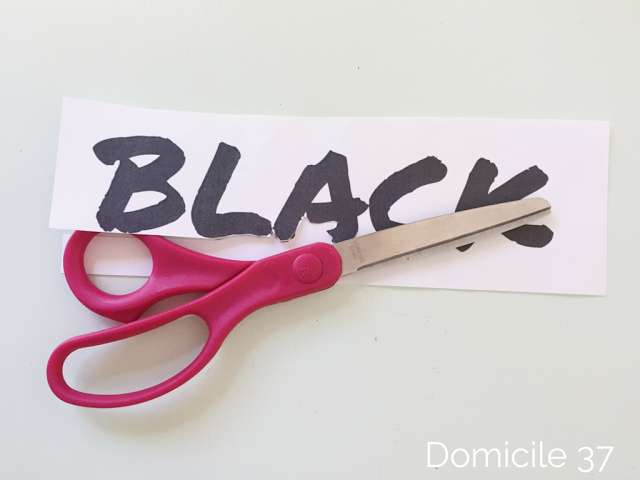
Cut your image out with scissors.
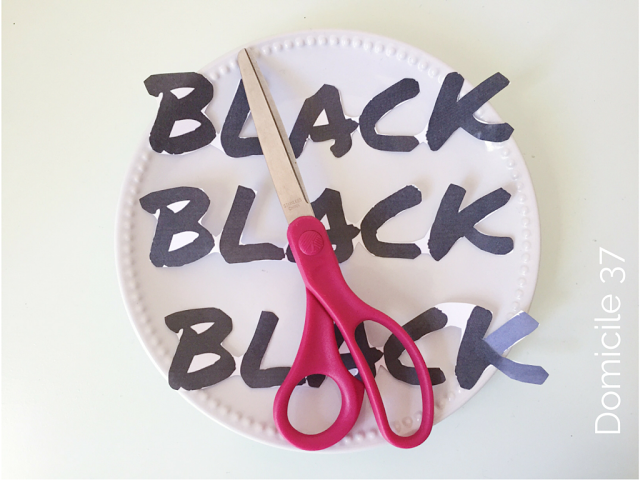
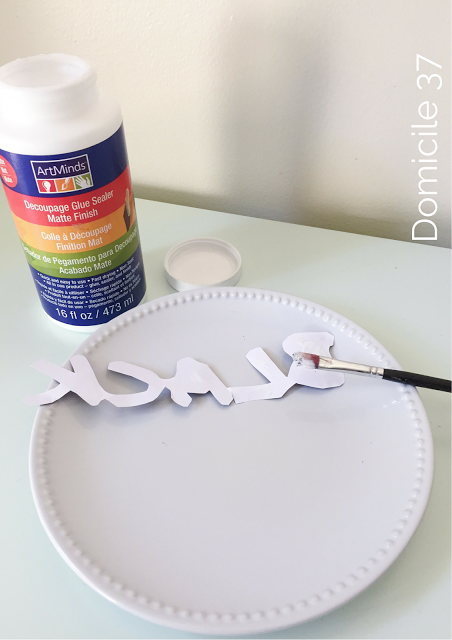
Apply modge podge to the back of your image. Then place image on plate, back down, on desired location.
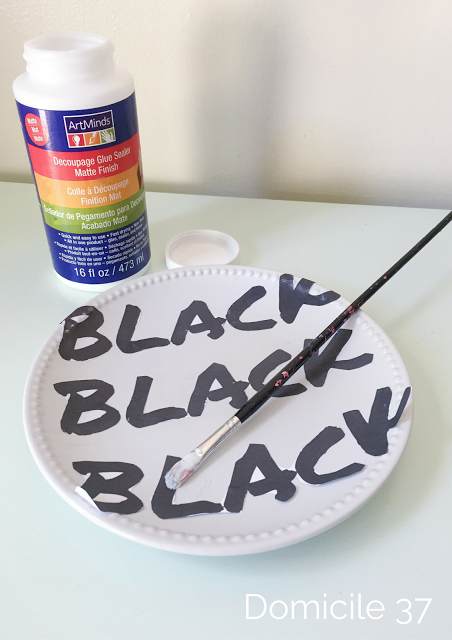
Apply modge podge to the front of the image and around image to make sure that it is secure to the plate.
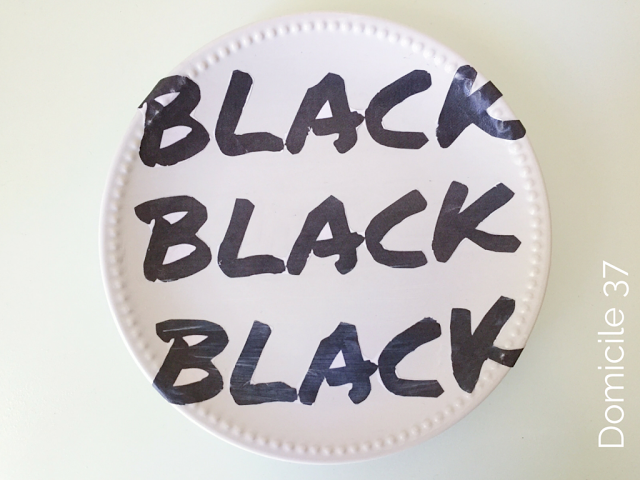
Let the modge podge dry, it takes about 5minutes.
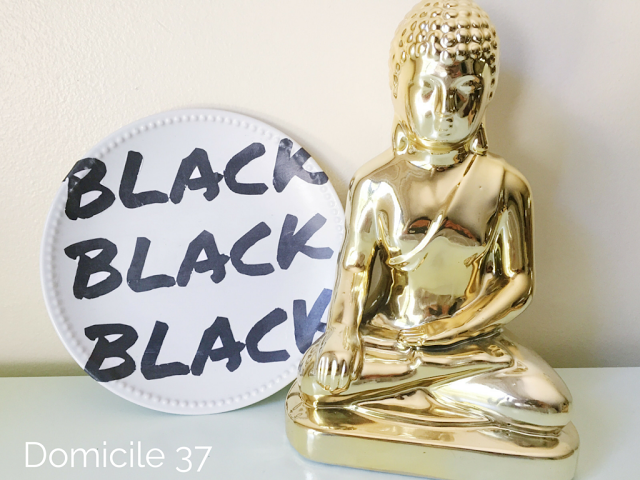
Hang plate on wall or use as jewelry tray or stationary tray for paperclips and other knick knacks.
I hope all of you enjoyed this simple DIY and I hope I was able to inspire you to create some cool decorative plates for this upcoming holiday seasons.
—
Jessica Rey (Reilly)

