This is a sponsored conversation written by me on behalf of Cricut. The opinions and text are all mine.
Happy New Year, friends! We are thrilled to be kicking of 2020 with another super fun Cricut project! If you remember before Christmas, we shared our very first Cricut project: Monogrammed Christmas Stockings, using the Cricut Explorer Air 2. While initially nervous to start using the machine, I very quickly realized that there was absolutely nothing to fear when creating with Cricut! In fact, after that first project, I immediately had a sudden urge to MAKE ALL THE THINGS! Pillows, mugs, cards, wall decals, t-shirts – you name it, I started dreaming about making it! And so did my kids! They have all been begging for custom tees, which I promised we will tackle soon!
Today, we wanted to share with you three super easy and inexpensive, personalized hostess gifts, each of them under $5! All the items purchased I found at the dollar store and by adding a personalized monogram or saying to it with the Cricut, it takes the inexpensive gift and makes it invaluable and something so special to bring to a friend!

For these projects, I’ll be using two kinds of vinyl, with two techniques for application. First, I’ll be using iron-on vinyl, along with the Cricut EasyPress2 to make custom pillows for the kids grandma’s. For the other two hostess gifts, I’ll be showing you how to use premium vinyl that you press on using transfer tape to the plates and canisters!
We’ve also filmed a YouTube video where I show how I created each item, so make sure to scroll down to watch it!
1. Customized Grandma Pillows
For our first hostess gifts, I thought about making something for the kids grandma’s, as we visit their homes often. And if you’ve ever tried to buy little gifts for your parents, you know that they likely have everything – except a custom pillow from their grandkids! The kids call our moms “Nana” and “Baba” (Ukrainian for Grandma). I thought of adding the “established” date for when they both became grandma’s, which was in 2010, for an added sentimental touch.

For the pillows, I found these 16×16 pillows from Dollarama for $4 each. For this project, you’ll need a pillow, Iron-On vinyl and the EasyPress2 iron from Cricut, along with your Cricut Explore Air2. If you don’t have an EasyPress2, that’s ok – a regular iron will work as well – but I will be talking about some of the benefits of having this specific iron to help with your Cricut projects.
Step 1: Create the Monogram in Design Space
I spoke about Design Space in my last post and if you own a Cricut, you likely are already quite familiar with this platform. This is where you create your Cricut projects and where you will ultimately send them to the Cricut from in order to be created.

I’ve gone ahead and made all of these designs public, so you can access all of them and simply click on the words or letters to change them to whatever custom letter, name or year you need, while still keeping the same size and font. Here is the link for the Grandma Pillows.
Step 2: Cut with Cricut
Once your design is all ready to go, it’s time to CUT it with the Cricut Explore Air2 and bring it life!
Two important things to note before you create your Iron-On vinyl. First, you MUST toggle the “mirrored” button on before you print. You will find this on the left hand side of your screen when you go to create. If you don’t toggle that on, the vinyl will print the regular way, which will end up backwards once you go to iron it on your item.

Secondly, you must set the actual Cricut to the type of material you are using. I like to set it to Custom, although you can set it to vinyl. When you set it to custom, there is a drop menu that comes up on the computer screen where you can select the exact material you are using.

Once that’s all set in place, cut out a piece big enough for your design from the iron-on vinyl (meaning, don’t stick the entire piece of vinyl to the Grip board – you don’t want to waste any!) to the Grip board. You will then feed it into the Cricut by pressing the blinking feed button. Once it’s loaded, the C on the Cricut will flash and it’s time to create!

Step 3: Weed your Design
If you are new to the Cricut world, “weeding” your design might sound like a foreign language! All it simply means is to remove the excess vinyl from around your design, once it’s been cut. You want to weed the vinyl away to reveal the design, which is what you will end up putting on your project.

Cricut has some amazing tools, like an actual weeder to help get the job done fast. If you don’t have that, you can use an exacto knife, just be really careful not to knick yourself or the design.
Step 4: EasyPress 2 Iron-On
Now that the design is cut and ready to go on the pillow, it’s time to get the EasyPress 2 Iron ready!
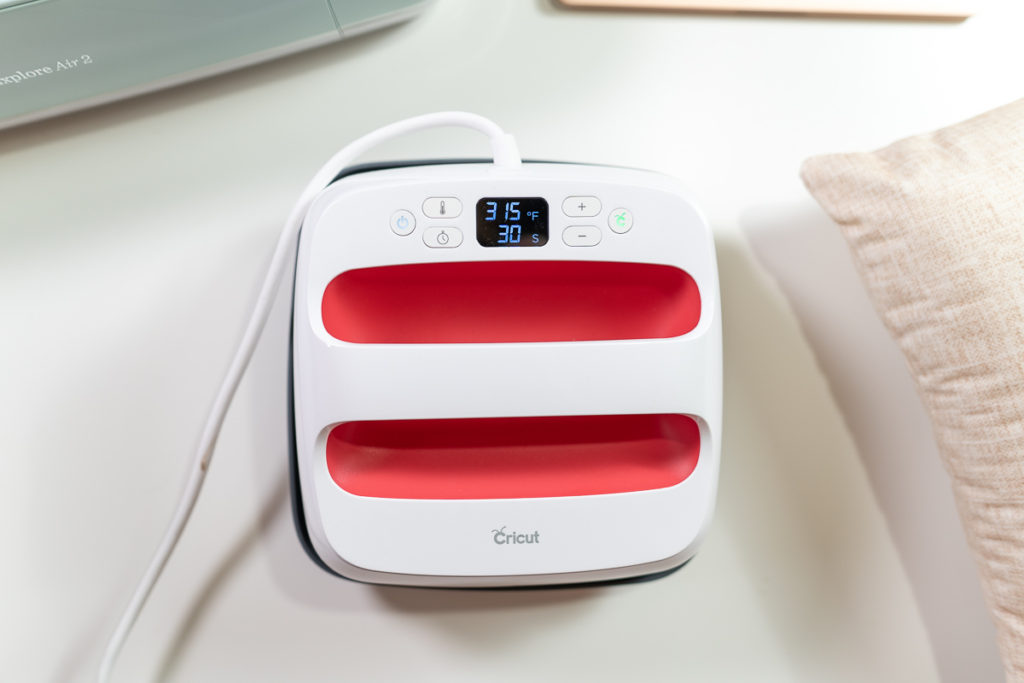
There are so many features about the EasyPress 2 that I love. For starters, I love that it comes with it’s own base to rest in, keeping it safe from burning the surface you are working on. Secondly, I love that it’s so easily programmable. Each creation you make, depending on the type of vinyl you’re using and what kind of material you are ironing it to will require a different heat seating, pressure and time held for the transfer to complete. With the EasyPress 2, you can easily adjust both the heat seating and the time needed. So when you are ready to use the iron, you simply click the C button on the iron and you will notice that it will count down the seconds! GENIUS! Cricut has a handy dandy heat reference guide where you can input your project details and it will tell you what temperature and how long you need to hold it on! Takes the guess work out of it for you!
For my pillow, I needed the iron set at 315 degrees and hold it for 30 seconds. Depending on what type of material your pillows are will determine these exact numbers for you, so be sure to check what the fabric is made of.

Simply stick the vinyl on the pillow and hold the EasyPress 2 on for 30 seconds. It said to repeat on the opposite side, but because my pillow was already stuffed, I simply did it for another 20-30 seconds.

You will need to let it cool to the touch before removing the plastic backing. Do this carefully as you want to make sure no ends pull up.
Step 5: Give your Pillows Away
You are now done creating your project and it’s time to give it away and watch the grandma’s cry! HA! I guarantee you that they will LOVE it! Whether you use these are personalized gifts to your loved ones or hostess gifts to your next party, we know the recipients will feel super loved!

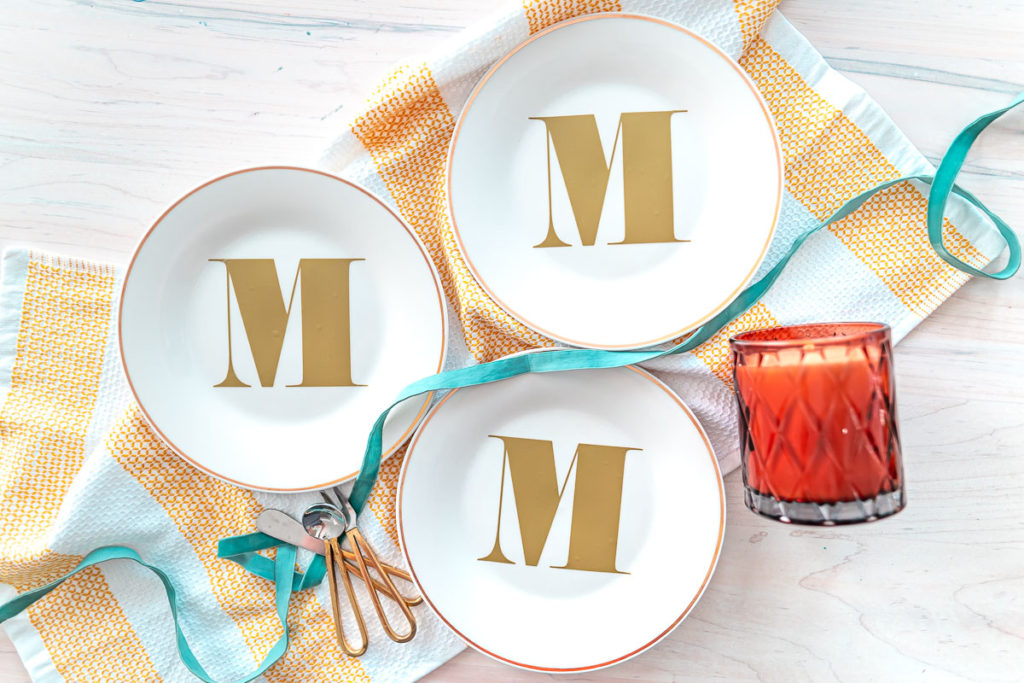
2. Monogram Plates
For our next hostess gifts, I’m showing you how to make monogrammed plates! I think these are such a special and inexpensive gift to bring to your friends house for a dinner party! I found these gold-rimmed plates at the Dollar Tree for $1.25 each!

All you’ll need for this project are plates, premium permanent vinyl and transfer tape. Note: if you want to make these safe for food consumption, you will need to spray a food safe adhesive or paint a layer of food safe modge podge.
Step 1: Design Monogram in Design Space
As with the previous design, I’ve made this monogram public – you can find it here. You can simply change the letter to whatever you’d like and you are set!

Step 2: Create with Cricut
To create the monogram vinyl, you will follow the same steps as above, however you DO NOT need to toggle “mirrored” on for this project. Because this will transfer with the transfer tape, you will be creating it face-side UP.

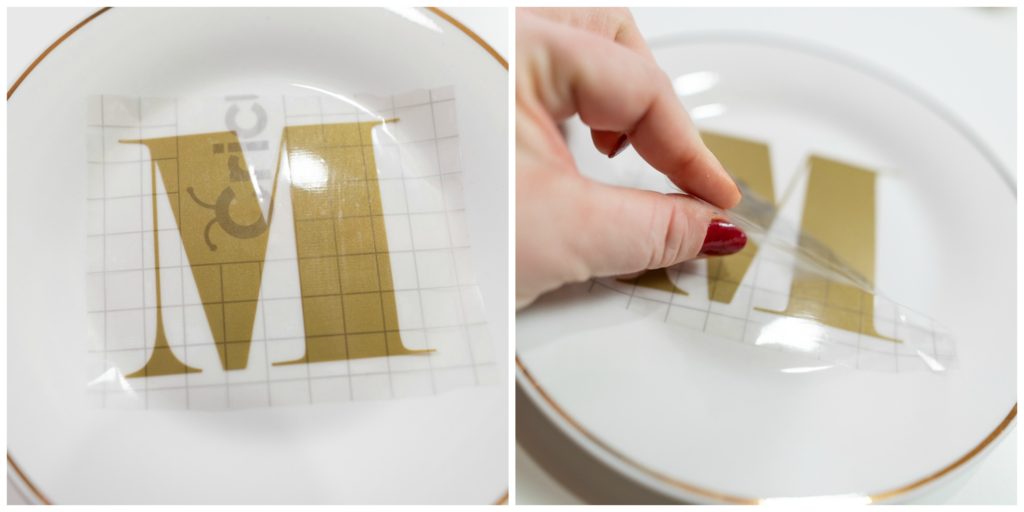
Step 3: Transfer Tape
In order to transfer the monogram from the vinyl onto the item you want it on, you will need to use transfer tape.
Once your item is cut and you’ve weeded out the design, remove the transfer tape from the back layer and place it sticky side down on top of the monogrammed decal. You will likely need to scrape it down well in order for it to transfer to the tape. You can use the Cricut scraper for this or if you don’t have that, a credit card will work as well.

Slowly peel back the transfer tape and your decal should now be on the tape.
Step 4: Place Design onto Item
It’s not time to place the design onto your item. Place the transfer tape sticky side down in the place where you want the decal. Again, you will want to use the scraper to get it firmly into place. Then slowly remove the transfer tape and the monogram will stick to the plate. You may need to use the scraper again to work out any air bubbles caught under the monogram.
Step 5: Repeat Process on Other Plates
You can repeat this process on as many plates as you’d like to give away. Once all plates are done, you can package them up with a nice bow and bring with you to your next dinner party! I can guarantee you’ll get another invitation back with these hostess gifts!
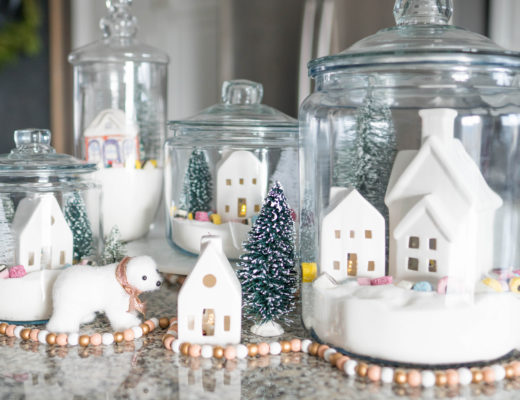
3. Storage Jar Labels
I absolutely love this idea of labelling storage jars with fun sayings and giving them out as gifts – of course filled with goodies! I’m hoping to actually label my entire pantry this year, but for quick and inexpensive hostess gifts, I found these canisters with a screw-top lid at the Dollar Tree for only $1.25 per jar! Adding the sayings “Yummy” and “Eat Me” make it fun and quirky and a great gift to a friend!
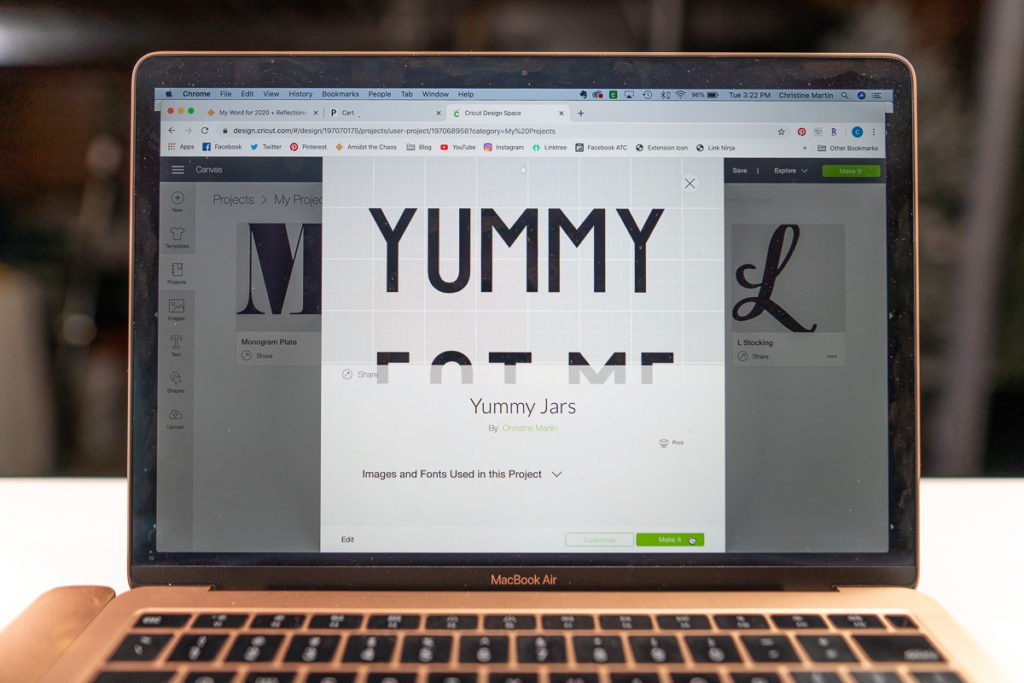
This project is available for use on the Design Space HERE. You can customize the sayings to whatever you’d like!
When it comes to how to do this project, it’s actually the exact same method as the plates above. The only thing I would add as a tip for this specific project is that when you are laying vinyl on a curved surface, make sure to make small cuts IN BETWEEN the letters. This will help the vinyl move more easily and ultimately lay more flat on the curved surface. You can see exactly how I do this in the YouTube video below!

The options for the labels are endless so have fun with this one and fill those jars with yummy treats! Your friends and family will absolutely love receiving this!

Check out our YouTube video below and create all of these projects WITH me! I’ll show you each step and you can see just how easy it is!
Well there you have it friends! I hope you’ve enjoyed this tutorial on how to make three different, unique, easy and inexpensive hostess gifts using your Cricut Explore Air 2! I absolutely love this machine and feel like I’ve only just scratched the surface of the possibilities with it!
Happy Crafting!
Love & Blessings,
Christine