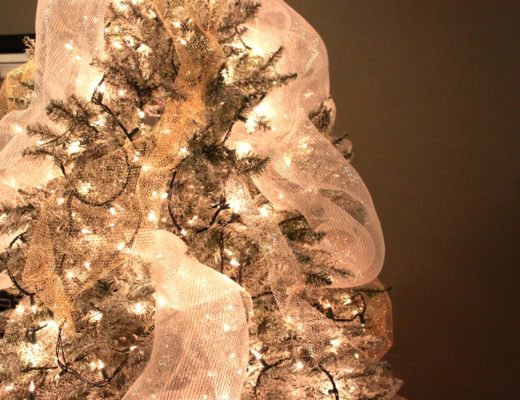
I hope you have all been enjoying this How to Decorate Your Christmas Tree Series. If you’ve missed the first three days, here’s a quick recap:
Day 1, we started with How To Flock Your Tree. This is a popular technique that makes your tree look like it has fresh snow on it. Help bring an old tree to life with three simple steps!
Day 2, we talked about How to Light Your Tree. This is definitely the least exciting part of tree decorating, but with this life changing technique, I promise you won’t dread it anymore!
Day 3, we tackled How to Put Ribbon/Mesh on Your Tree. I personally think this step is the one that makes the biggest difference when it comes to Christmas tree decorating and the question I get asked about the most. I share my secret for getting the perfect ribbon/mesh placement in your tree.
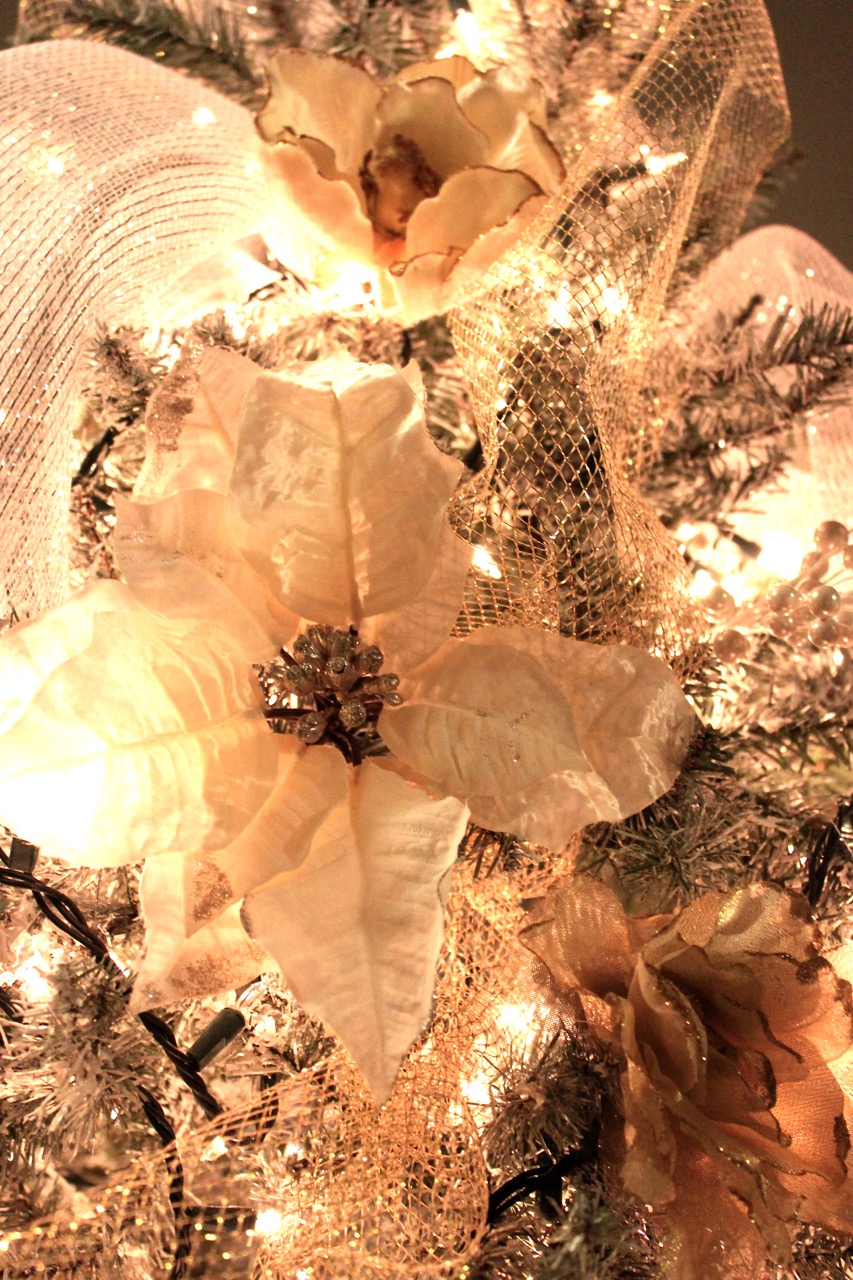
Today, for Day 4, I want to talk to you about how to place flowers on your tree. To me, this is my absolute favorite part of decorating my Christmas tree. Along with adding ribbon and mesh, I really think that adding flowers into your tree is a game changer. Trees naturally have holes in them and so adding in large poinsettias can fill that space and bring it to life.
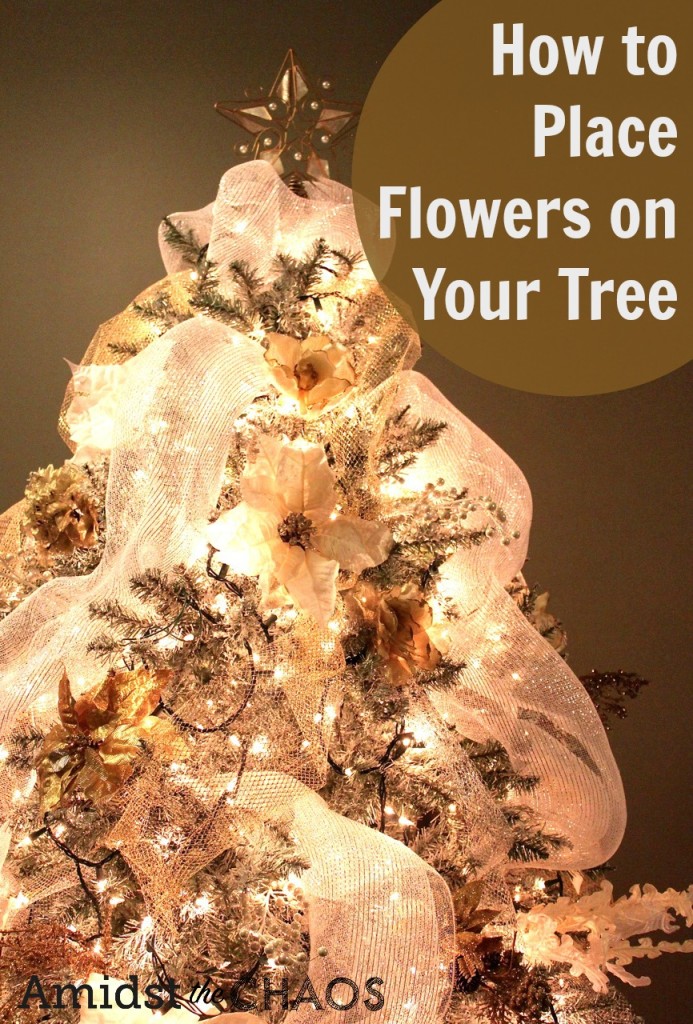
But it’s not just flowers I love adding, it’s also sparkly branches, feathers, pearls, berries, etc. Anything that will stick out of the tree, fill a gap and add some extra sparkle is a win in my opinion!
So to start, you want to make sure that you lay out all of your flowers and branches before you start adding them into the tree. You want to know exactly what you are working with so you can gage how many items you have to add to the tree.
Next, I would start with one type of flower/branch at a time. Typically, I like to start with the branches. Items that will stick out from the tree and give it that extra sparkle but not necessarily huge pieces that will fill up space.
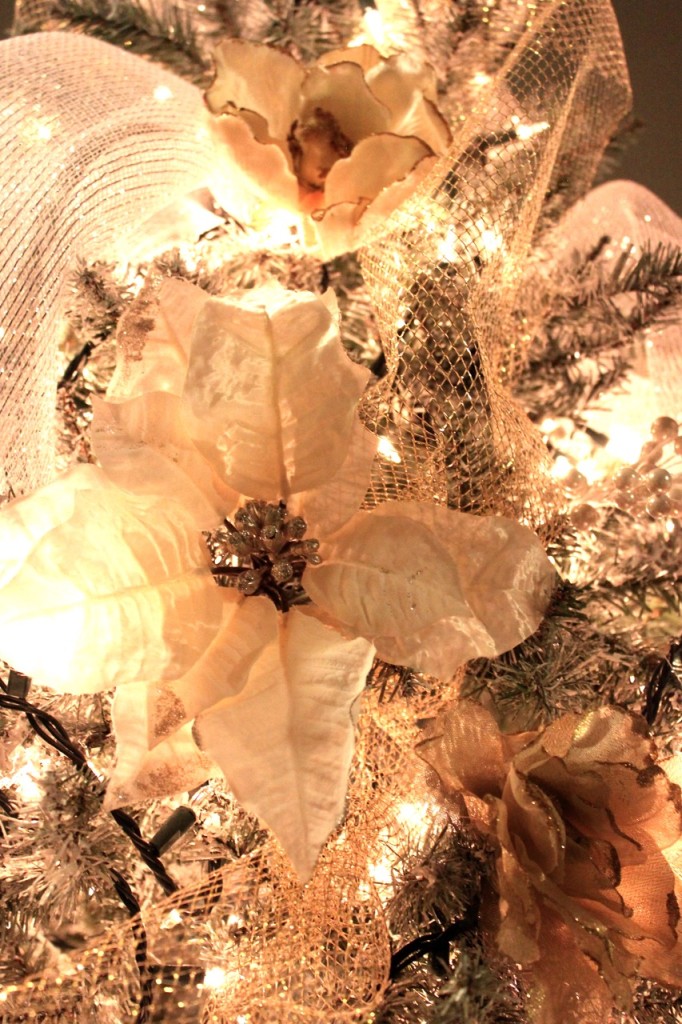
Once you’ve added in all of the branches, berries, pearls and twigs, then it’s time to move on to the flowers. I have various types: roses, poppies, peonies, etc. I add those in first and then for my last step, I add in all the poinsettias. If you don’t have poinsettias, you need to get yourself some! Plain and simple! They are such great space fillers and look amazing on a Christmas tree. I typically will put anywhere from 10-20 poinsettias in my tree every year.
After you’ve placed all your flowers and branches, you will move on to the final step of adding in your ornaments. Again, you want to make sure you have everything in front of you before you start this process. You want to gage what you have to work with.
When I add in my ornaments, I usually start with some of the plainest ones (picture a round sparkly ball) and place them deep into the tree. If you still have some holes after the ribbon and flowers are in, this is great to fill them and also add layers into your tree.
Then I would go to your biggest and best ornaments. I have a few larger mercury ball ornaments that take up quite a bit of space and are so beautiful. I want those front and center, so I make sure to place those before anything else (in the front).
Final step is to add in all your remaining ornaments. Don’t be afraid to layer one in front of the other. Or to place it in front of mesh. I really think that is the difference when decorating your tree, is the layering. I personally don’t think you can have too many decorations on your tree!
So there you have it! How to place flowers (and ornaments) on your tree! The final step to decorating your tree in our series!
As I’ve done all week, I have a video tutorial for you to show how to place flowers on your tree. I didn’t include much of the ornament process because I gotta save something for tomorrow’s big reveal!!!
Make sure to come back tomorrow for our final day in our “How to Decorate Your Christmas Tree” Series. Not only do we have our big reveal, but we have teamed up with Save.ca and will have coupons for you so that you can save on buying many of the items that we’ve talked about this week! Yay!
Love & Blessings,

