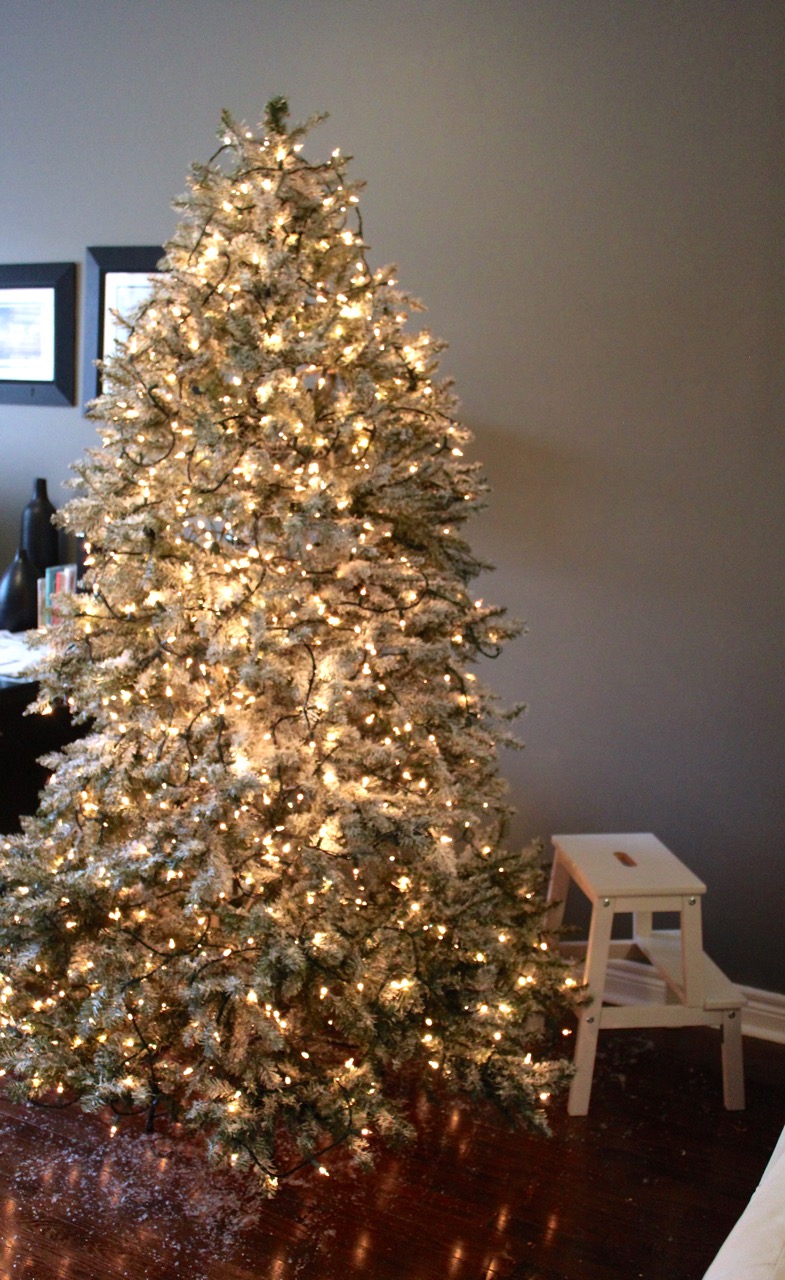
Welcome to Day 2 of our Decorating Your Christmas Tree series. Today we are tackling one of the most dreaded parts of tree decorating: LIGHTS! If you have a pre-lit tree, consider yourself the lucky one! Lighting my Christmas tree was honestly the job I dreaded the most. It is A LOT of work and if you have a big tree, typically, it requires TWO people as you go round and round the tree. It’s obviously a necessary step in tree decorating, but it’s really the most mundane and least fun.
But everything changed a few years back when I discovered a totally NEW way to place the lights on the tree. It was one of those major lightbulb moments that left me wondering why I hadn’t thought of this technique WAY earlier! Maybe you do light your tree this way and for that, I applaud you! But I know there are still tons of people out there who are probably struggling with their lights just like I was for so many years!

So let’s launch right into how to light your Christmas tree the easy way! And as promised, I have included a video tutorial at the bottom for you to see this technique in action.
Step 1: Prep Your Lights
Lay out all of the lights that you will be using for your tree. Make sure they are all untangled from when you packed them away last year. Also, make sure that they are all working! I always light my trees with the Christmas lights turned ON so I can see exactly what it will look like.
Step 2: Mentally Separate Your Tree
Here is the secret of this technique: instead of going round and round in circles when placing your lights, you are instead going to mentally separate your tree into thirds and work with one third of your tree at a time.
Step 3: Start From the Bottom and Work Your Way Up
So, starting with the first third of your tree, you are going to begin at the bottom layer with your lights. You really want to make sure to layer the lights on each branch. What I mean by this is to start deep into the tree and work your way forward on each branch.
Once you have finished the bottom layer of the first third section you are working with, it’s time to go up to the second layer. You are going to keep doing this, still keeping within the one third of your tree, working your way up to the top of the tree.
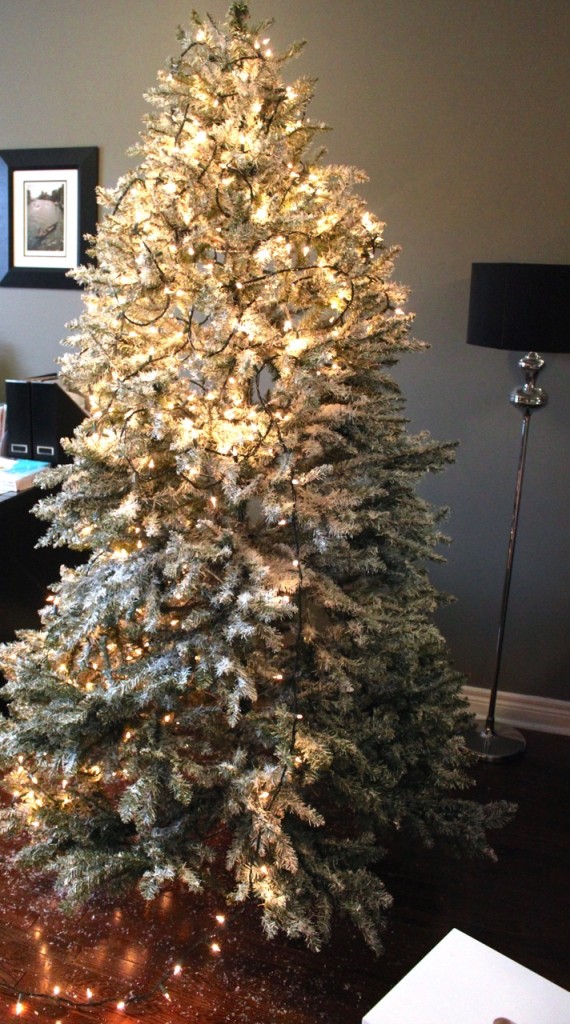
Step 4: What Goes Up, Must Come Down
Once you’ve reached the top of the first third of the tree, you are now going to start on the second third of the tree and make your way back down. Follow the same technique as before, making sure you layer the lights far back into each branch, as you work your way down.
Step 5: Back Up Again
Once you get to the bottom of your second third section of the tree (confused yet?), you are ready to head back up the tree for your final third section. You may end up having some extra lights once you reach the top, just weave them around some branches (that maybe are part of the first or second part of the tree) that you feel could use some more lights.
And there you have it! It’s honestly SO simple to work your Christmas lights UP AND DOWN versus ROUND AND ROUND! Separating your tree into thirds is what makes this technique possible and is a total GAME CHANGER when it comes to lighting your Christmas tree!
If any of this is confusing, I’ve gone ahead and made a video tutorial of me doing this technique while lighting my tree! Hope that helps!
Did you know about this technique? How do you light your Christmas tree? Let me know in the comments below! And make sure to come back TOMORROW for Day 3 of our Christmas decorating series where we tackle RIBBON!!! And if you missed Day 1, make sure to check it out: “How to Flock Your Christmas Tree.”
Love & Blessings,

