Well this has been such an exciting series for me to share with you “Decorating Your Christmas Tree.” It’s been a lot of work and I’ve been so encouraged by the response from you! And I finally put some make-up on for my final video! Yay! (see end of the post)
Today, is REVEAL day! I’ve been anxiously waiting all week to share the FINISHED look of my tree. I’m also SUPER excited to have partnered up with Save.ca to bring you specific coupons so that you can shop the same items at a discounted rate! How awesome is that?!
But before we get to the big reveal, let’s do a quick recap of the last four days, in case you missed it!
On Day 1, we started with “How to Flock Your Tree.” This is a technique that makes your tree look like it has fresh snow on it. A relatively easy process that anyone can do and help bring their tree to life!
Day 2 we talked about “How to Light Your Christmas Tree.” Like many of us, we can agree that this is the most boring and tedious job when it comes to decorating your Christmas tree. But with this new way of lighting your tree, I guarantee that you will be amazed at how much easier getting those lights on your tree is!
Day 3 was all on How to Place Ribbon On Your Tree. We specifically tackled mesh with an easy technique that makes it look as though it’s coming from inside your tree.
Yesterday, Day 4, we rounded out the week of tutorials with our final one “How to Place Flowers On Your Tree.” Easily my favorite part of tree decorating, there is a rhyme and reason to how I place my flowers and ornaments to get the perfectly layered look!
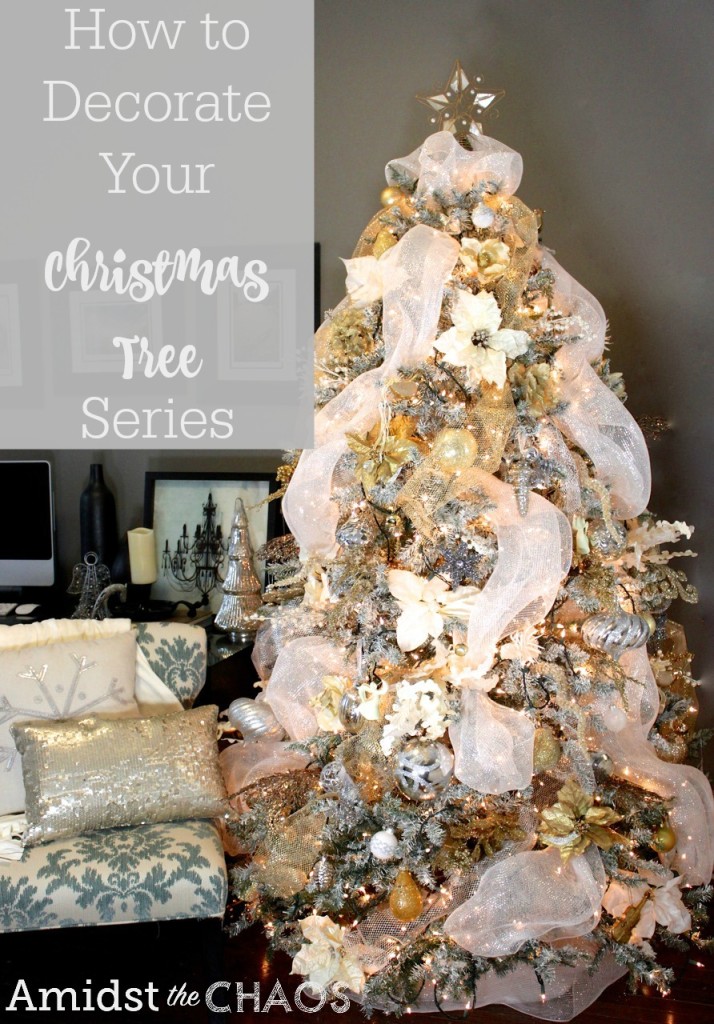
So are you ready for the reveal?! Here is my finished tree! I am honestly SO happy with how it turned out! By far the best tree I’ve ever created. And I really think that it all goes back to Day 1 of this series with flocking my tree. There is no way the tree would look like this without the flocking!
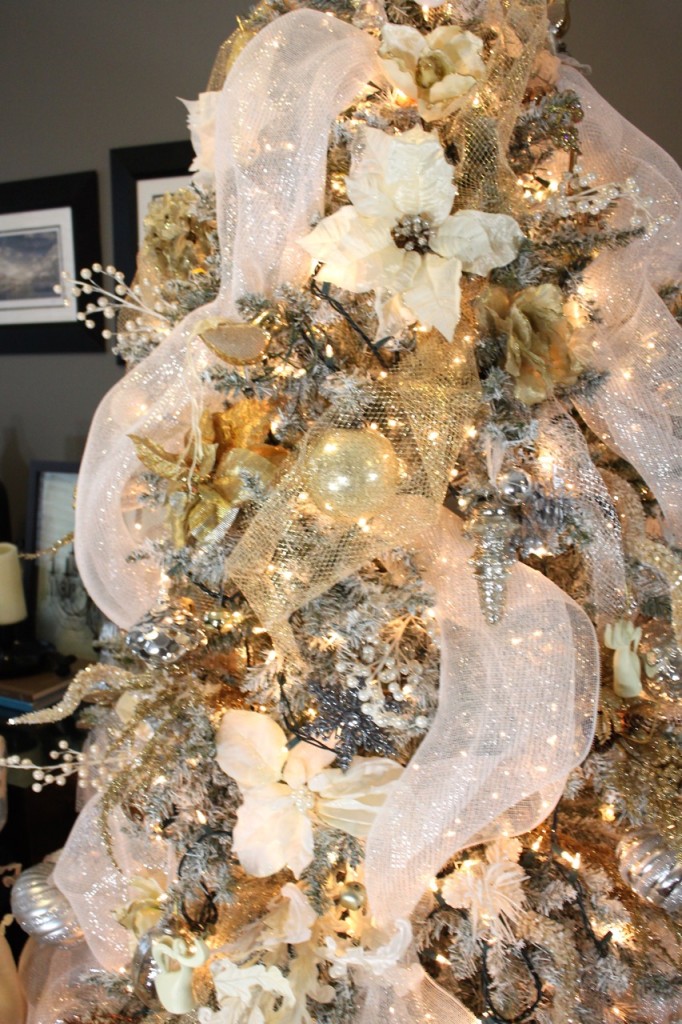
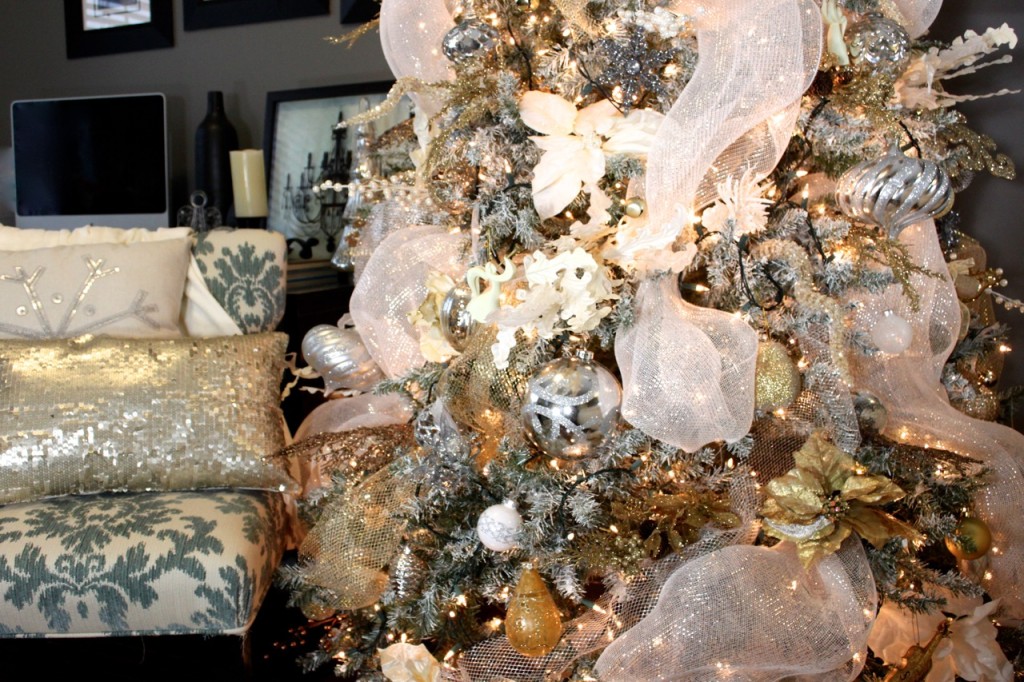
And I’m SO excited to share with you that Save.ca has provided all of you with a coupon for spray paint to help YOU flock your tree! If you watched that video and want to try and flock your tree, THIS is perfect for you! Totally doable for anyone to tackle and what a difference it makes in the end!
I wanted to share with you a list of where all of my decorations and supplies came from, as some of you have asked. So here it goes:
Flocking Supplies:
- Spray Paint: Lowes
- Textured Ceiling Spray: Lowes
- Fake Snow: Walmart
Tree Decorations:
- Christmas Tree: Costco
- Christmas Lights: Walmart + Costco + Canadian Tire (we’ve added over the years)
- Mesh: Costco
- Flowers/Branches: Michaels + Pier 1 Imports + HomeSense + Bowring
- Ornaments: Canadian Tire + HomeSense + Target + Walmart
- Tree Topper: Canadian Tire
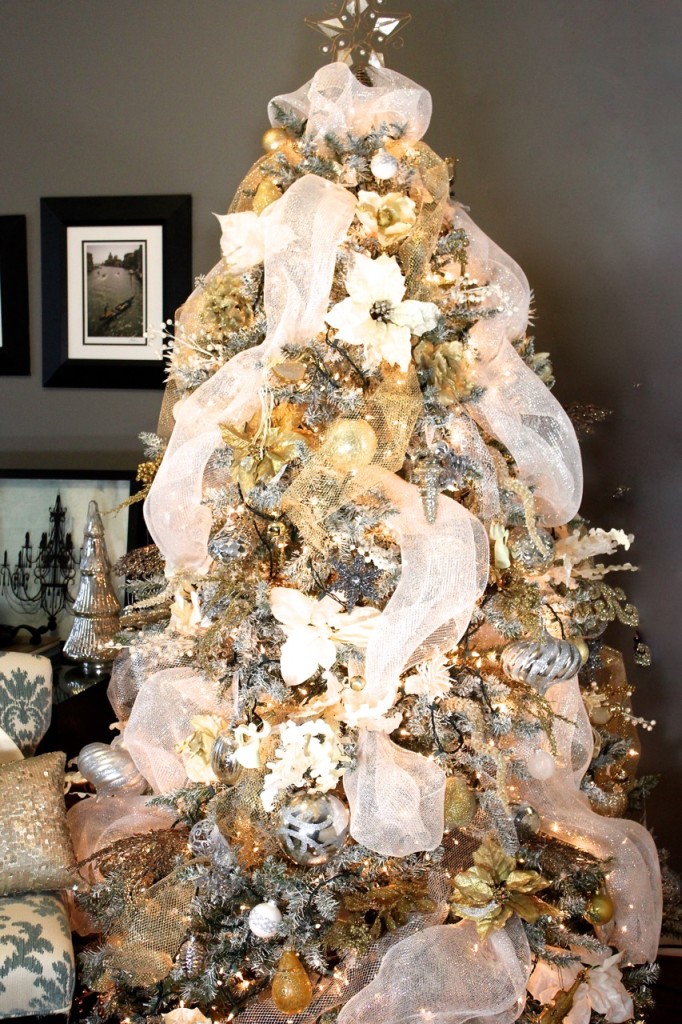
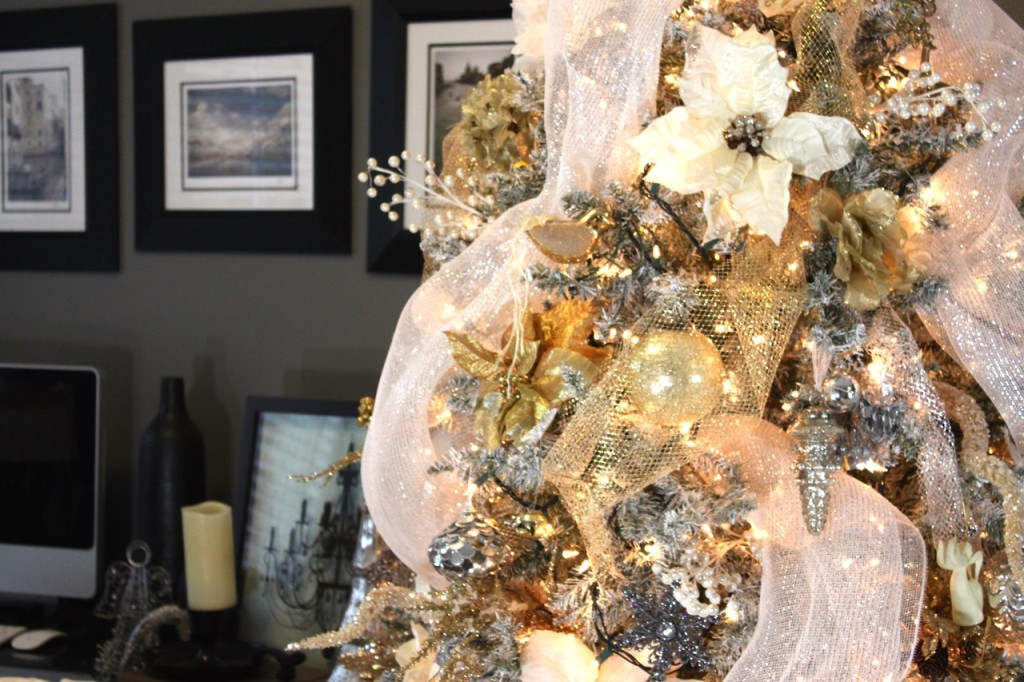
This isn’t the kind of tree that is done in one year. This has been eleven years of decorating trees (some of which you’ve seen). I’ve learned over time what I like and what I didn’t. I’ve tried various techniques, some have worked and others haven’t. I’ve changed my colors and have done trees that are red, green, white, blue and black and brown! Every year I try and put a bit of money into decorations to build up our collection. To be honest, when I started decorating my tree this year, I wasn’t even sure what colors I was going to end up using. I knew I wanted to flock the tree and I knew I wanted lots of white tones in it, but I wasn’t sure if I would do white and black or white and blue or white and gold.
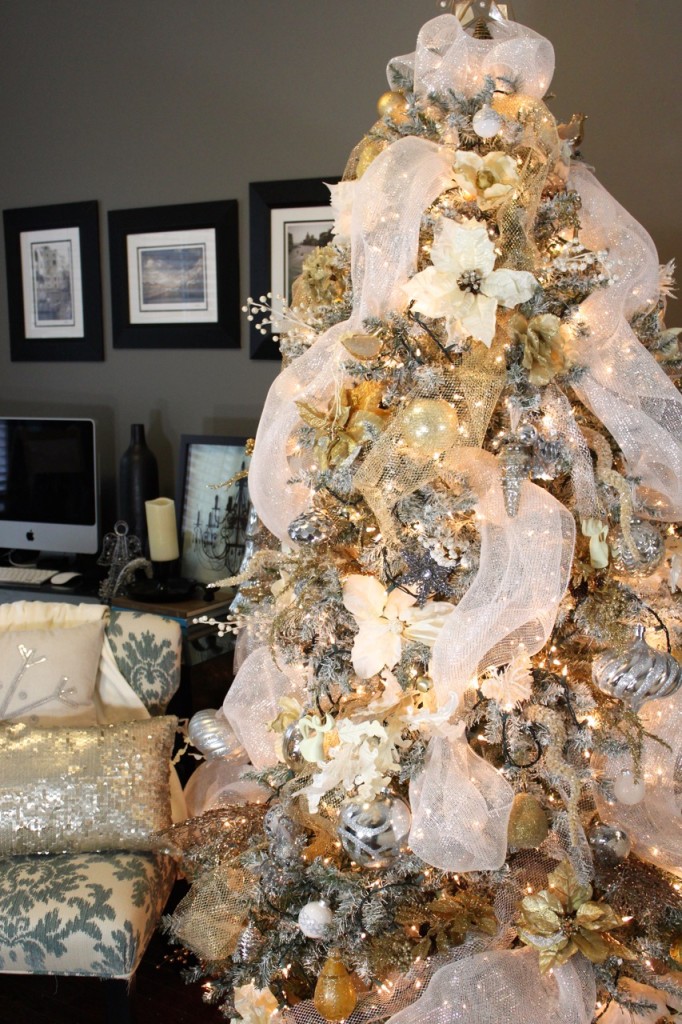
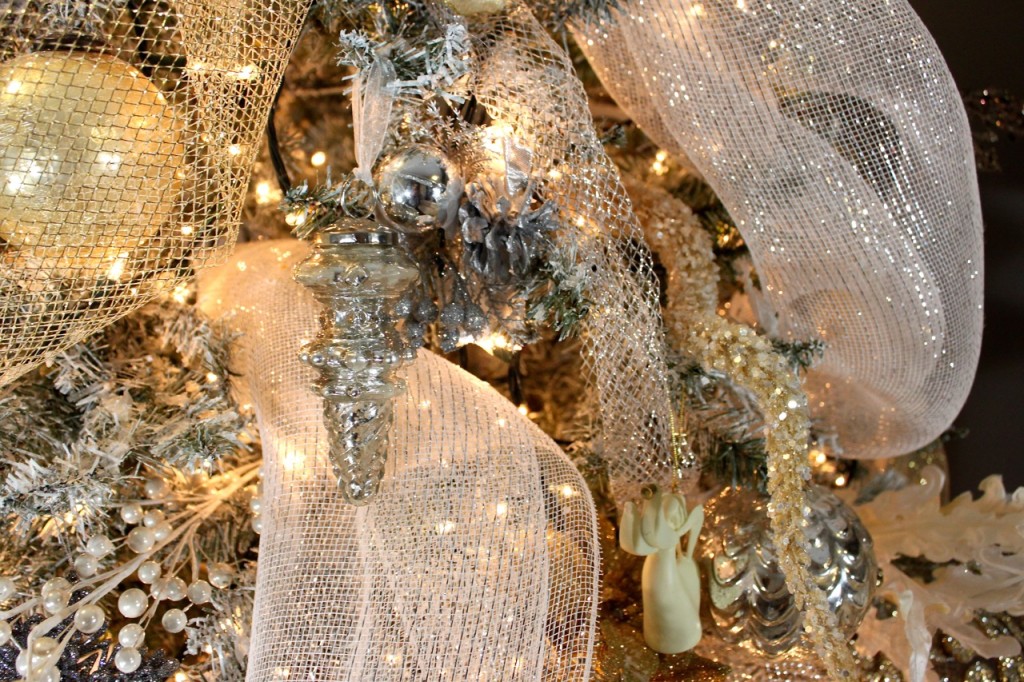
It’s nice to try different things and experiment with various color palettes. Don’t limit yourself to just one color. Always try to have a secondary color involved and that can change yearly. With just some different ribbon, two-three bunches of flowers and a box of ornaments, your tree can look totally different from last year.
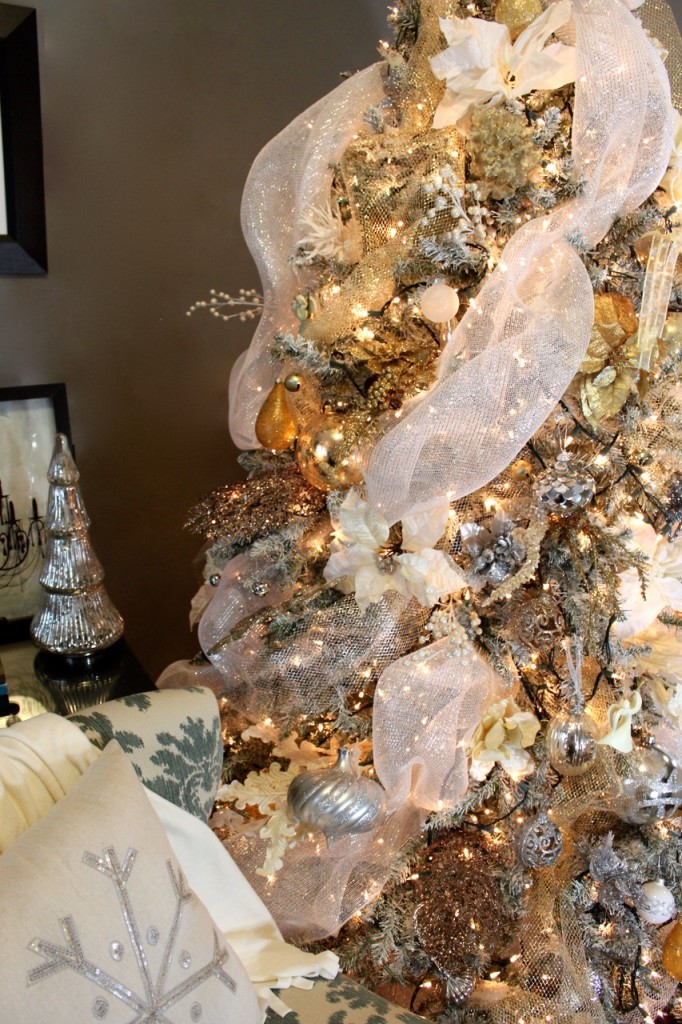
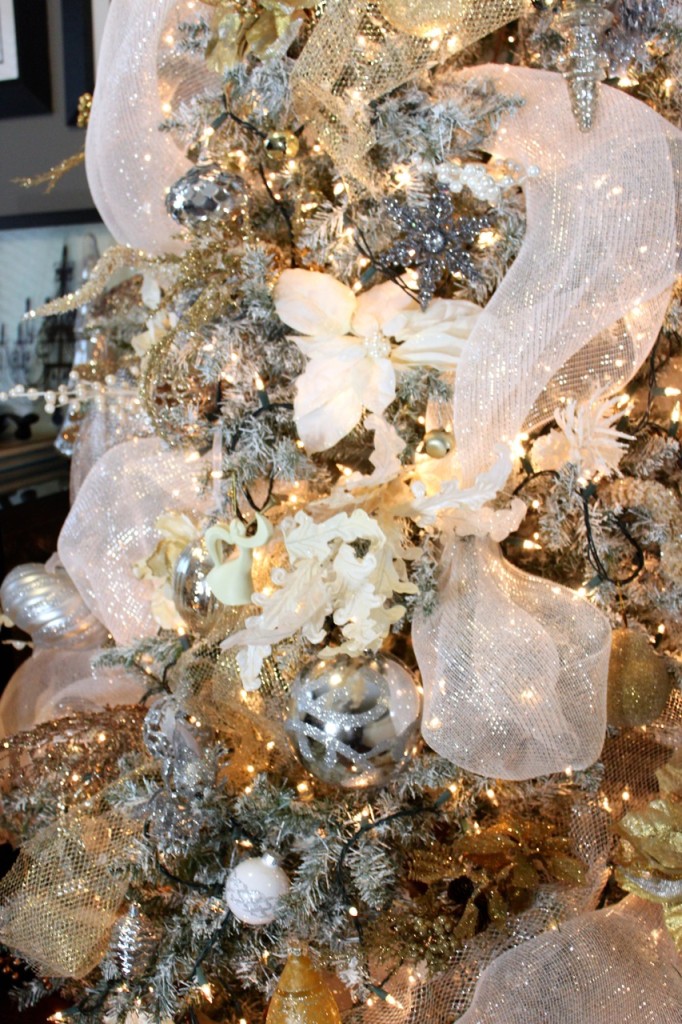
With that said, I’m excited to have Save.ca give our readers another fabulous coupon for ornaments! So if you are looking to maybe change up your color scheme or wanting to add a few more ornaments into your tree for a fuller, more layered look, this is your chance!
I want to say thank you again for joining me this last week for this series! It’s been so much fun to create this and share with you my own tree decorating process. While I always say that I want my trees to look organic and not overly perfect, there is a technique to making it look so effortless. And that is why I’ve shared these step-by-step tutorials with you! I hope you have been inspired, learned a few tips and tricks and can now set up your tree to be a showstopper!
Love & Blessings,
Note: Coupons are only available while quantities last.


